Easter Bunting DIY Creation
Table of Contents
Creating DIY Easter bunting is a delightful way to add a touch of charm and festivity to your home during the Easter season. We will guide you through the steps in a great way to craft your personalized bunting to display in bright colors during the easter holidays using simple materials and creative techniques. Let the fun begin – happy crafting!!
Gather Materials required for your own Easter Bunting
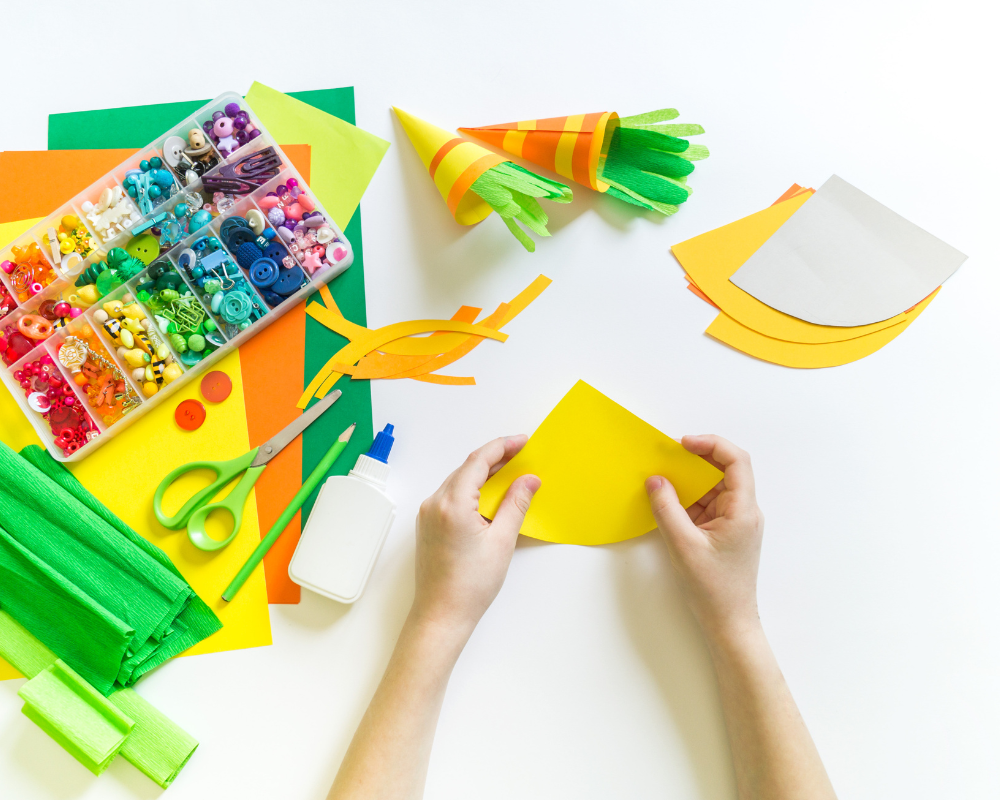
- Colored Cardstock or patterned paper
- Scissors
- Pencil
- Ruler
- String, Ribbon or Baker’s twine
- Hole punch
- Hot Glue stick or Craft glue
- Decorative embellishments (optional) e.g. Pom Poms
Steps to Create DIY Easter Bunting
Choose a Design
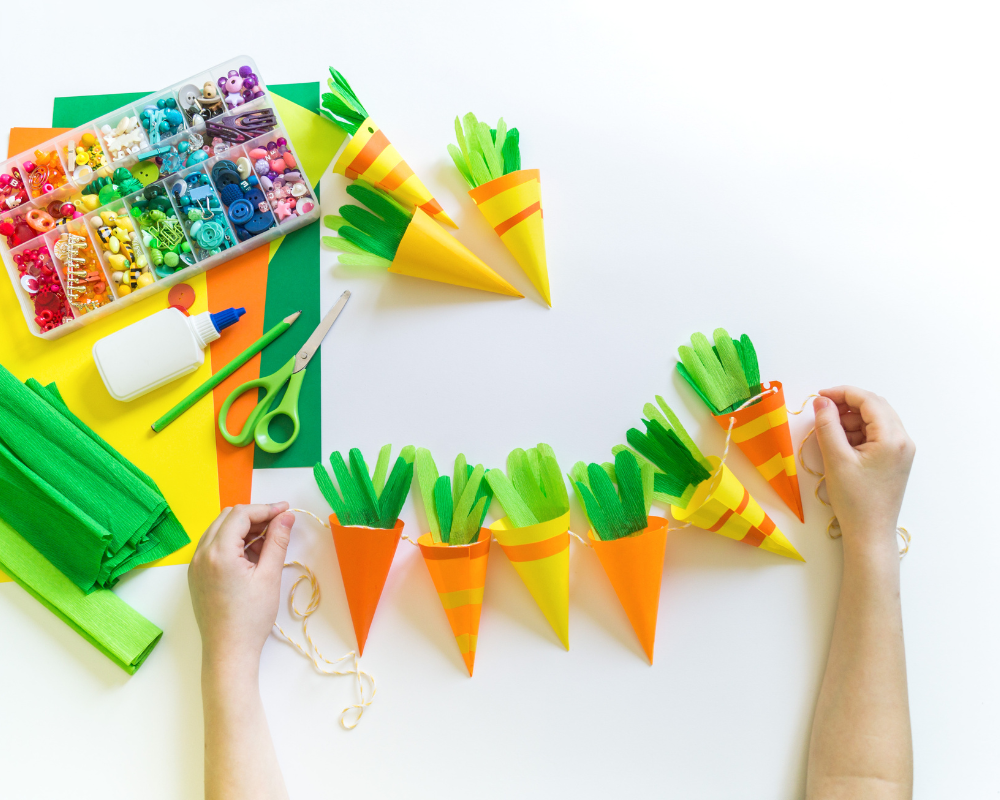
When it comes to choosing a design for your Easter bunting, the possibilities are endless. Use your ruler and pencil to outline the shapes on your cardstock or scrapbook paper. You can opt for traditional pastel-colored egg shapes, use an easter bunny template for a classic look, or go for a modern geometric pattern with vibrant colors to make a statement. To make the bunting more versatile make the bunting reversible. Consider incorporating spring flowers like daisies and tulips as a great addition to your design to will add a fresh and natural touch to your seasonal bunting.
Experiment with different materials such as fabric, paper, or felt to create texture and depth in your bunting. Don’t be afraid to mix and match patterns and textures for an eclectic look that is uniquely yours. Remember that the key to a successful DIY project is to let your creativity shine through in every aspect of the design process.
Cut Out the Shapes
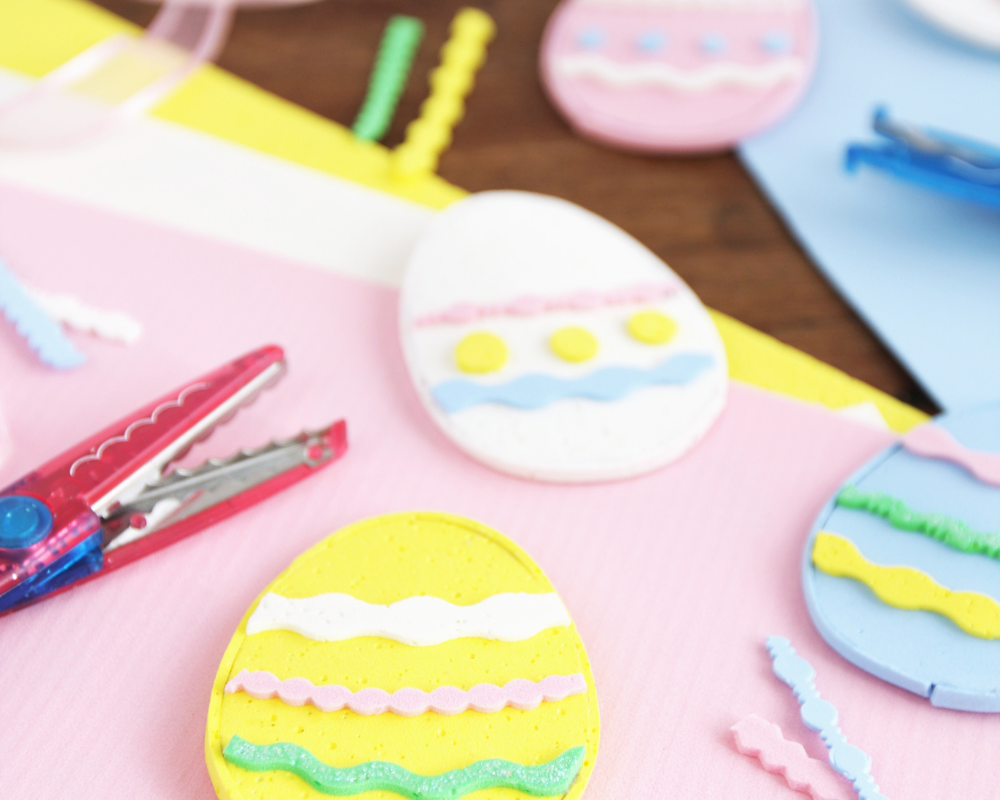
The first step in creating the Easter bunting is to cut out the shapes. Using colorful cardstock or patterned paper for this easy project, trace and cut out various shapes such as rabbits, bunny tails, eggs, and flowers. Next, carefully arrange the shapes on a length of twine or ribbon, securing them in place with glue or mini clothespins. For added flair, consider adding glitter or sequins to make your bunting sparkle and shine.
Cutting out the shapes for your Easter bunting allows for creative expression and personalized touch to your decor. Experiment with different sizes and combinations of shapes to create a visually appealing design that captures the spirit of Easter. Don’t be afraid to mix and match colors and patterns to add depth and interest to your bunting display. Remember, it’s all about having fun and crafting something special that reflects your unique style!
Make sure to cut enough shapes to spell out your desired Easter message or to cover the length of your desired bunting.
Decorate the Flags (Optional)
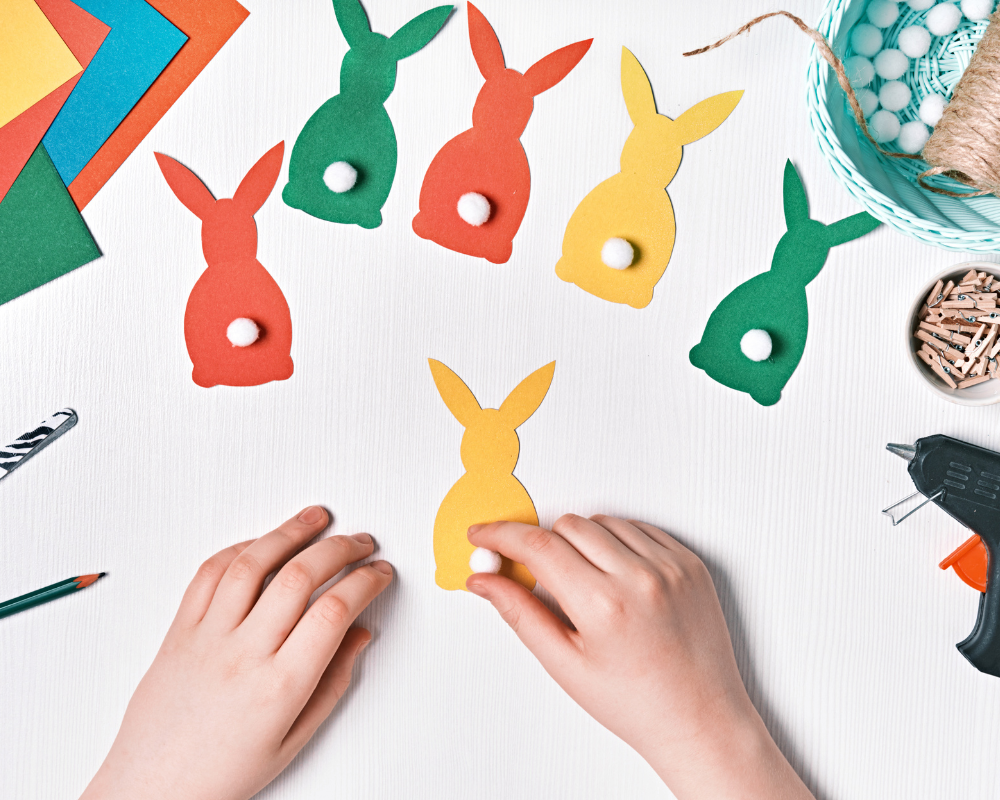
Get creative with decorating your easter bunting flags! You can add embellishments such as pom-poms, ribbons, or stickers for an extra touch of whimsy, like stickers, glitter, or drawings of Easter-themed designs such as bunnies, chicks, flowers, or Easter eggs.
You can easily create these shapes by cutting them out of felt or craft foam and attaching them alongside the triangles. Hang your bunting above a fireplace mantel, along a staircase railing, or in a window to instantly brighten up your space for Easter. This simple yet great project will add a personalized touch to your Easter decorations while showcasing your creativity and crafting skills.
Punch Holes
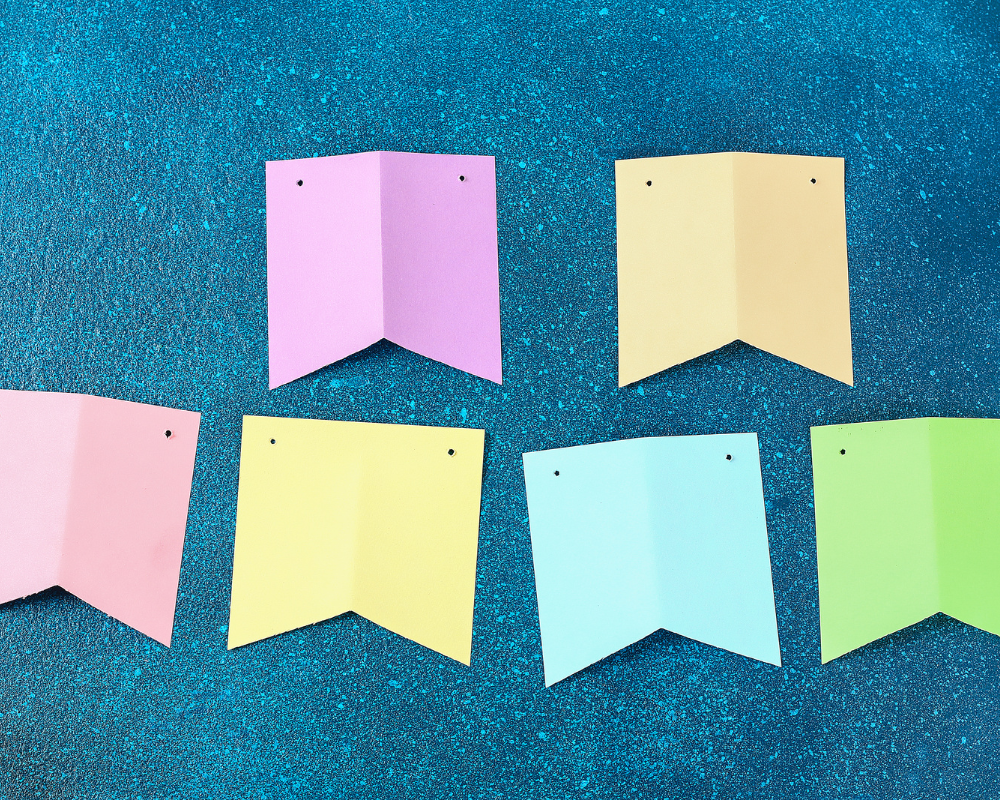
While it may seem like a simple task, the placement and size of these holes can greatly impact the overall look of your project. By carefully selecting where to punch the holes, you can create a visually appealing design that enhances the festive vibe of your decorations. Make sure the holes are aligned symmetrically so that your bunting will hang evenly.
For a unique twist on traditional bunting, consider using different shapes or sizes of hole punches to add variety and interest to your creation. Don’t be afraid to mix and match colors or materials for an eclectic look that reflects your own personal style.
String the Flags

Cut a length of string or ribbon to your desired bunting length, leaving extra length on each end for hanging. Thread the string through the holes of each bunting flag, arranging them in the order you’d like them to appear. Hang your finished bunting in an entryway, across a mantle, or even outdoor spaces for a cheerful touch that will bring smiles to everyone who sees it during this special time of year.
Secure the Flags
Once all the flags are threaded onto the string, secure them in place by tying knots or bows at each end of the string. This will prevent the flags from sliding around and help maintain the spacing between them.
Hang Your Easter Bunting
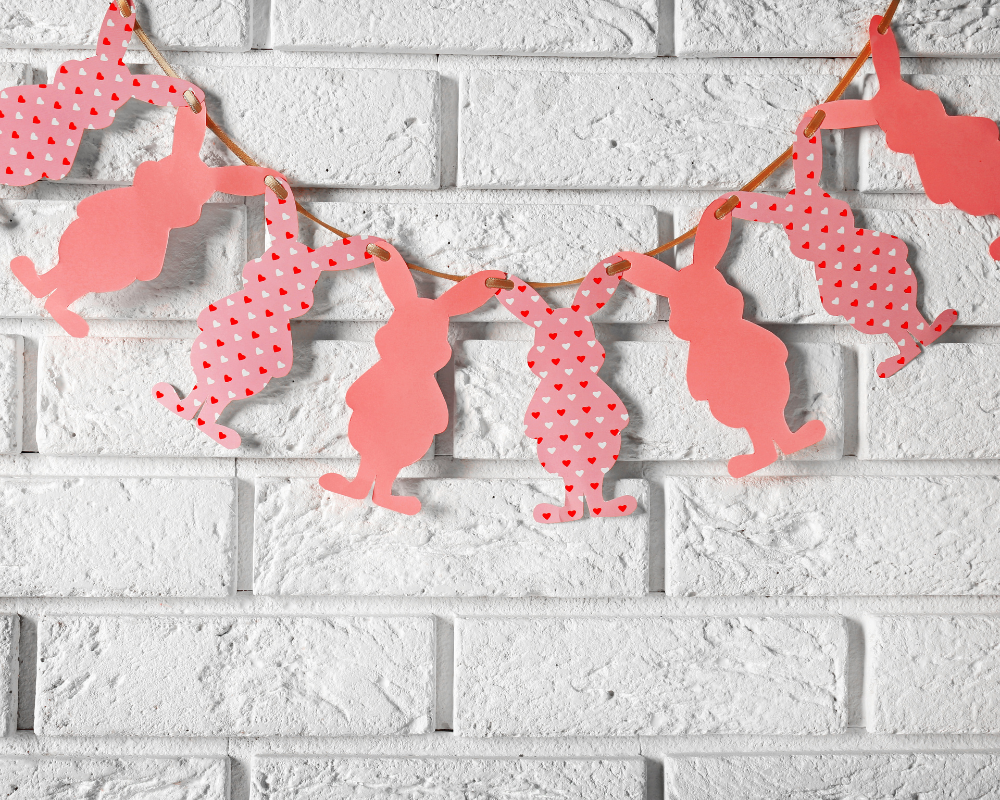
Find the perfect spot to display your Easter bunting! Hang it along a mantelpiece, across a window, or above a doorway to add a festive touch to your home decorations. You can even hang the bunting outdoors for a cheerful touch that will bring smiles to everyone who sees it during this special time of year.
Tips for Personalizing Your Easter Bunting
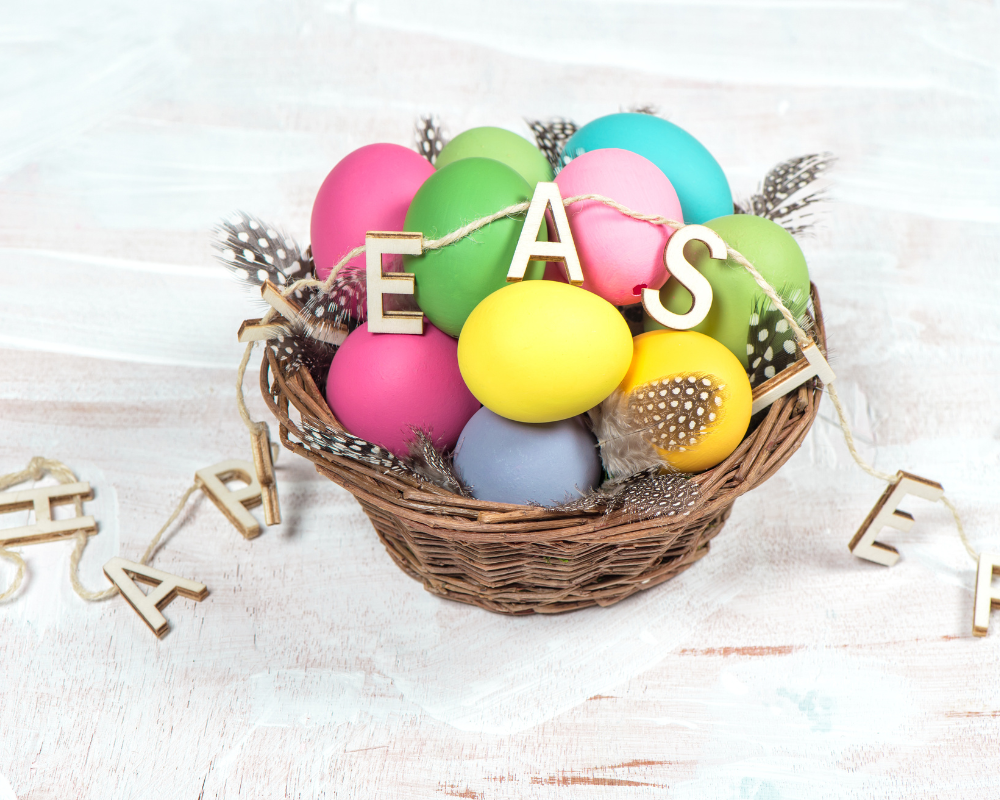
Experiment: Experiment with different color combinations and patterns to match your home decor or Easter theme.
Add Stickers or Stencils: Add letter stickers or stencils to spell Easter greetings such as “Happy Easter” or “Springtime Joy”.
Texture: Incorporate textures like fabric scraps or felt to give your bunting a unique and tactile feel.
Personal Choice: Get the children involved by letting them help choose the designs and decorate the bunting flags. It’s a fun family activity that everyone can enjoy, whatever their age!
Conclusion
Creating your own DIY Easter bunting is a fun and rewarding way for the whole family to add a personalized touch to your home decorations this Easter holiday. With just a few simple materials and a bit of creativity, you can craft a beautiful decoration.

