Table of Contents
Have you ever struggled to hang a mirror straight and securely? Perhaps your attempts have resulted in wonky angles or, worse yet, shattered glass. Fear not! We will unlock the secrets of hanging a mirror like a professional. Whether you’re looking to add an elegant touch to your living room or create the illusion of space in a small area, mastering the art of mirror hanging is essential. From choosing the right hardware to ensuring perfect alignment, we’ve got you covered with expert tips and tricks that will elevate your home decoration game.
Choose the Right Location

Choosing the right location for hanging a mirror can significantly enhance the appeal of your space. Reflect on the size and style of the room and the Mirror to determine where to place it. A small room benefits from strategically positioned mirrors that create an illusion of depth, while a large room can accommodate oversized mirrors to add grandeur. Additionally, consider natural light sources when selecting a location for your mirror, as it can amplify and brighten the space. It’s also paramount to pay attention to what will be reflected in the mirror – ideally, do not position opposite a visually cluttered area, or the mirror will amplify this area.
Measure Twice, Hang Once
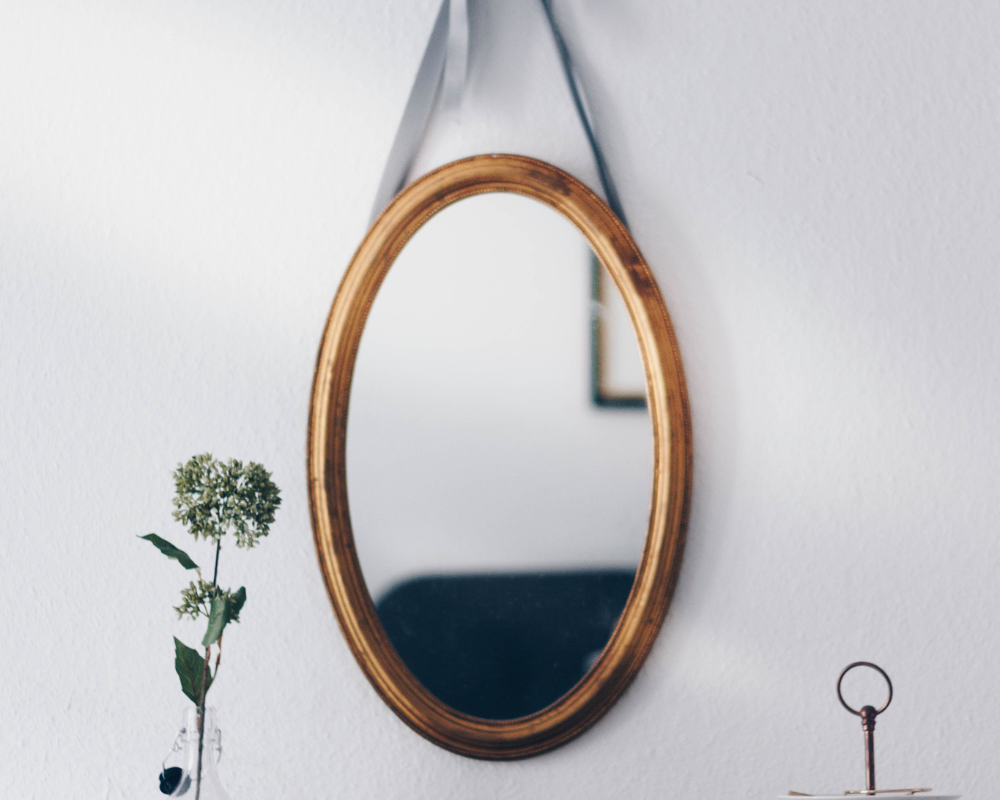
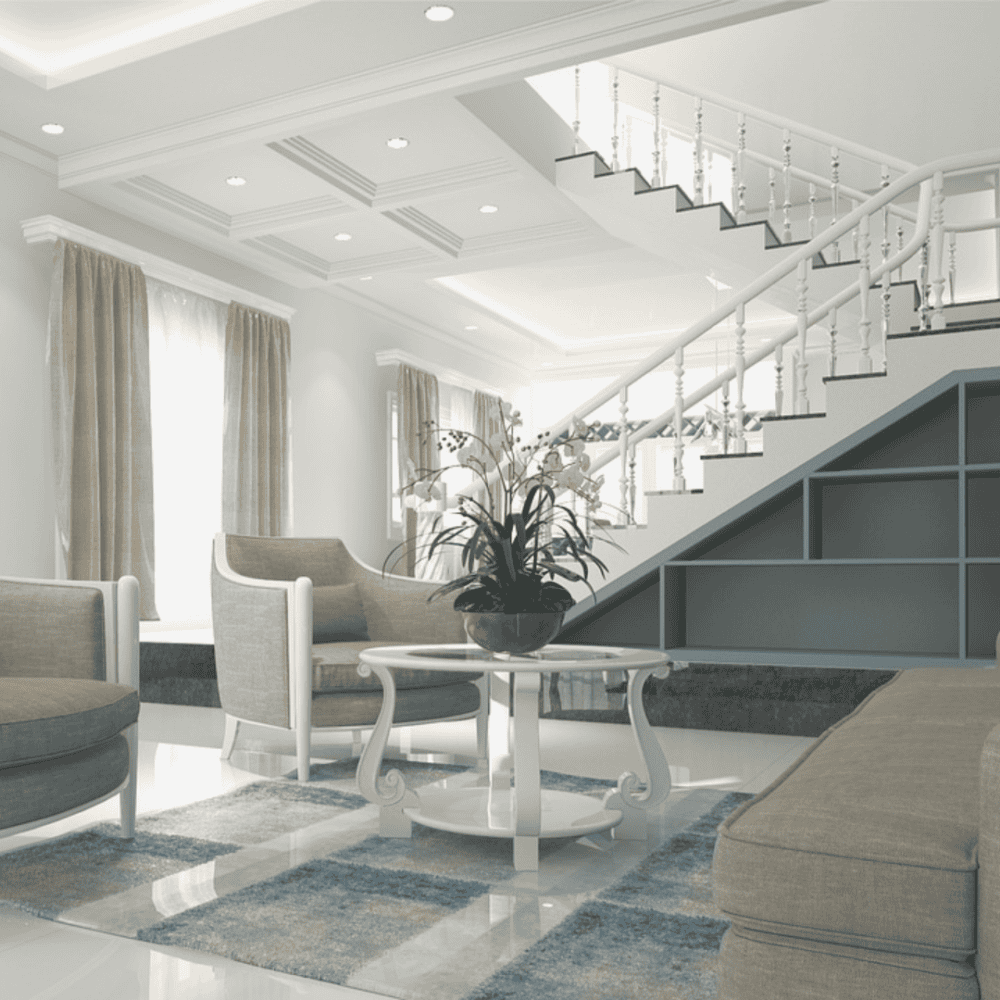
Thinking outside the box when choosing where to hang your mirror can yield unique and refreshing results. Instead of defaulting to traditional locations such as above mantelpieces or dressers, explore unconventional spots like stairwells or kitchen backsplashes for an unexpected touch of elegance or to elongate a room. Embracing asymmetry by placing multiple mirrors at varying heights and angles in one area can create a visually dynamic setting, adding layers of interest and intrigue.
The saying measure twice, hang once is a valuable reminder of the importance of precision and foresight in any DIY project. This will help you ensure that the top of the mirror is level and centred; use a tape measure and pencil to mark the spot for best placement and the mirror’s hanging position.
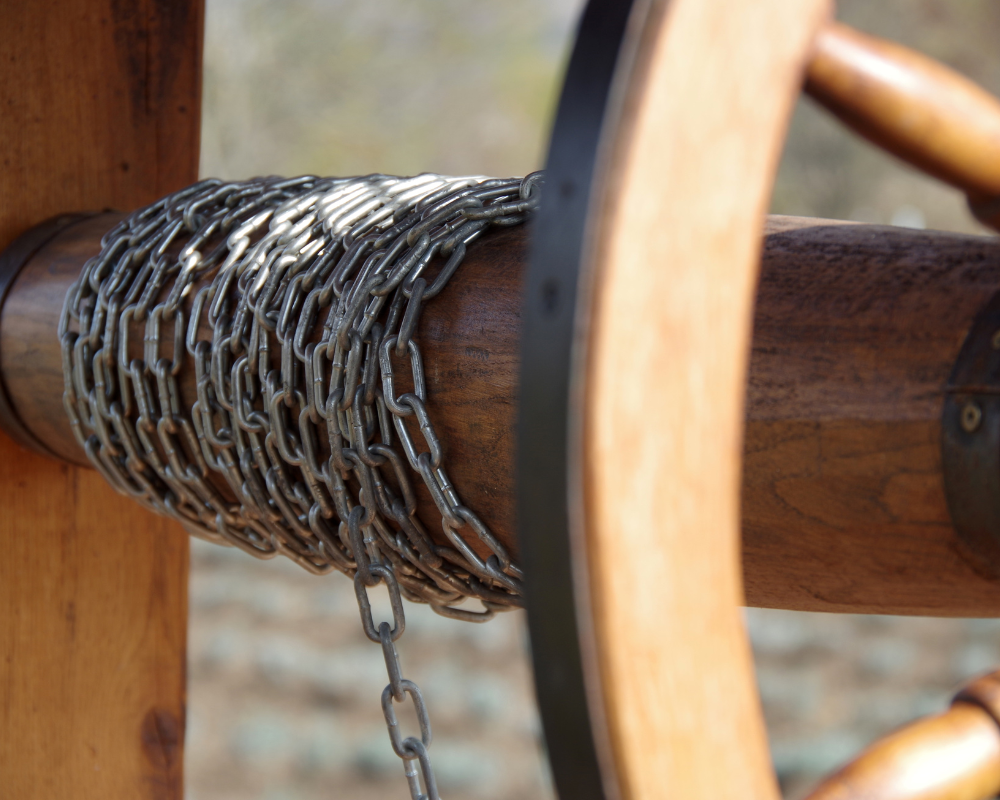
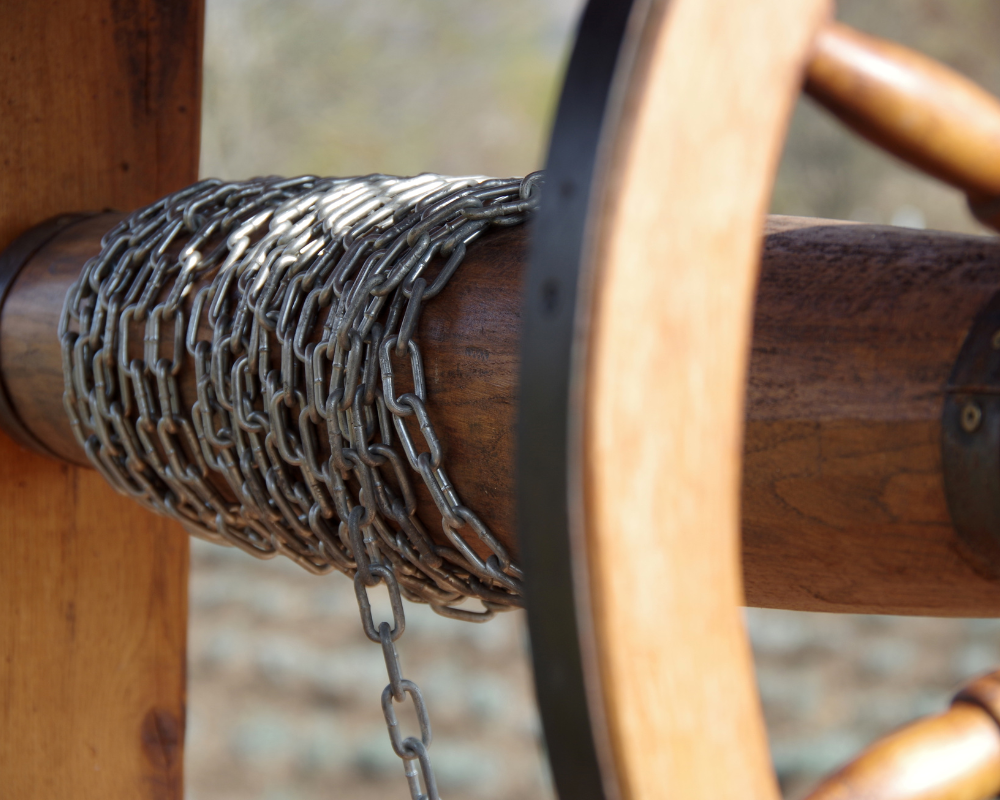
When hanging a mirror, this adage takes on added significance as it can significantly impact the visual appeal of a room. It’s not just about the best solutions to getting it up on the wall but ensuring that it enhances the space in a way that feels deliberate and considered. One fresh perspective to consider is exploring alternative hanging methods beyond traditional wall mounting points. Utilizing chains, ropes, or decorative brackets can be a great option to add dimension and visual interest to the mirror while also making a design statement.
Gather Your Tools
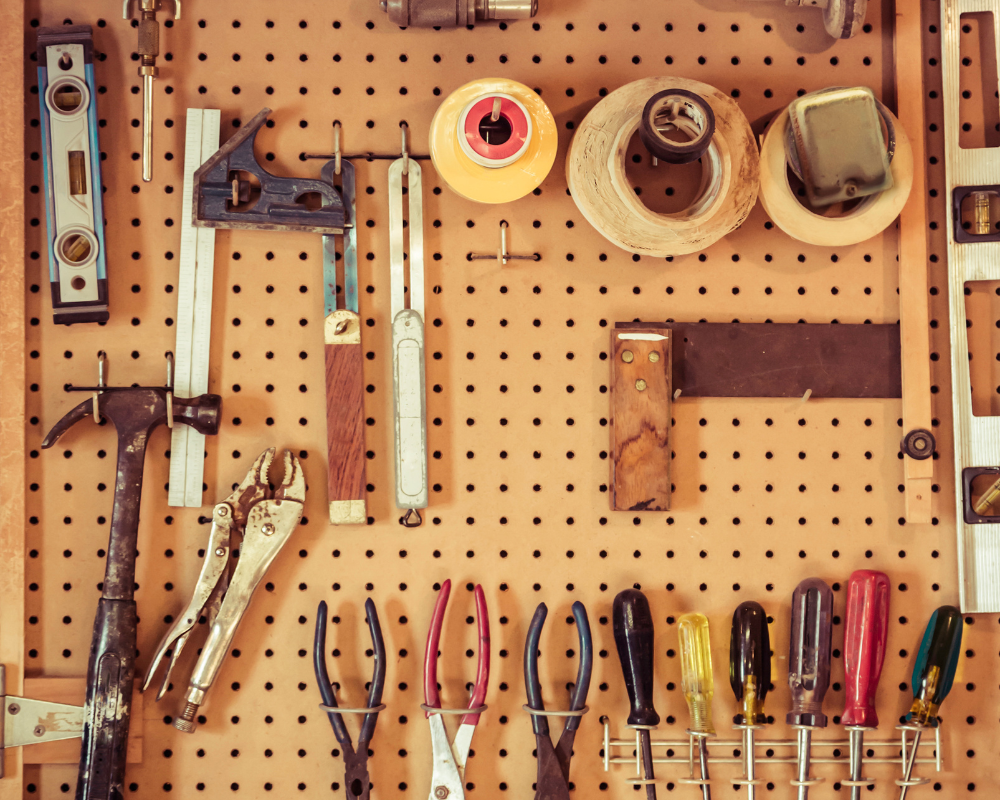
Before you start hanging that new mirror, take a moment to gather your tools. Investing in a proper set of tools will save time and effort in the long run. Start with a good quality stud finder to ensure your mirror is securely anchored in the safest way possible. Precision is key for a first time fix and if you want to avoid multiple attempts at getting it just right.
Once you have assembled the right tools for the job, don’t rush into it. Like any project, hanging a mirror is only as strong as its foundation; by gathering your tools intentionally and thoughtfully preparing for the task at hand, you set yourself up for success from the very beginning.
To hang a mirror, you may need the following tools:
- Mirror
- Stud Finder
- Hammer
- Picture Wire or D-rings
- Wall anchors / Wall Plugs (if necessary)
- Screws or hooks
- Screwdriver or drill
- Level
- Measuring tape
- Pencil
- Masking Tape
Attach Hanging Hardware to the Mirror
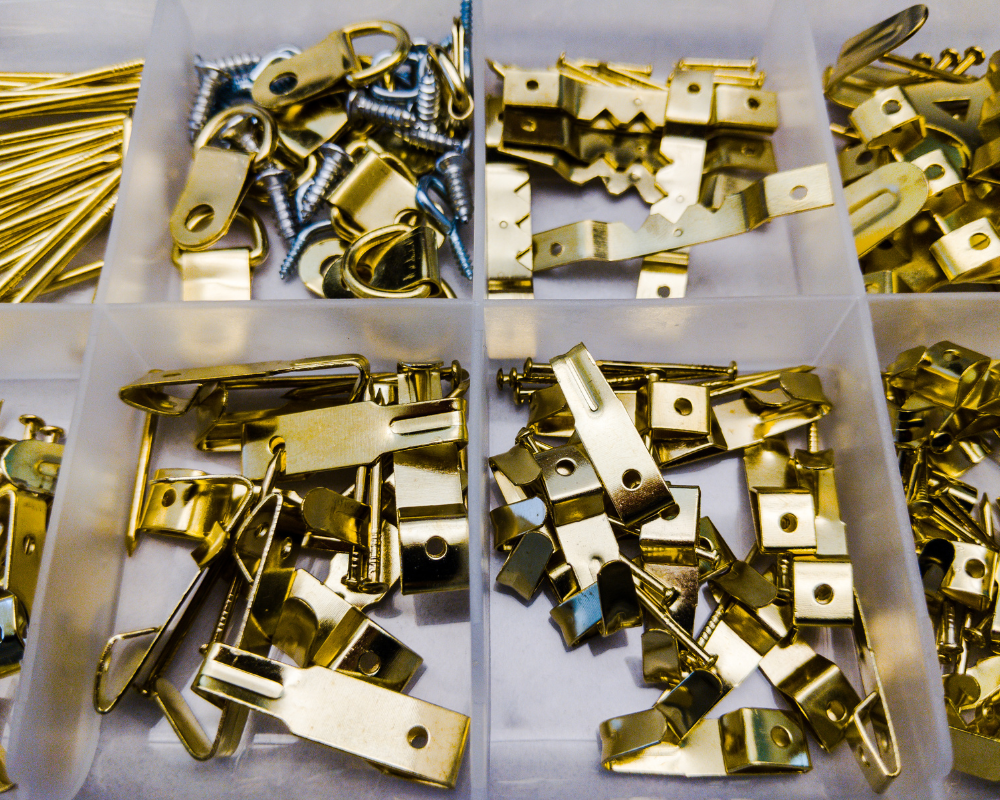
Attaching hanging hardware to a mirror may seem like a simple task, but getting it right can make all the difference in how your mirror is displayed. When considering the type of hanging hardware to use, think about both style and functionality. For heavy or large mirrors, consider using sturdy D-rings or keyhole brackets that can support the weight securely. Be sure to measure accurately and mark the spot where you will install the hardware to ensure that your mirror hangs level and securely.
Depending on the type of mirror you have, you’ll need to attach hanging hardware to the back. Most mirrors come with pre-installed D-rings or wire for hanging. If not, you can purchase these from a hardware store and attach them securely to the back of the mirror, following the manufacturer’s instructions. It is worth remembering that different types of mirrors may require different methods for securing the hardware – for example, frameless mirrors may need special clips or adhesive pads instead of traditional brackets.
Find the Studs or Use Wall Anchors
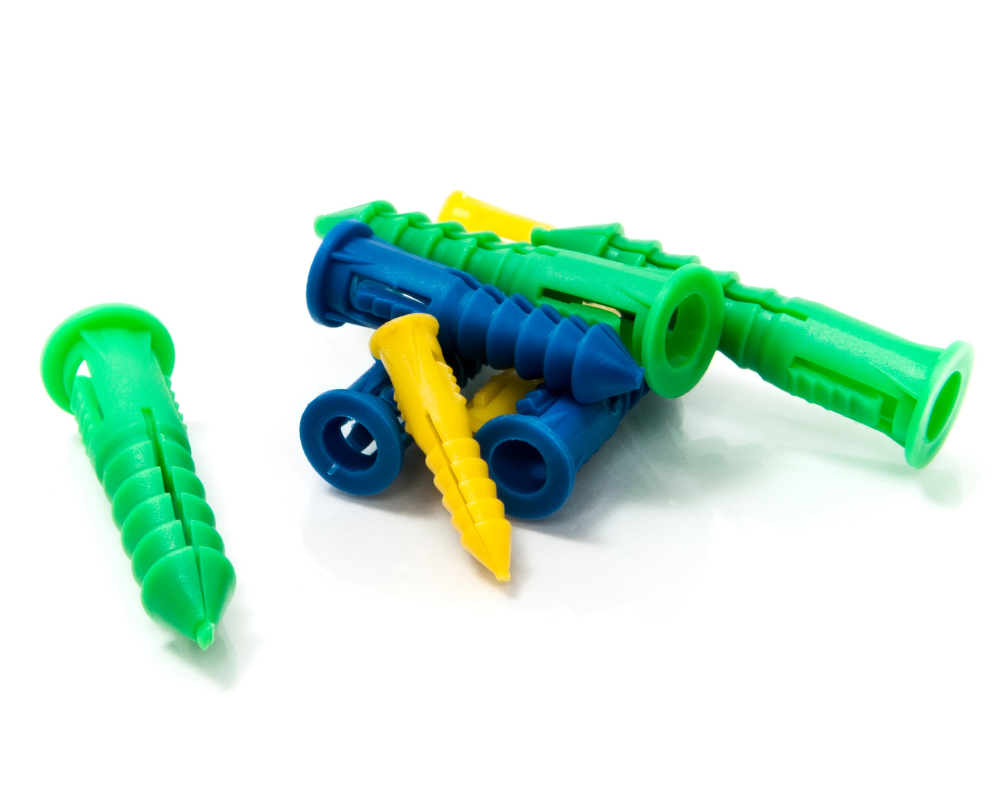
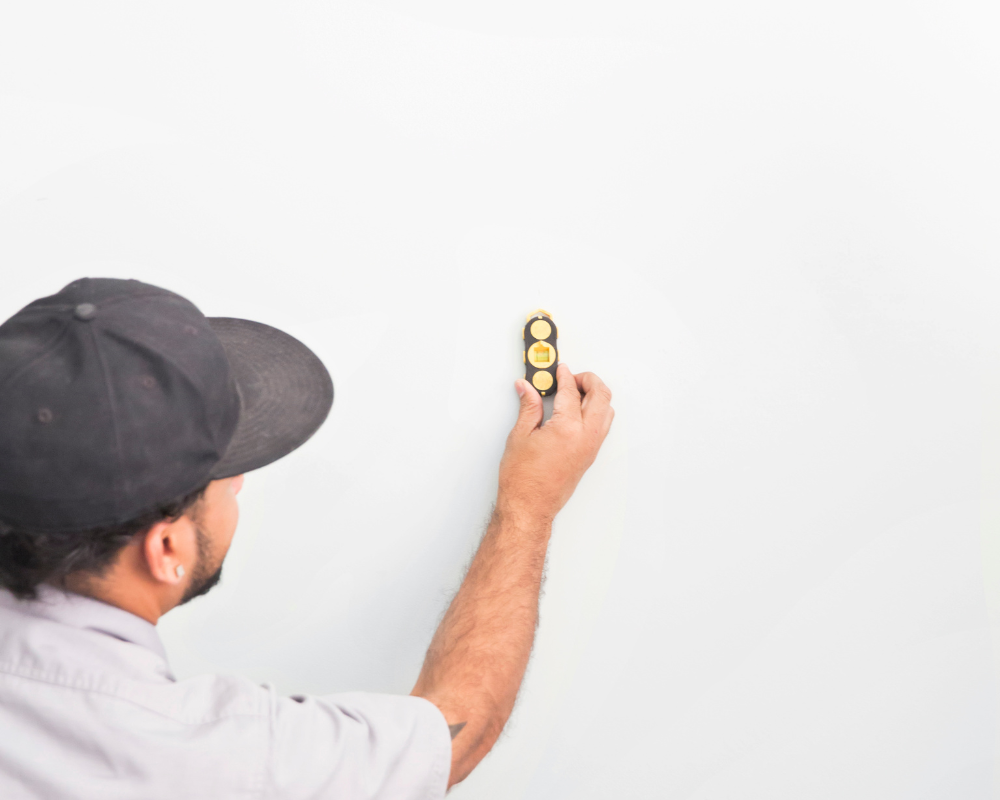
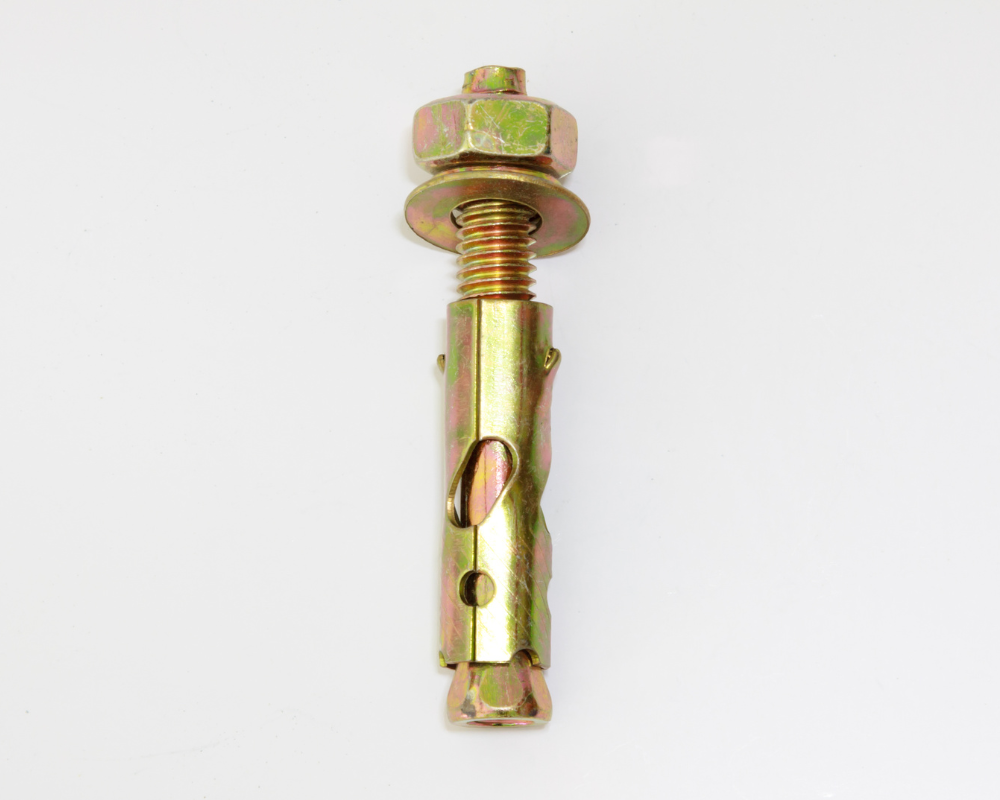
An important consideration when attaching the different types of anchors and hanging hardware to the back of your mirror is the type of wall material you are working with. For plaster walls or drywall, use appropriate anchors or screws to ensure that your mirror stays safely in place. For heavy items and mirrors, it’s important to anchor them securely to wall studs to prevent accidents. Use a stud finder to locate the studs in the wall. If you can’t find a stud in the desired location, the best way is to use wall anchors to provide adequate support.
Mark the Hanging Points on the Wall
Marking the hanging points on the wall is a crucial step when it comes to hanging a mirror or heavy object. The placement of these points can make or break the stability and symmetry of the final display. It’s essential to use a level, measuring tape, and pencil to precisely mark the spots where you’ll place your screws or hooks. Taking into account factors such as wall material and the weight of the object is a great way to ensure that your mirror hangs securely and remains in place for years to come.
Install the Hanging Hardware
When installing the hanging hardware, it is also important to pay attention to the integrity of the wall you are working with. There are many different wall types. For example, if you have a plaster or drywall surface, be sure to use anchors or a wall screw specifically designed for these materials to ensure a secure attachment. If you’re using screws or hooks, as a general rule, drill a pilot hole at the marked hanging points to make it easier to insert the screws. Then, attach the screws or hooks securely to the wall using a screwdriver or drill.
Hang the Mirror
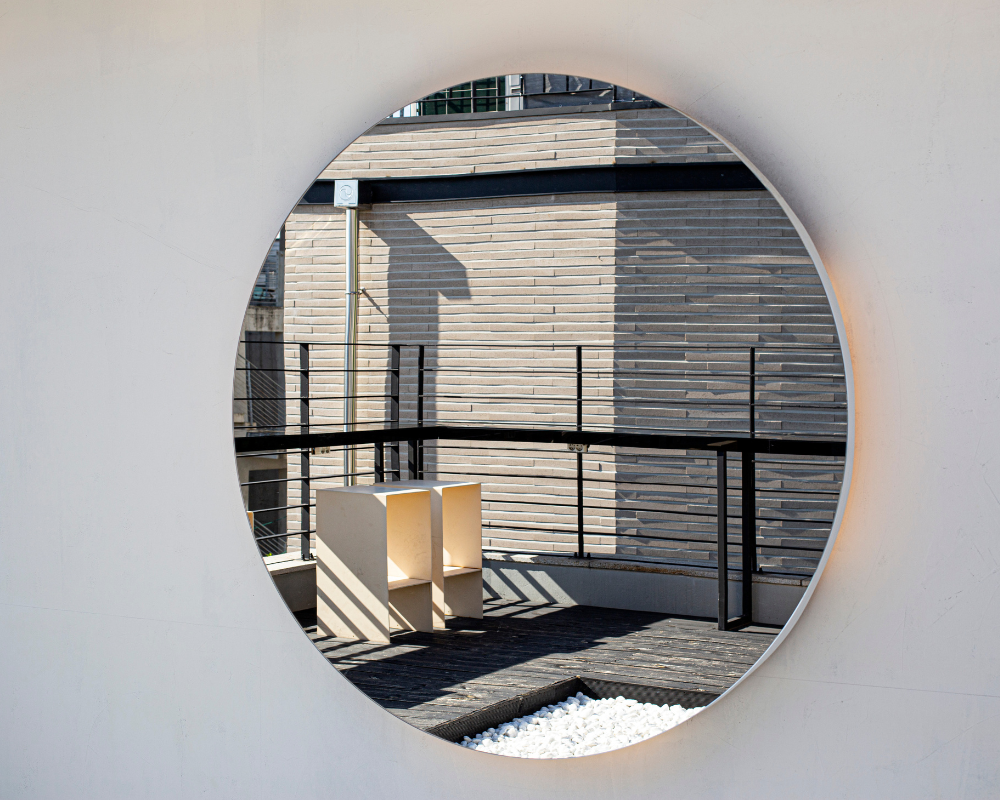
With the hanging hardware securely attached to the mirror and the wall, it’s time to hang the mirror. If you’re using picture wire, loop it over the hooks or screws on the wall, making sure it’s securely fastened. For D-rings, simply hang them directly onto the screws or hooks.
Consider the visual impact a well-placed mirror can have on a room; don’t just think about the practicality of checking your appearance. Don’t limit yourself to traditional hanging methods; get creative with how you display your mirrors. Experiment with different shapes and sizes, or group them together for an eye-catching collage effect. Remember that mirrors aren’t just functional items—they’re also powerful decor elements that can add texture, style, and personality to any space. Hang your mirror with intention and let it transform your home into something truly special.
Check for Level
When it comes to hanging a mirror, the check for level step is absolutely crucial. Ensuring that your mirror is perfectly level also prevents potential accidents. Once the mirror is hanging, use a level to ensure that it’s perfectly straight, and then make any necessary adjustments to the positioning of the mirror.
Conclusion
Step back and admire your newly hung mirror! Not only does it add visual interest to the room, but it also reflects light and is an easy way to create the illusion of more space. Hanging a mirror may seem like a simple task, but doing it correctly can make a big difference in the overall look of your home and the feel of your space. By following these steps and taking your time, you can hang a mirror like a pro and elevate the style of any room in your home.

