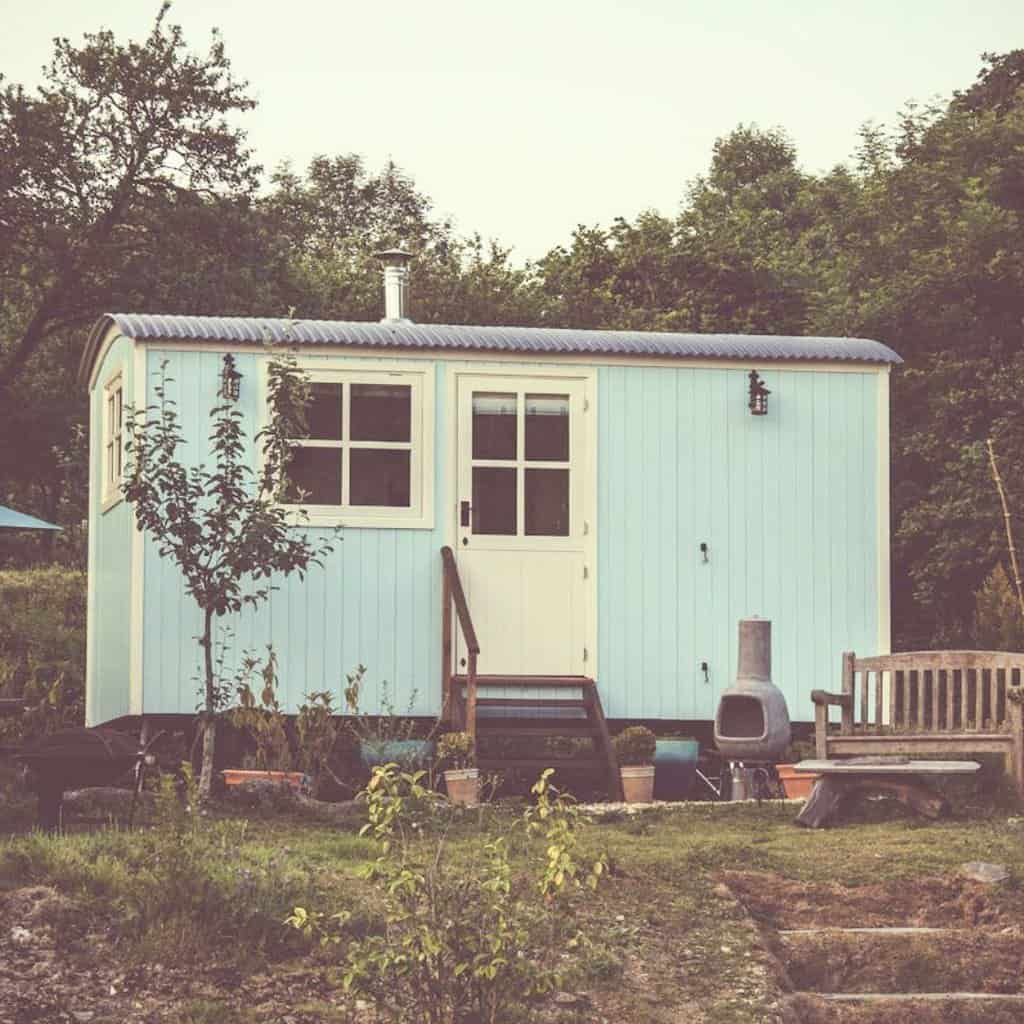
3 DIY Tips For Anyone Building Their Own Garden Shed
Building your own shed, instead of buying a flatpack from a garden center or following a template you printed off the internet, is a great intermediate DIY project. You get to flex your muscles through a building project that’ll take some thinking, but if you make a mistake, it’s not going to ruin the structural integrity of the home you live in!
When you’re done, you’ll have more storage in the garden, and a great place to weather your seedlings against wind and rain. Sound good? Then make sure you keep these three DIY tips in mind when constructing a shed of your own. They’ll help the structure to stand the test of time!
Don’t Build Straight onto the Ground
If you build your shed directly onto the ground below it, you could be dealing with soil shift and subsidence in the near future. The ground isn’t typically a stable foundation, and raising up outside structures helps them to stay standing for more than a few months at a time.
This may require you to build a deck for the shed to rest on, or wooden stilts that can be knocked into the ground and affixed to the shed flooring. Either way, keep your shed off of the soil if you don’t want to head outside one day and find it misshapen or collapsed.
Weatherproof Your Metal
Before you knock in those nails and get the drill out to tighten those screws, make sure you’re coated them in something that’ll keep the weather from rusting them down. Without this protective coating, the very items holding your shed together will become weak and loose, and you may not even get a full ten years use out of them!
Of course, if you can buy galvanized steel versions, rust won’t be too much of a problem. If these are unavailable, however, you’ll need to purchase some Anti-Seize Lubricant and wipe it over your nails and screws. This way moisture won’t stand a chance, and your shed will stand stable and secure for years to come.
Install as Many Things as Possible Before Putting it All Together
It’s quite hard to get roofing and cladding onto shed walls once they’ve been fixed in place. There’s no give on the other side holding the panel still for you, unlike if it was still laying on the ground. As such, try to install as many elements as possible before putting the structure together. You’ll save yourself a lot of time and effort!
You can then lift the pieces up one by one, hopefully with an extra pair of hands helping, and knock them together swiftly and safely. Most of the work will already be done, so you’ll just need to fine tune the walls and roofing once they’ve been hoisted into place. Less fuss, less sweat, and far less angry complaining when something doesn’t measure up properly!
If you’re DIYing your garden shed, these tips will be invaluable for the project!


