A Beginner’s Guide to Hanging Wallpaper
Table of Contents
Hanging wallpaper can transform a room, adding color, texture, and personality. While it may seem daunting at first, with the right tools and techniques, even beginners can achieve professional-looking results. In this beginner’s guide to hanging wallpaper, we will walk you through the process step by step so you can tackle your next home decorating project with confidence.
Gather Your Supplies
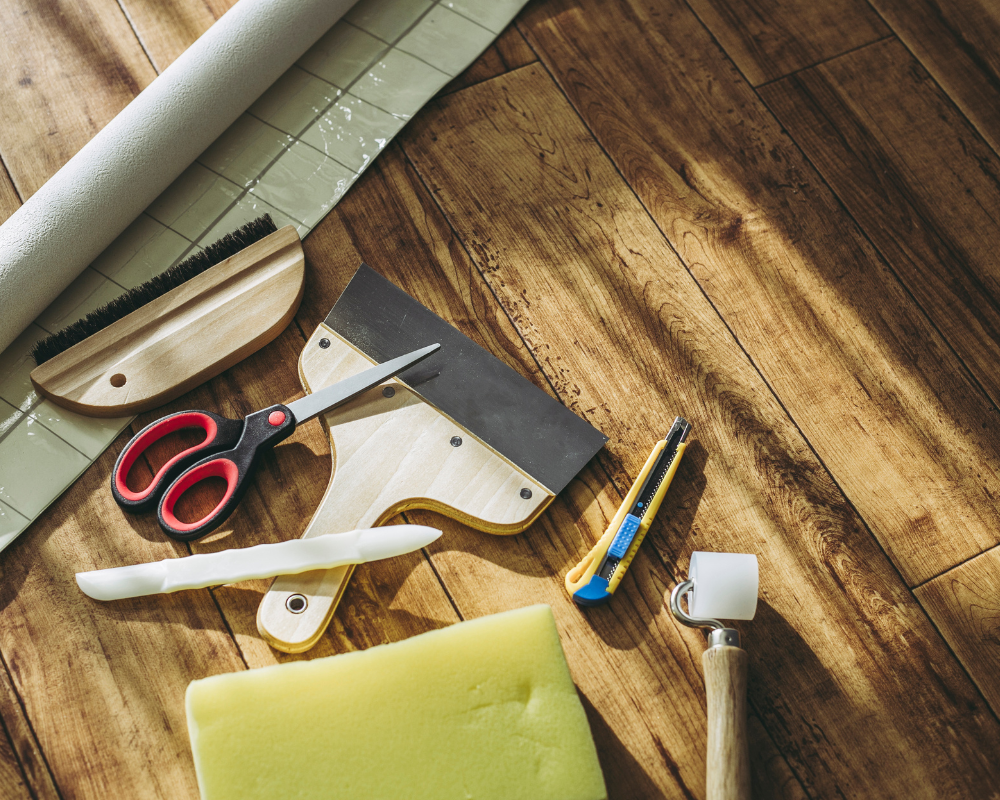
Before you begin, gather all the necessary supplies:
- Wallpaper
- Wallpaper paste / Adhesive
- Tape Measure
- Utility knife / Wallpaper scissors
- Wallpaper seam roller tool / Clean brush
- Clean Sponge / Soft Cloth
- Drop cloth / Plastic sheeting
- Plumb Line – Laser Level
- Pencil
- Step ladder
Prepare Your Walls
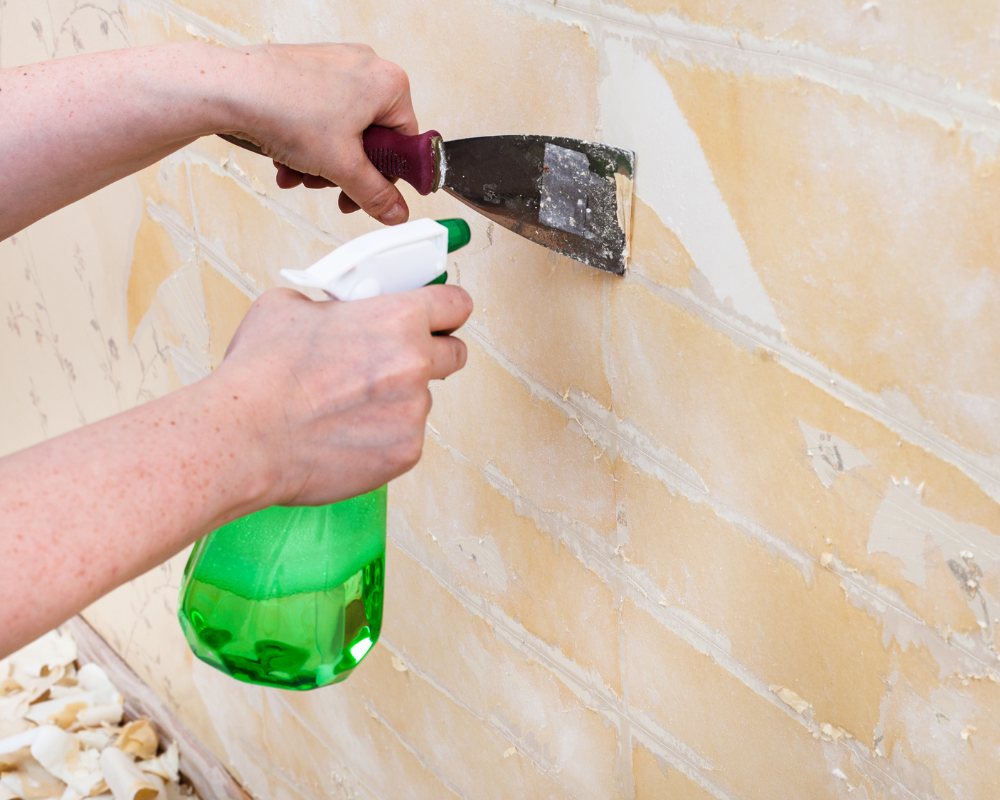
The key to success lies in thorough preparation, so before diving into this creative venture, ensure that your walls are clean and smooth. Use a mild solution to wash away any dirt or residue that may interfere with the adhesion of the wallpaper. Additionally, smoothing out any imperfections with a filler or sandpaper will guarantee a great end result and flawless finish. Don’t underestimate the power of primer. Applying a high-quality primer not only enhances adhesion but also prevents the wallpaper from peeling or bubbling over time. These are very helpful tips.
Measure and Cut the Wallpaper
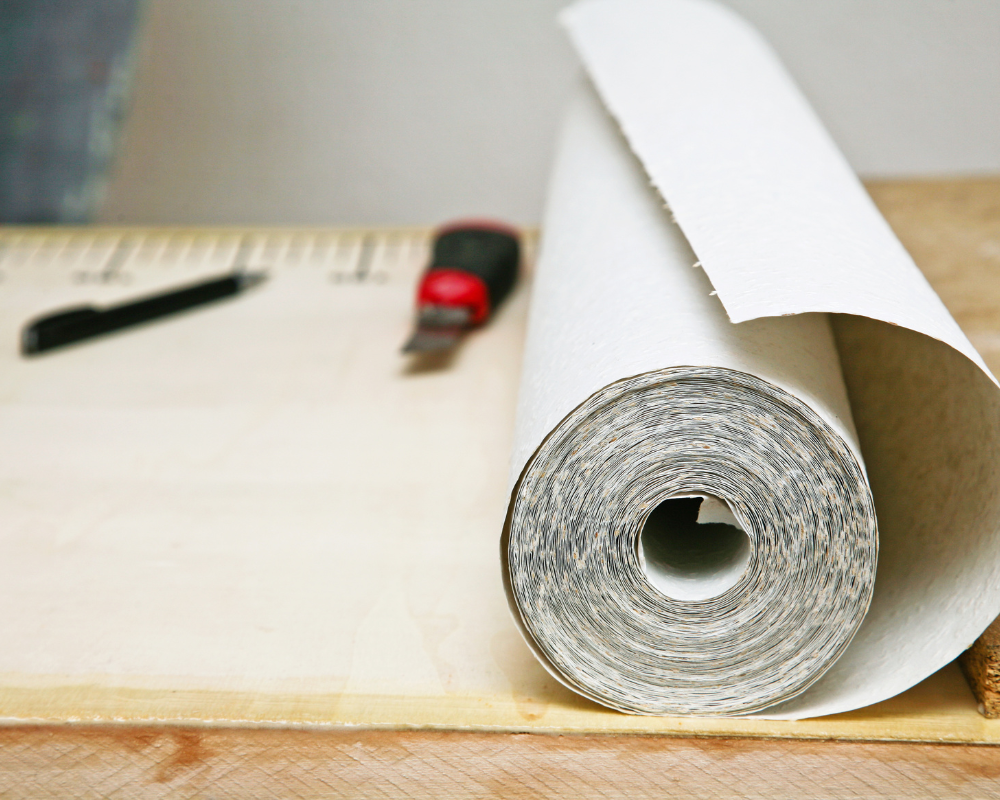
When it comes to the wallpaper installation process, measuring and cutting the first panel of paper are crucial steps that can make or break the final result. It is important to take accurate measurements of the walls before cutting the new wallpaper to ensure a seamless application. One helpful guide is to add a few extra inches to your measurements for the first piece to account for any unforeseen obstacles like corners or uneven walls. This extra margin not only helps in achieving a perfect fit but also provides some room for error or adjustments.
Cutting the wallpaper requires precision and patience. It is essential to use a sharp utility knife or razor blade together with a straight edge ruler to ensure clean, even cuts. Taking your time during this step can save you from headaches later on when trying to match up patterns or seams. Remember, practice makes perfect, so don’t be afraid to make small mistakes as you learn the art of measuring and cutting wallpaper—it’s all part of the process for every beginner.
Apply Wallpaper Paste
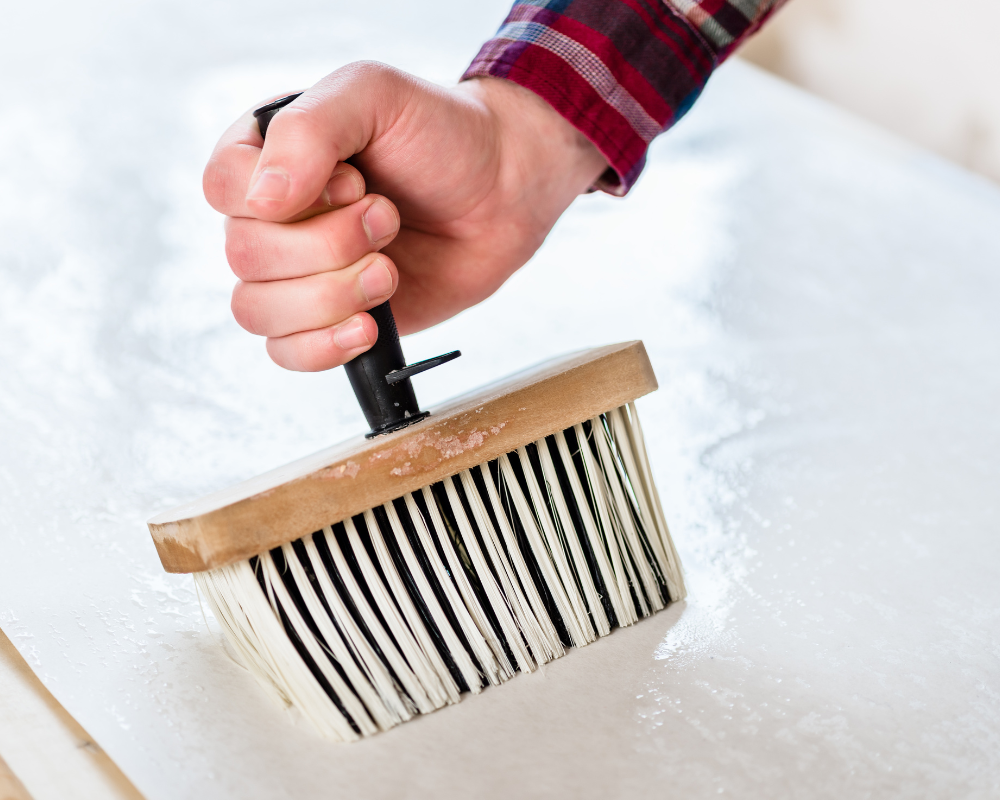
Applying wallpaper paste with the right technique can be a satisfying and rewarding experience. One important tip is to carefully read the instructions on the wallpaper paste packaging to ensure you are mixing it correctly. It’s crucial to achieve the right consistency – too thick and you’ll struggle to smooth out air bubbles, too thin and it won’t hold the paper in place.
Another aspect to consider is choosing the appropriate adhesive for your specific type of wallpaper. Vinyl wallpapers require a different type of paste compared to traditional paper ones. Using a paint roller or brush, apply a thin, even coat of paste to the back of the wallpaper, working from the center outwards to prevent air bubbles. Ensure the paste is applied close to the edges of the wallpaper on each application to ensure a strong bond to the wall and seams.
Hang the Wallpaper
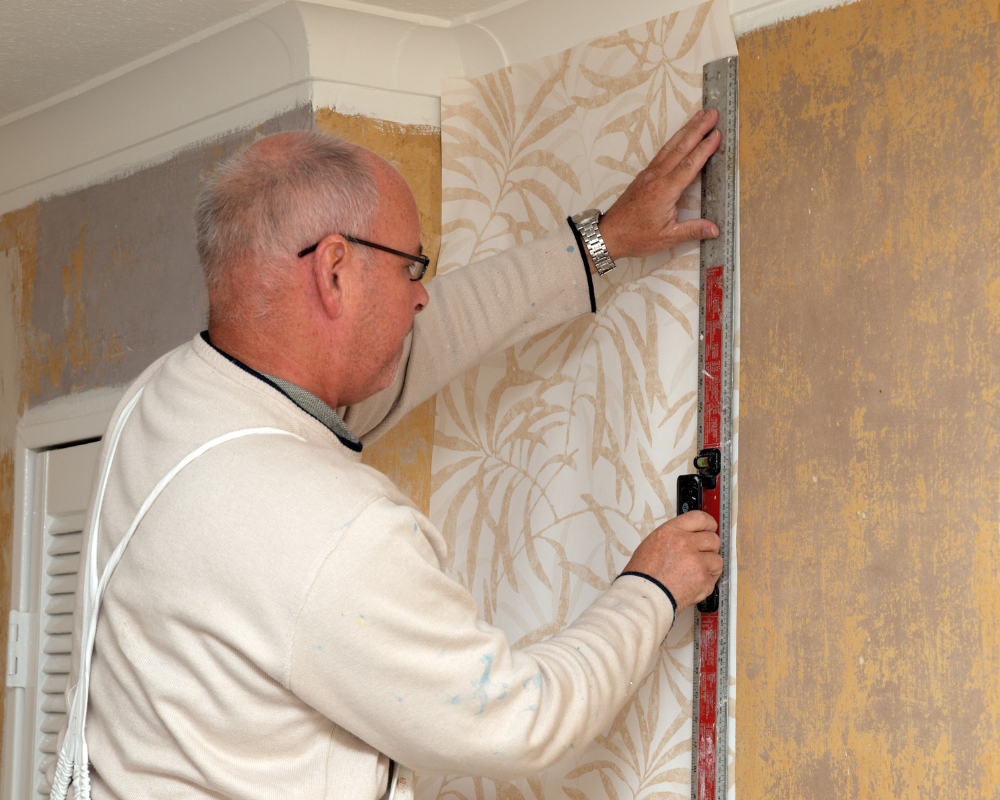
Carefully position the first strip of wallpaper against the top of the wall as a starting point, leaving a few inches of excess at both the top and bottom. Attach a plumb line or use a laser level to ensure the strips of wallpaper are pasted in a straight line, then smooth it out with a dry wallpaper brush or smoothing tool, working from the center of the paper to the edges to remove any air bubbles or wrinkles.
Hanging wallpaper can seem like a daunting task for beginners, but with the right tips and tricks, it can be a rewarding DIY project. Don’t be afraid of patterns or bold colors when choosing your wallpaper. Embracing unique designs can add personality and flair to any room. Remember that practice makes perfect, so don’t get discouraged if you encounter challenges along the way – each attempt will only make you more skilled at hanging wallpaper!
Self Adhesive Wallpaper
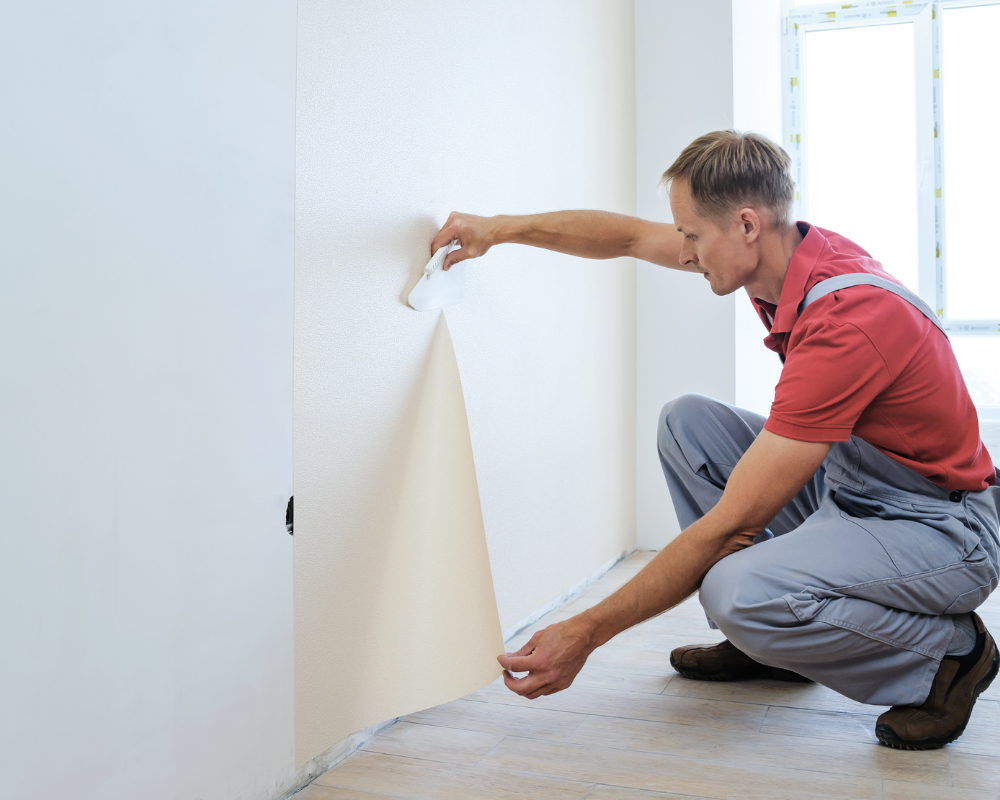
Self-adhesive wallpaper has revolutionized the world of interior design, making it easier than ever for beginners to achieve professional-looking results. Unlike traditional wallpaper, self-adhesive options eliminate the messy and time-consuming process of applying paste. With a wide range of designer wallpapers and textures available, this type of wallpaper allows for easy experimentation and creativity without the fear of permanent commitment.
You can easily peel off and reposition pre-pasted wallpaper, providing great flexibility in trying out different patterns and styles without damaging walls. Additionally, its removable nature makes it an excellent choice for renters looking to personalize their living space without risking their security deposit. Furthermore, unlike traditional wallpapers that require precision cutting and lining up patterns carefully, self-adhesive versions offer forgiving properties for mistakes, simplifying the installation process even more.
Trim Excess Wallpaper
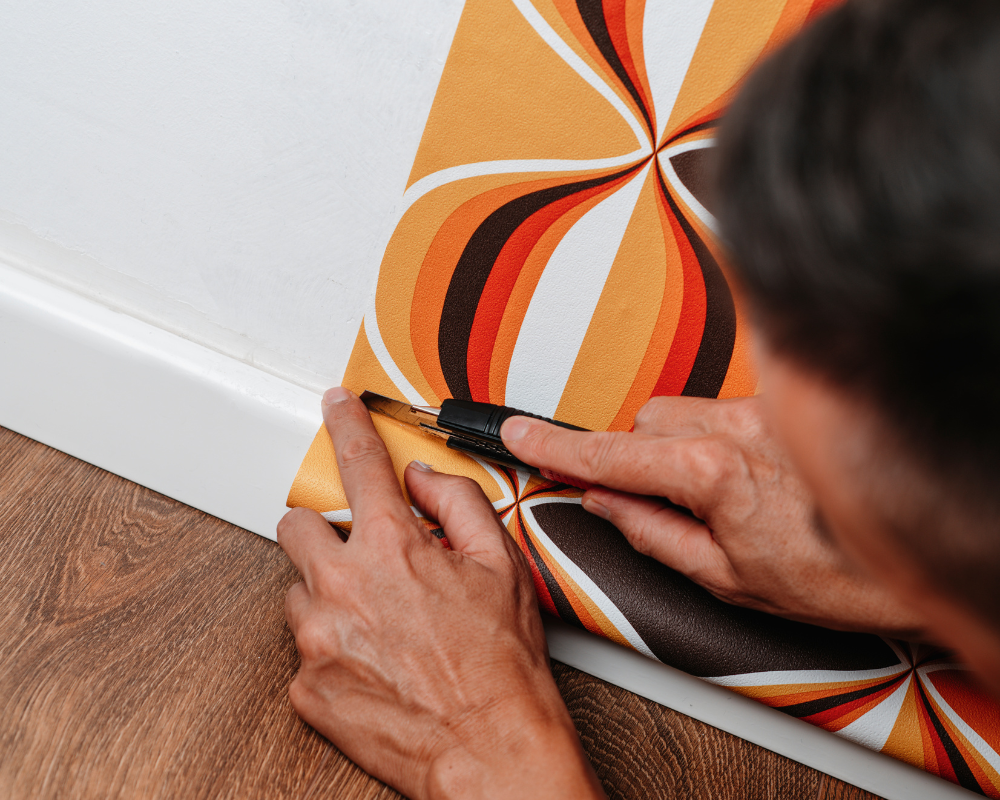
Once the first strip is in place, use a sharp utility knife or wallpaper scissors to trim the excess paper at the top and bottom of the wall. Use a straight edge, such as a ruler or the dull blade of a putty knife, as a guide to ensure clean, straight cuts. Repeat the process and continue to apply wallpaper strips to the length of the wall, matching the pattern as you go, until the entire wall is covered. Be sure to overlap the wallpaper seams very slightly to ensure a professional and smooth finish.
Light Switch
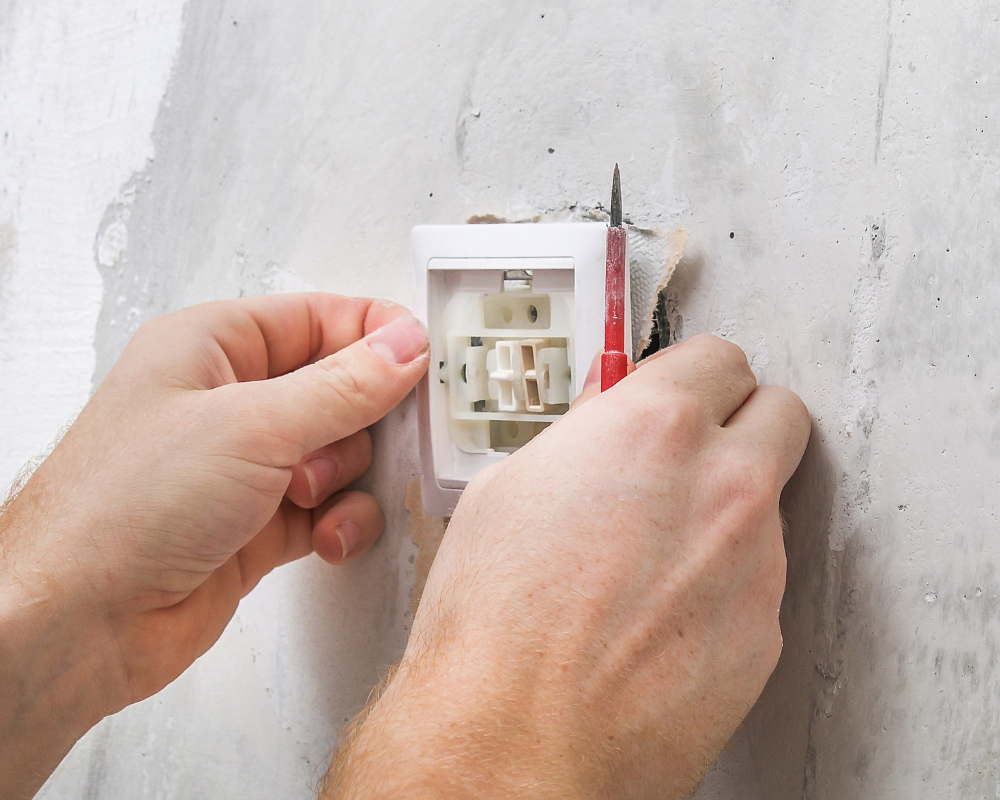
When it comes to wallpaper hanging for beginners, placing wallpaper around light switches or socket covers can often feel like a daunting task. With the right approach, it can be both manageable and visually appealing. One effective technique involves measuring the distance from the edge of the switch plate to ensure precise cutting and placement of the wallpaper. This way, you can create a seamless and professional look that enhances your space.
Another valuable tip is to use a sharp utility knife or scissors to initially score the wallpaper placed across the switch in a large X at the centre spot then carefully ease and adhere the wallpaper to the wall surrounding the switch and trim off the excess paper. Taking your time and patience during this process ensures accuracy and minimizes the risk of tearing or overlapping wallpaper. Consider using a primer on the wall before applying the wallpaper will not only result in better adhesion but also make it easier to work around intricate areas such as light switches.
Clean Up
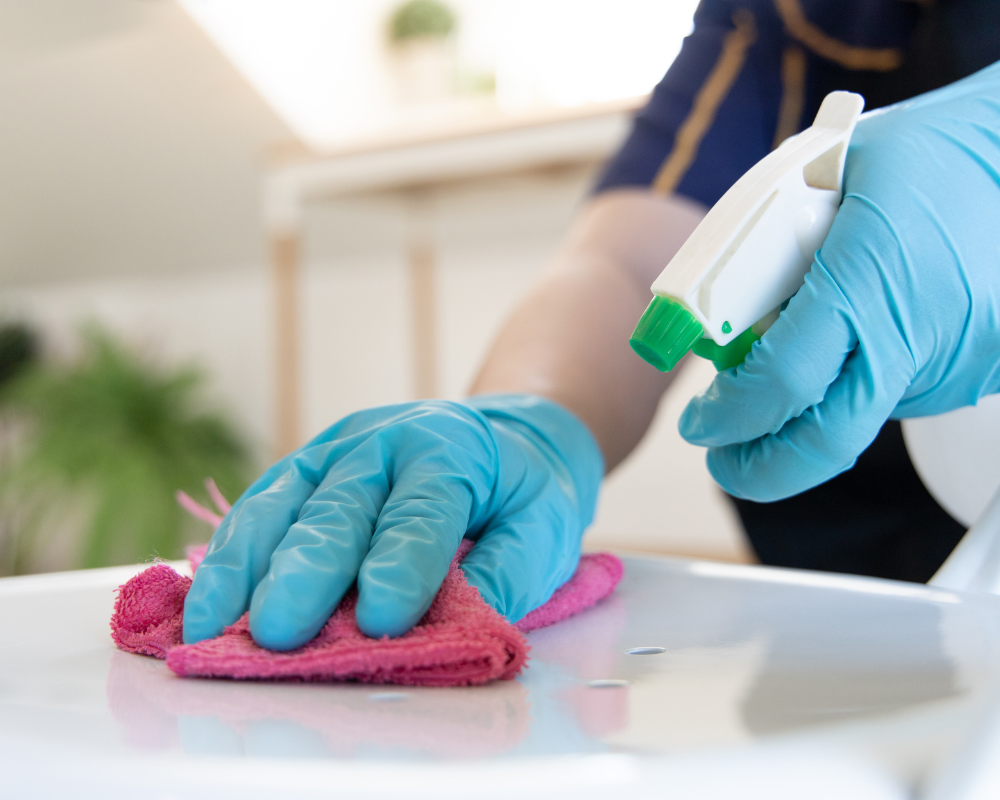
Once the wallpaper hanging project is complete, it’s time to shift our focus to the clean-up process. This crucial step ensures that the room is left spotless and that your hard work in hanging the wallpaper isn’t undermined by a messy environment. Start by carefully removing any little bit of excess glue or adhesive residue from the walls using a damp sponge or cloth. Be gentle to avoid damaging the wallpaper.
Thoroughly vacuum or sweep the floor and baseboards to pick up any scraps or debris created during the wallpaper project. Take pride in meticulously wiping down each small space and surfaces with a clean cloth, and checking for any overlooked spots where glue or dust may have settled. Pay special attention to light switches, outlets, and other fixtures that may have been splattered with adhesive during the installation process. By devoting proper attention to this final clean-up phase, you can truly elevate the overall look and feel of your newly transformed space.
Conclusion
Completing a wallpaper installation project involves more than just putting up beautiful designs it’s about completing every aspect of the job including clean-up with care and dedication.
- Take your time and work carefully, especially when matching patterns and trimming excess paper.
- If you’re working with patterned wallpaper, be sure to purchase extra rolls to account for pattern matching and any mistakes
By devoting proper attention to all phases of the process, you can truly elevate the overall look and feel of your newly transformed space.


