Prep and Paint Like a Professional: Tips to Improve
Table of Contents
Whether your a novice looking to tackle your first prep and paint project or a seasoned DIY enthusiast, initial planning can make all the difference to the outcome of your work. Painting is one of the most cost-effective ways to transform the appearance of a room or the exterior of your house. Here are some expert tips to help you achieve the best results for your paint project and a flawless finish.
Plan and Prepare
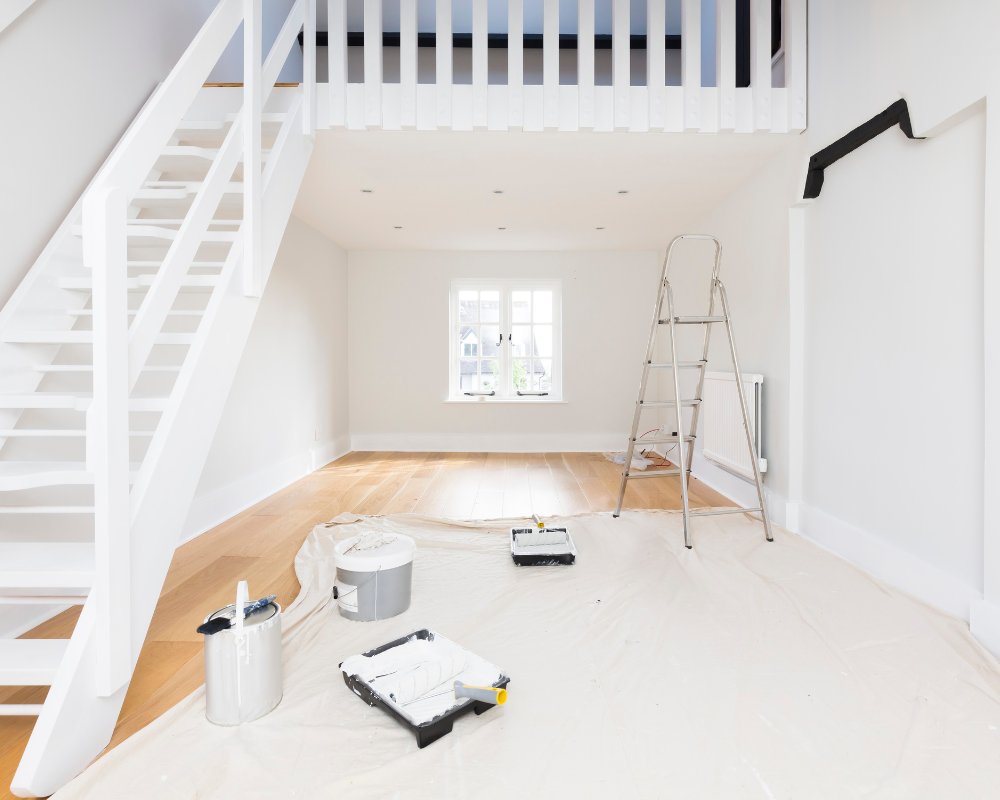
When preparing for a painting job, one often overlooked aspect is thorough surface preparation. A smooth, clean canvas is vital for achieving that professional finish. This means sanding down rough patches, removing any old flaking paint or wallpaper residue, filling in cracks or holes and ensuring that the condition of your walls are free from dust and debris before applying any paint. Additionally, don’t forget the power of primer – it’s the key foundation for successful paint adhesion and an even finish.
Another critical element in proper prep is attention to detail. Taking care of small imperfections such as nail holes or cracks can seem tedious but will ultimately pay off in creating a polished final result. Don’t rush through this process; embrace it as part of the process involved in achieving truly professional-looking interior or exterior paintwork.
Choose the Right Tools and Materials
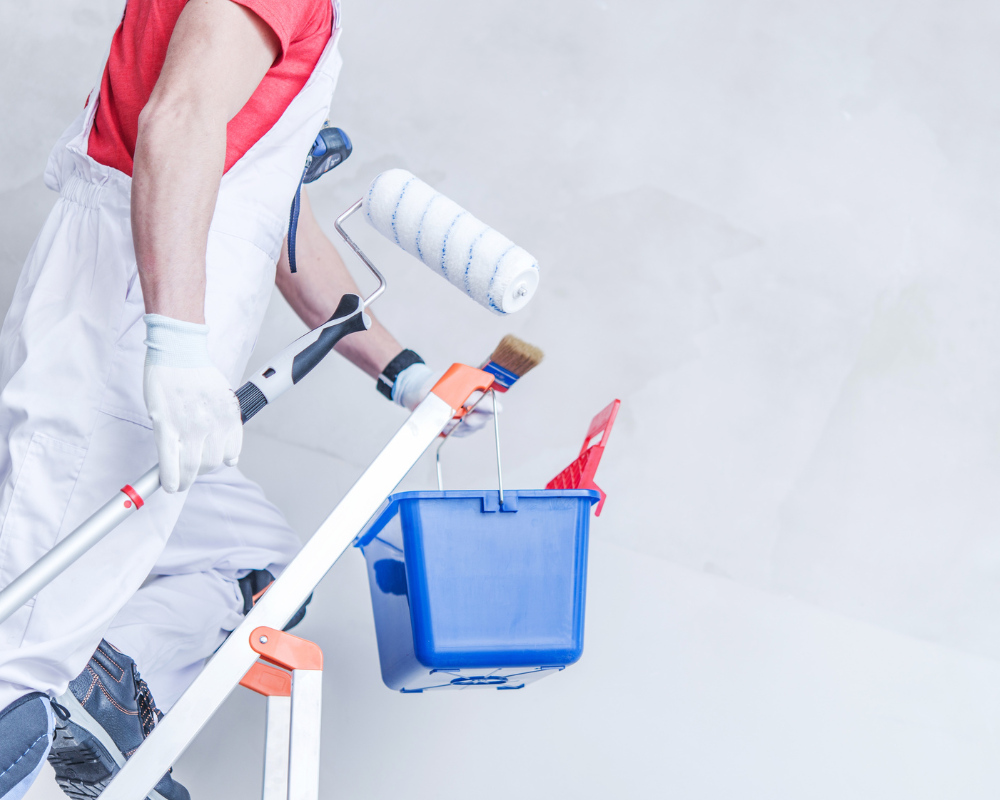
Investing in high-quality tools and materials is essential and best way to achieving quality results. Purchase paint brushes, roller and roller cover, plus a paint tray suitable for the type of paint you’ll be using and the proposed wall surface. Quality brushes and rollers will help you apply paint more evenly for a smoother finish and efficiently, saving you time and effort in the long run. Investing in durable drop cloths or plastic sheeting helps protect surfaces from drip or splatter, minimizing clean-up time and potential damage.
Utilizing sandpaper of various grits is crucial for properly preparing surfaces for the next step of new coats of paint. Coarse-grit sandpaper helps smooth rough patches, while fine grit sandpaper creates a suitable surface for paint adhesion. Equally important is selecting the appropriate primer for different surfaces; using a bonding primer on slick or glossier paints to ensure better paint cover, while stain-blocking primers help prevent bleed-through on porous surfaces. By choosing the right tools and materials for prep and painting projects, individuals elevate their work to professional standards with ease and confidence.
The Ultimate Tool Kit
The Basic:
9-inch Rollers and Tray
Synthetic-bristle brushes
The Prep Set:
Dust Sheet
Filling Knife
Fine grit and Coarse Sandpaper plus Sanding Blocks
Clean Cloth for spills
The Paint Picks:
Paint
Stirring Stick
Stepladder
Extension Pole
Good Lighting
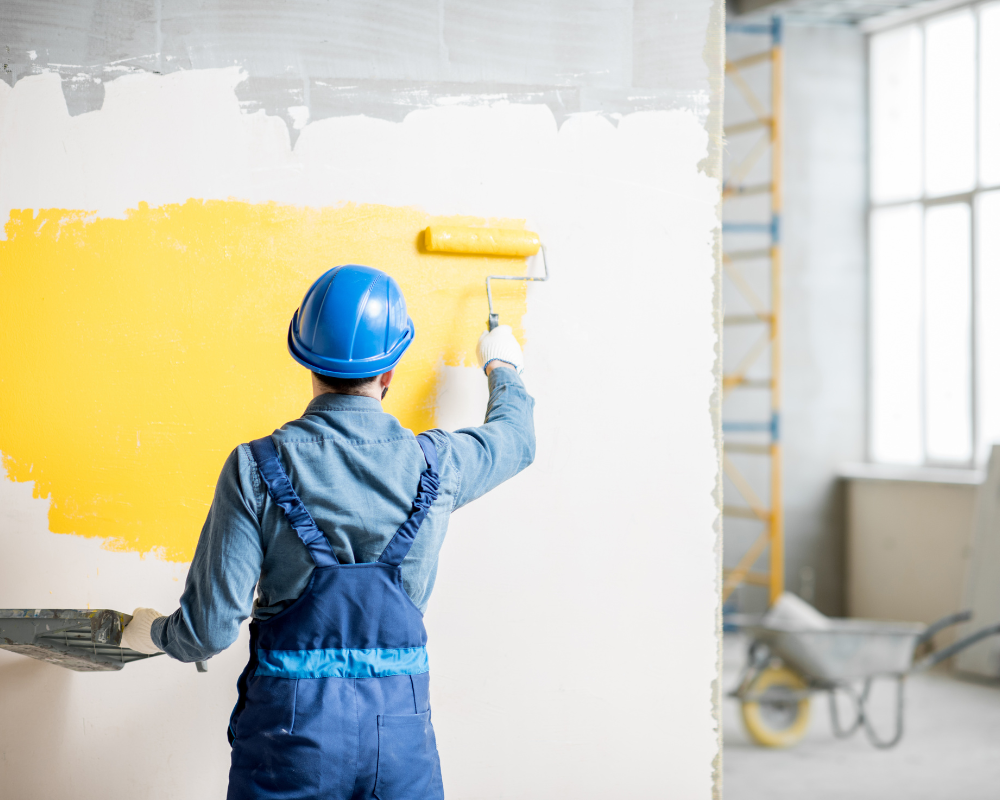
Good lighting is essential for achieving a first coat flawless paint job and results. Insufficient light can make it difficult to spot imperfections when painting interior walls and inconsistencies on the surface, leading to subpar outcomes. Adequate illumination or natural light can also help in accurately detecting paint colors matching and blending issues for a flawless result.
In essence, investing in proper light fixtures and lighting solutions not only elevates the overall quality of work but also streamlines the painting process, making it more efficient and rewarding for all DIY enthusiasts involved. By paying attention to this often overlooked aspect of painting, individuals can enhance their work, achieving remarkable results with every stroke of the brush.
Select the Perfect Paint
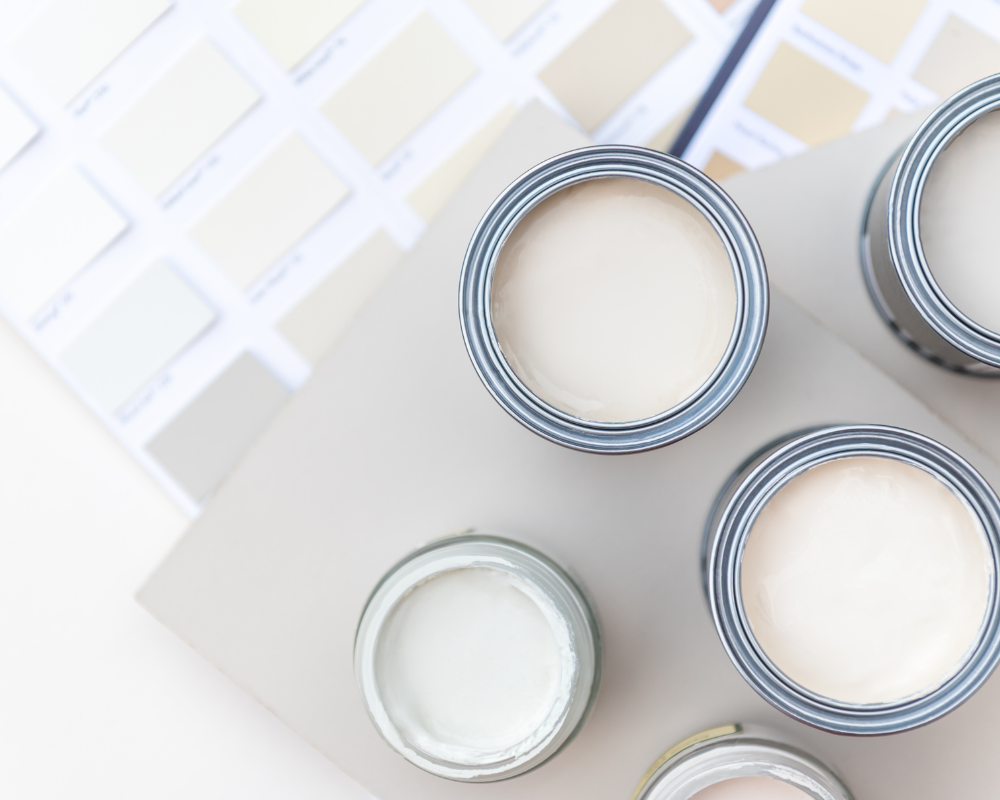
It is essential to consider both the walls of a room and type of surface you’ll be working with to achieve the desired finish. When looking for the right new paint, don’t just focus on color; pay attention to durability and ease of application as well. Investing in high-quality paint may cost more upfront, but it will save you time and money in the long run by lasting longer and requiring fewer coats.
Take some time to familiarize yourself with different types of paints, such as latex or oil-based options, as well as their best applications. Consider factors such as humidity levels in your area when choosing your paint type – this can affect drying times and overall finish quality. In addition to understanding different paints’ characteristics, mastering painting techniques can make a significant difference in achieving professional-looking results. By honing your preparation process and choosing the right materials for each specific project, you’ll elevate your interior painting to new heights.
Prime for Success
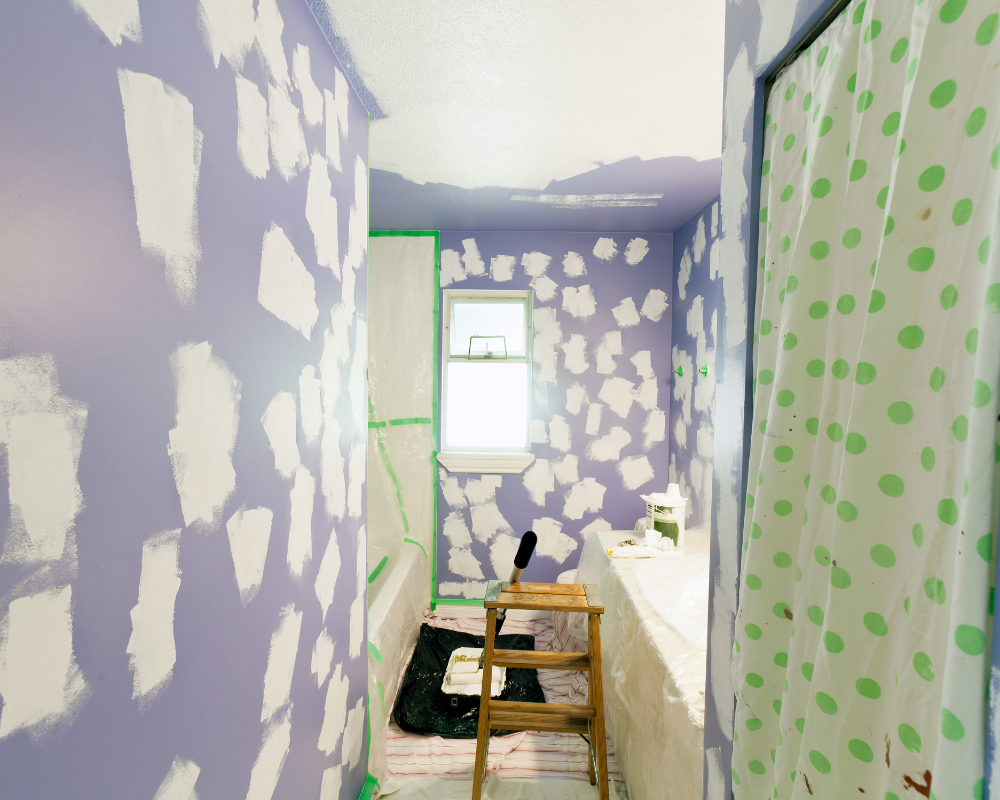
Before diving into the exciting first step of applying the paint, taking the time to prepare and prime the surface in the correct order will set you up for success. Whether you’re tackling an accent wall, furniture piece, or exterior surface, investing in proper priming techniques can make all the difference in the final outcome.
One vital aspect of successful priming is by selecting the right product for your specific project. Choosing a primer that matches the type of surface you’re working with and addresses any existing issues such as stains or odours is crucial for ensuring optimal cover. Additionally, thorough cleaning and sanding of the surface prior to priming will help create a smooth foundation for your paint application, resulting in a flawless finish.
Another essential factor in achieving quality results is understanding the importance of patience during the priming process. The best practices of allowing each coat of primer to fully dry before moving on to subsequent layers or applying paint is fundamental for preventing peeling, cracking, or poor adhesion down the line.
Practice Proper Painting Techniques
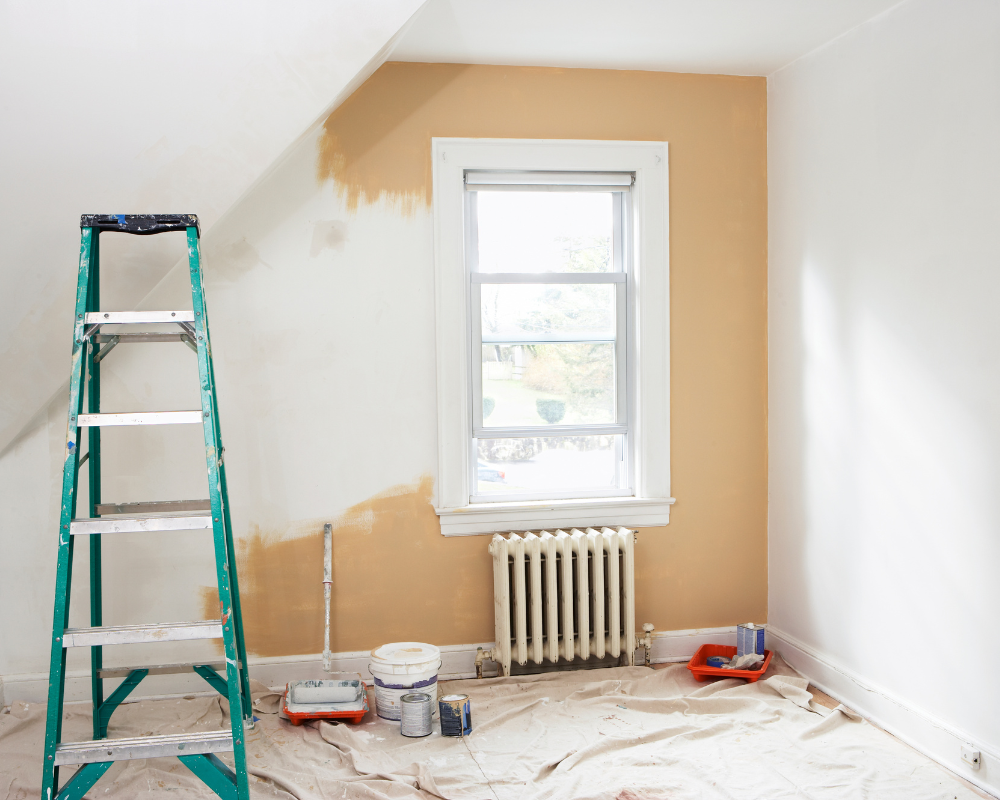
Mastering proper painting techniques is key to achieving professional results. Start by cutting in the entire wall—using a brush to create clean, straight lines along the edges of walls, ceilings, and trim. Then, use a stroke of your roller to fill in the larger areas, working in small sections and applying paint in a smooth, even coat. Avoid overloading the paint roller with paint, as this can lead to drips and uneven coverage.
Learning how to properly load and apply paint to a roller or clean brushes can greatly impact the final result. Taking the time to practice these techniques will not only improve the appearance of your work, waste of paint and also reduce wasted time and resources due to mistakes or rework.
Work Smart, Not Hard
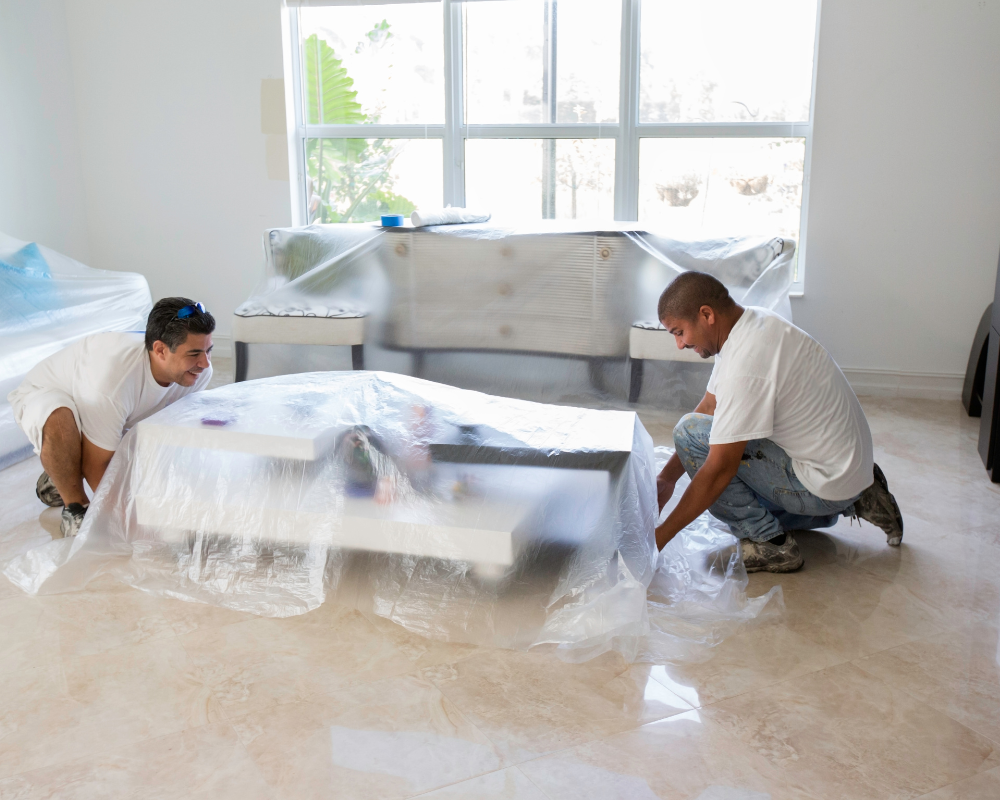
Painting can be physically demanding, but working smart can help you avoid fatigue and achieve better results. Take breaks as needed, stay hydrated, and pace yourself to maintain focus and precision throughout the project. A final tip is to use hand and drop cloths to protect floors and furniture from spills and splatters, and use painter’s tape to mask off areas you want to keep paint-free.
Finish Strong
Once you’ve applied the final second coat of paint, step back and admire your handiwork. Allow the existing paint to dry completely before removing any tape or reassembling the room. Take the time to inspect your work for any missed spots or imperfections, and touch up as needed to ensure a flawless professional finish.
Conclusion
By following these best painting tips and techniques, you can prep and paint like a professional, transforming your space with confidence and skill. With careful planning, attention to detail, and a little hard work, you can achieve beautiful results that will enhance your home improvement and visual appeal for years to come.

