How to Install a Shed
Table of Contents
Are you considering installing your own shed to your backyard? A shed can provide valuable storage space, a workshop area, or even a retreat. Installing a backyard shed may seem like a daunting task, but with the right tools, materials, and guidance, you can easily accomplish this project over a weekend. In this guide, we’ll walk you through the step-by-step process of installing your own shed.
Choose the Right Location
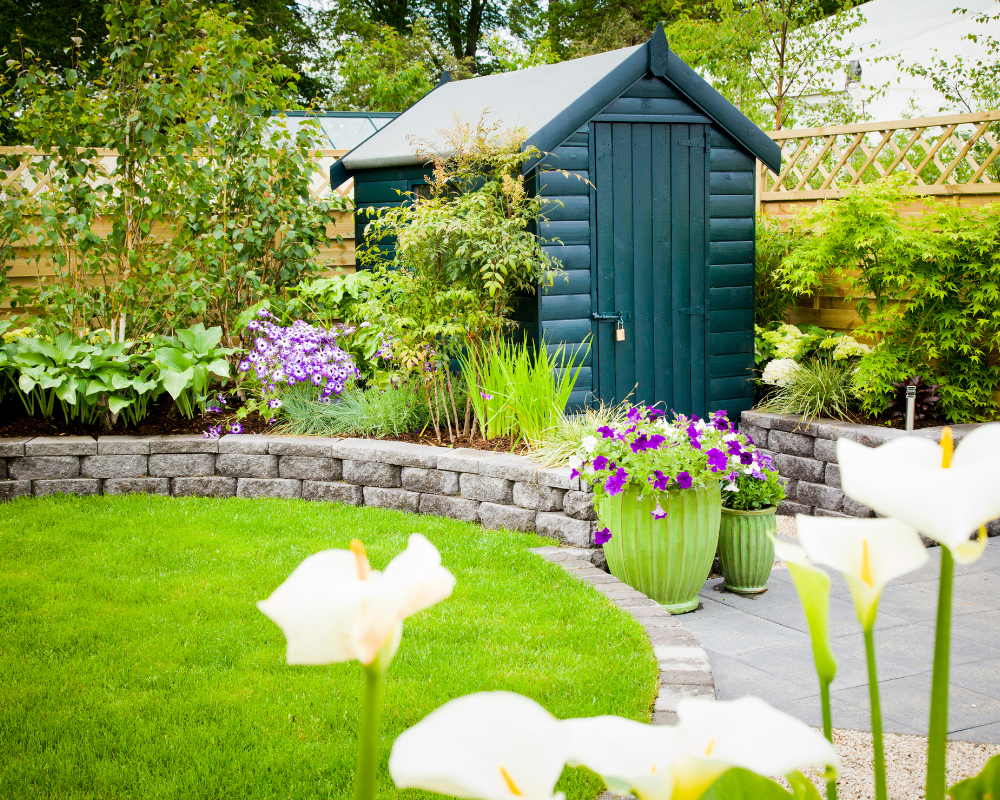
One of the key factors to consider when installing a garden shed is choosing the right location. Opting for a spot that receives ample sunlight throughout the day can ensure that your plants thrive and that any items stored in the shed remain dry and free from mold. Additionally, selecting an area with good drainage will help prevent waterlogging, which could potentially damage both the shed and its contents.
Assessing the surrounding landscape is essential when determining the placement of your garden shed. Avoid positioning it near large trees or overhanging branches to minimize falling debris and provide enough clearance for door opening and future growth. By carefully evaluating these factors, you can create an optimal setting for your perfect shed that maximizes functionality and longevity while enhancing your outdoor space’s overall appeal.
Gather Your Materials and Tools
Here are a list of materials and tools you will need for the installation:
Materials:
- Shed kit or pre-cut shed materials
- Gravel or concrete blocks (for the foundation)
- Pressure-treated lumber (for the frame)
- Exterior-grade plywood or oriented strand board (for the walls and roof)
- Roofing materials (shingles or metal panels)
- Fasteners (nails, screws, bolts)
- Exterior-grade paint or stain (optional)
Tools:
- Tape measure
- Level
- Hammer
- Screwdriver
- Power drill
- Saw (circular saw or handsaw)
- Shovel (for preparing the foundation)
Prepare the Foundation
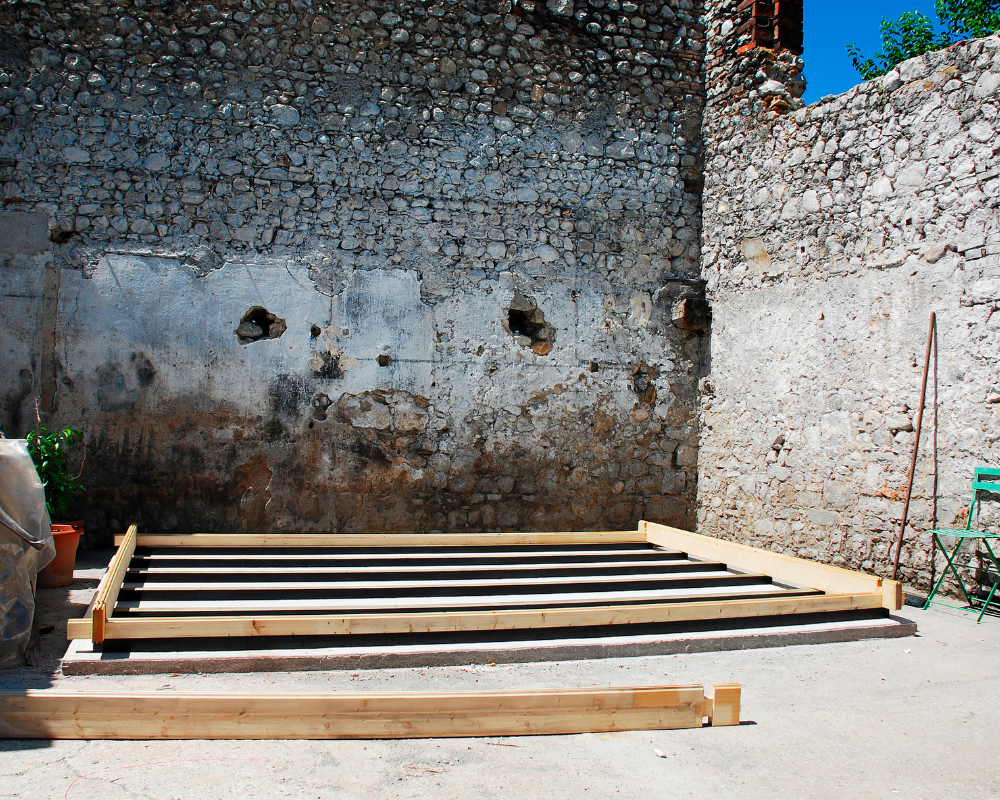
When installing a garden shed’s foundation the first and most crucial step is the preparation. A solid foundation ensures stability and longevity of the structure, protecting it from shifting or sinking over time. Whether you choose a concrete foundation of slabs, gravel base, or wooden beams, the key is to ensure it is level and properly supported.
Consider the location of your shed and any environmental factors that may impact the foundation. Proper drainage is essential to prevent water pooling around the shed which can lead to moisture damage. Take time to assess the soil quality and make any necessary adjustments before laying down your chosen foundation materials.
Assemble the Shed Frame
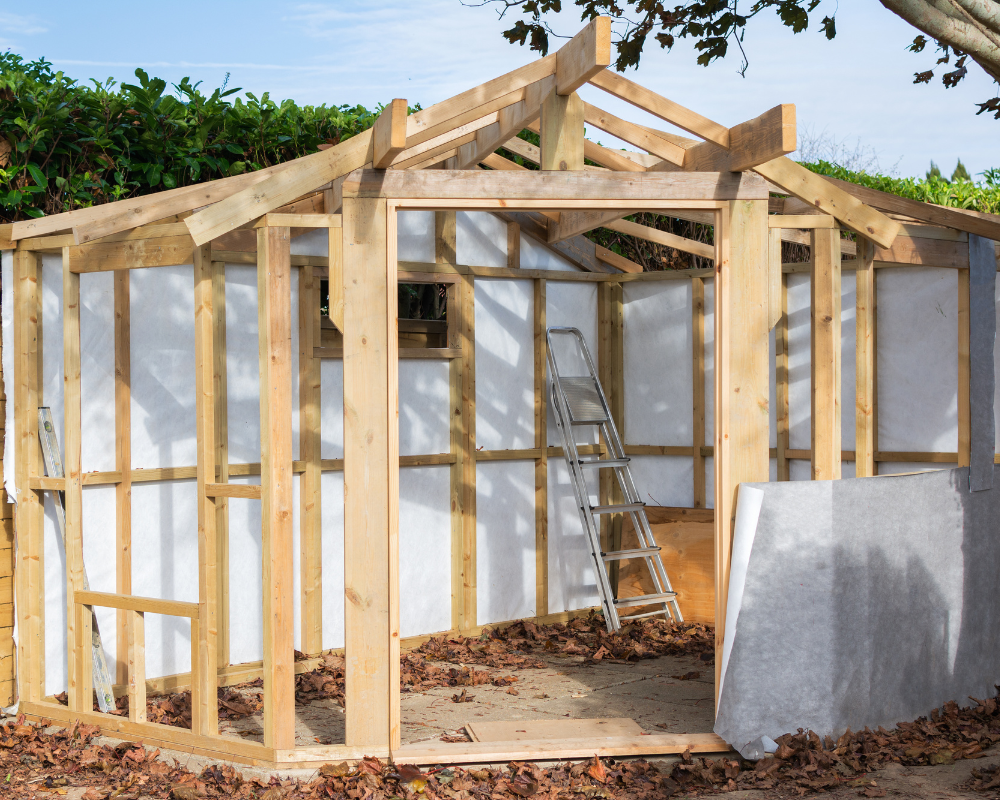
The most crucial first step in installing a garden shed or storage building is assembling the shed frame. This step sets the foundation for the entire structure and ensures its stability and durability. To begin, carefully follow the manufacturer’s shed plans and instructions to lay out all the necessary parts and tools before starting assembly. Precision is key when aligning the pieces together to guarantee a straight edge with the shed floor and seamless fit.
As you piece together the shed frame, pay close attention to each connection point and double check to ensure they are tightly secured. This will help prevent any issues with stability or structural integrity down the line. Consider using a level to confirm that the frame is straight and even, as this will impact how well other components of the shed fit together during assembly. Once you have completed assembling the shed frame, you can move on to adding walls, roof trusses and panels, doors, and windows.
Install the Walls and Roof
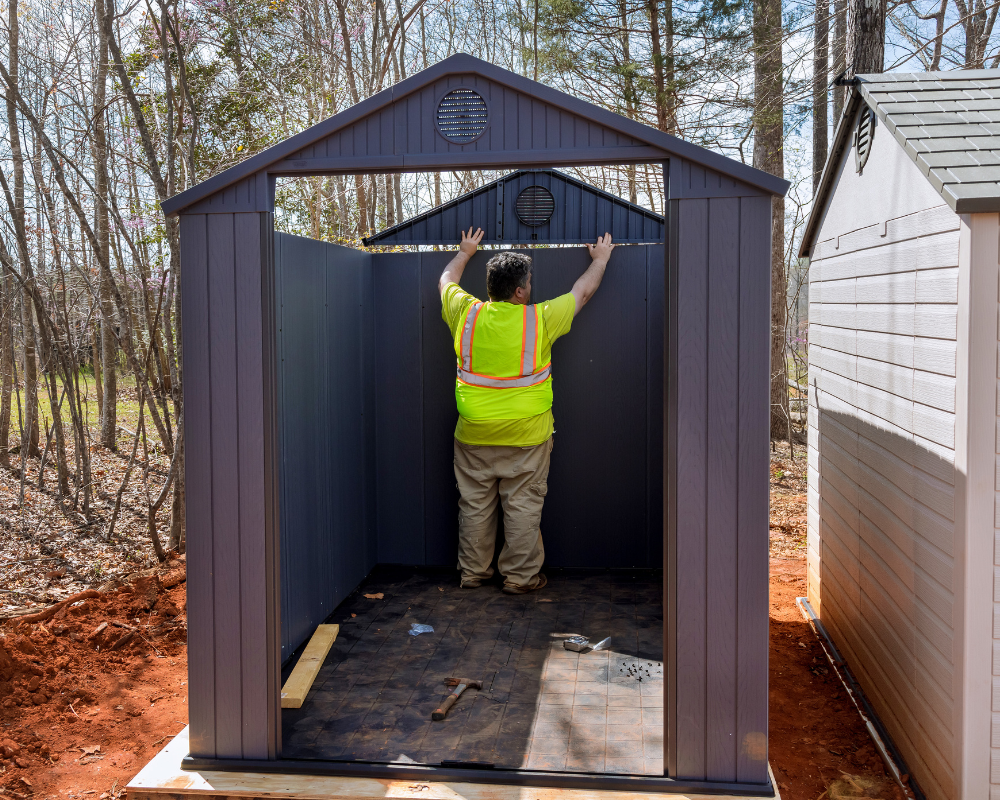
Once the wood frame is in place, it’s time to install the shed walls and roof assembly panels. As you start to install the first panel for the walls and roof frame of your garden shed, it’s important to follow the manufacturer’s instructions carefully. Ensuring that the walls are properly aligned and secure is essential for a sturdy structure. Secure the panels to the frame using nails or screws, ensuring they are properly aligned and flush. Double-checking measurements and using a spirit level can help you achieve a professional finish.
When placing the roof panels, make sure they are evenly spaced and securely attached to prevent any water leakage in the future. A popular option is to consider adding some insulation between the roof panels for added protection against extreme temperatures. Whether you choose shingles or metal panels, make sure to secure them tightly to prevent leaks and ensure durability. By taking your time during this installation phase, you can ensure that your type of shed will provide a functional and attractive space for years to come.
Add Doors, Windows, and Finishing Touches
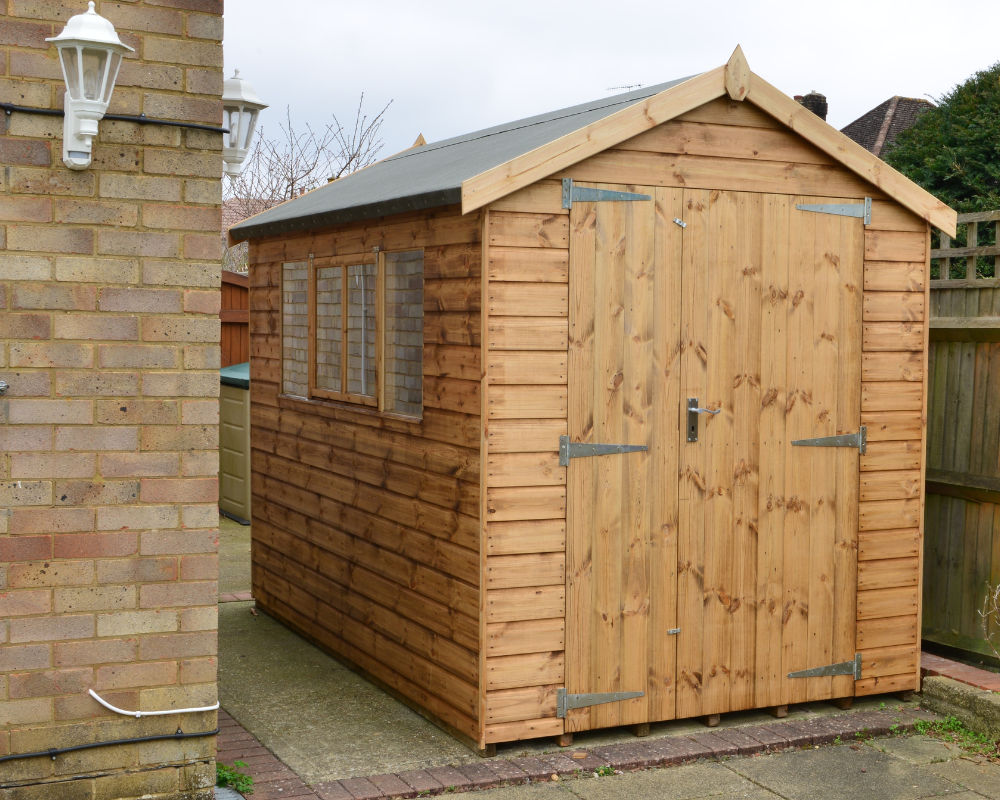
Adding doors, windows, and finishing touches can truly elevate the functionality and visual appeal when installing a garden shed. Doors provide access to the shed, enhance security, and allow for proper ventilation. Opt for sturdy shed doors that complements the overall design of your shed while ensuring it is weatherproof and durable.
Incorporating windows into your garden shed brings in natural light, creating a bright and inviting space. Consider the size, placement, and style of the window plus window openings if applicable to maximize both lighting and airflow within the shed. Additionally, finishing touches such as paint colors, trim details, and decorative accents can transform a basic structure into a charming focal point in your garden. Personalize the shed with unique finishes that reflect your style preferences while enhancing its visual appeal. Make sure they are properly aligned and securely attached to the frame. Seal any gaps around doors and windows to prevent drafts and moisture infiltration.
Security
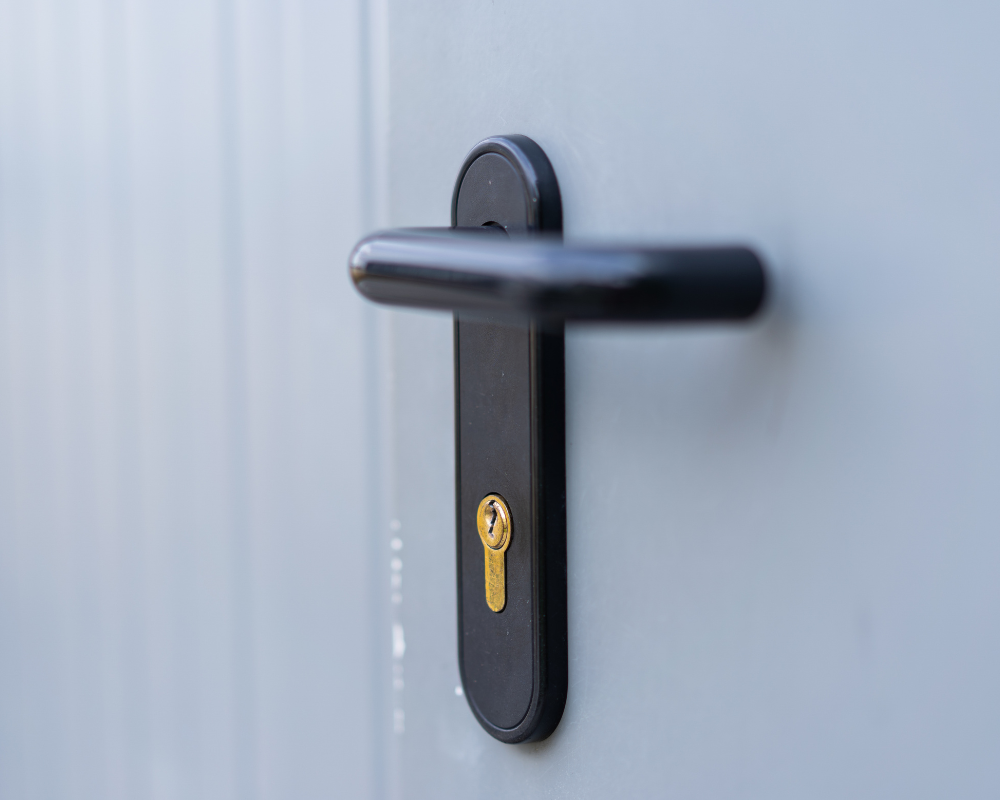
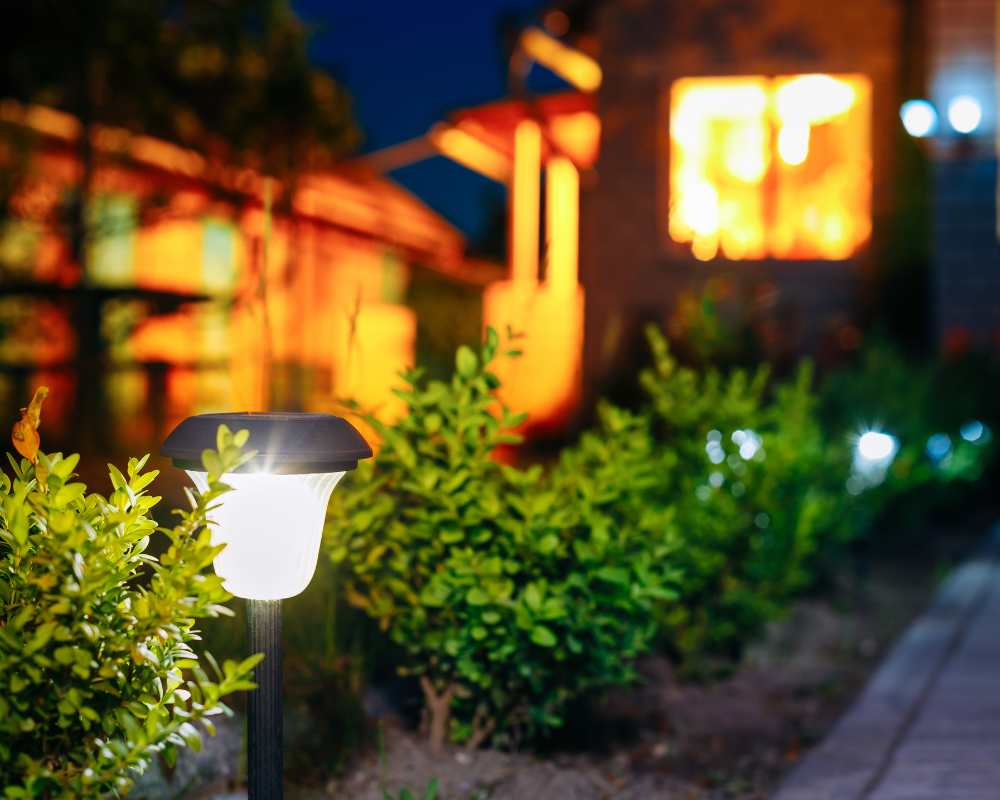
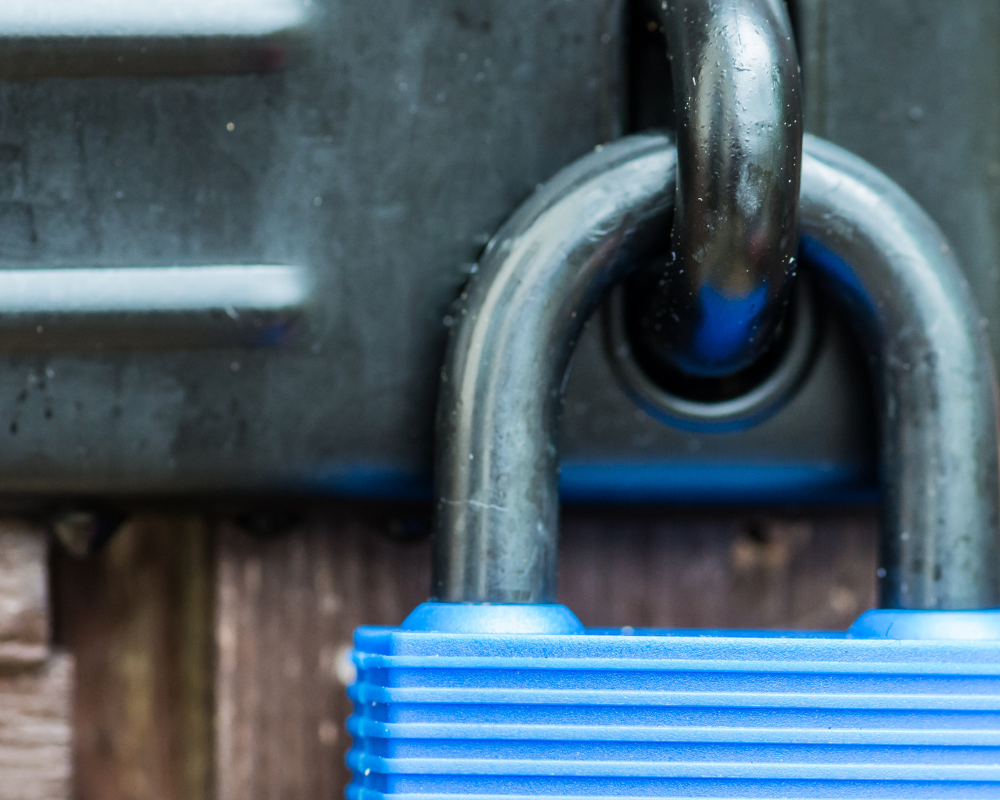
Security is often overlooked when it comes to installing a garden office or even a small shed, but it’s crucial to protect your garden tools, lawn mower, and power tools to name just a few belongings and one of the best ways to do this. Adding a secure lock and heavy-duty hinges is a simple process and can deter potential thieves. Consider installing motion sensor lights around the shed and door assembly to increase visibility and scare off intruders.
Another important aspect of security for garden sheds is proper placement and shed location. Shed installers suggest avoiding hiding the shed behind tall bushes or structures in a low-lying area that could provide cover for burglars. Instead, it is a good idea to place all storage sheds in a visible spot where they can be easily monitored from the house. By taking these proactive security measures, you can ensure that your shed remains a safe and secure storage space for your belongings.
Conclusion
Installing a new shed is a rewarding DIY project that adds functionality and value to your property. With careful planning and attention to detail, you can create a durable and attractive structure that meets your needs for years to come.


