Table of Contents
Are you tired of staring at your outdated kitchen cabinet but hesitant to splurge on a full renovation? With a dash of creativity and a sprinkle of elbow grease, you can transform your old cabinets from drab to fab without breaking the bank. Updating kitchen cabinets is a great option to significantly provide a whole new look and feel to your kitchen renovation without breaking the bank. Below we have provided a number of DIY projects and different ideas you may want to consider.
Painting or Staining Cabinets
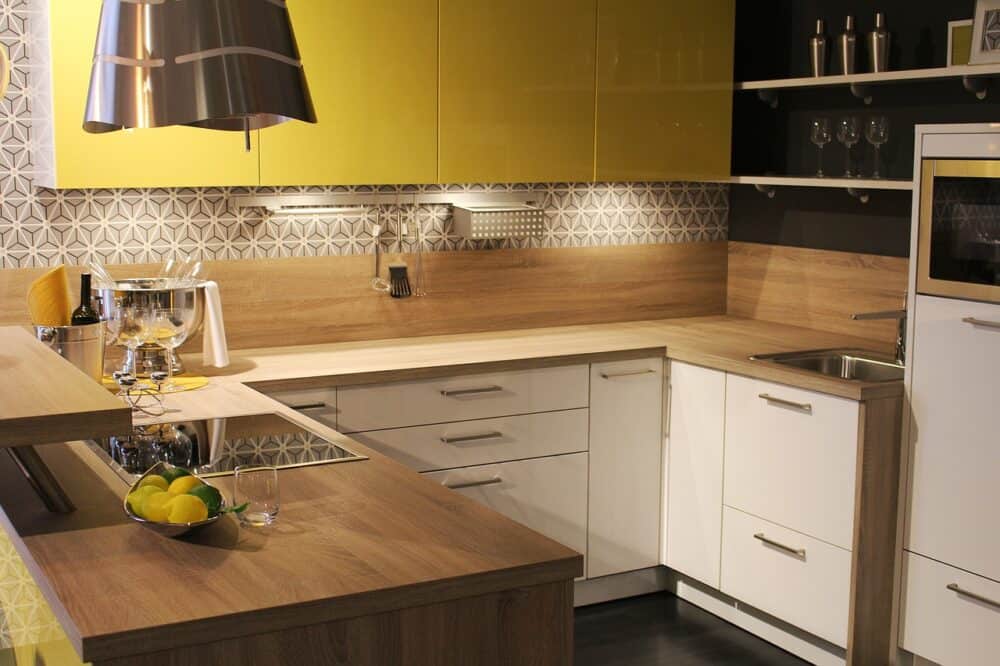
Materials Required
Sandpaper, Primer, Paint or Stain, Paintbrushes, Rollers, Painter’s Tape.
Next Steps
- Remove the cabinet doors and hardware.
- Clean the surfaces thoroughly.
- Sand the cabinets to create a smooth surface.
- Apply primer and let it dry.
- Paint or stain the cabinets in your desired color or a fresh coat of white paint
- Re-attach the doors and hardware.
Replacing Cabinet Hardware
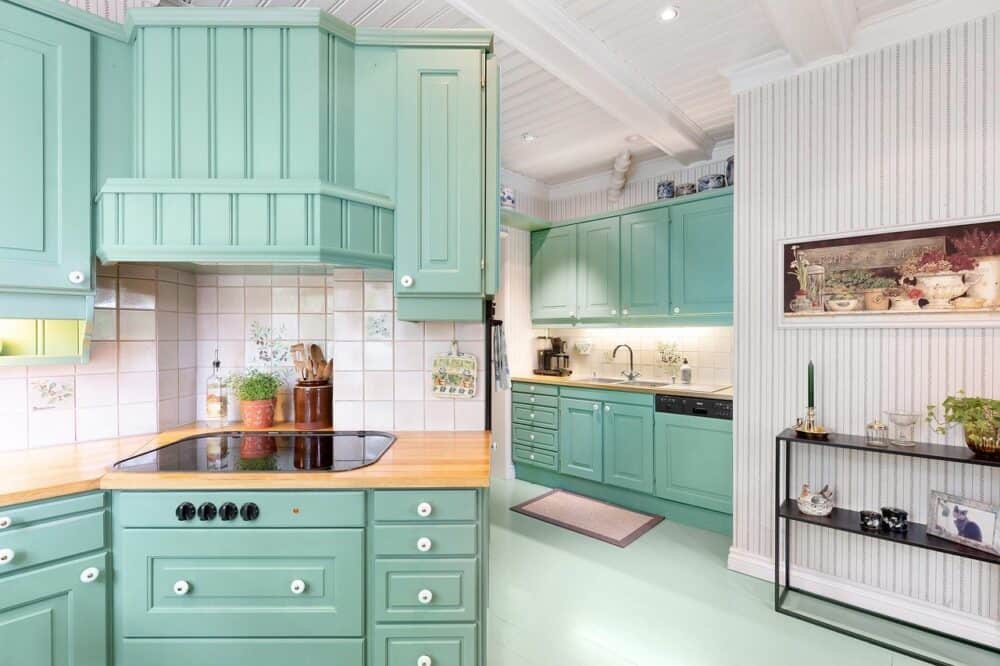
Materials Required
New Knobs or Pulls, Screwdriver, Drill (if new holes are needed).
Next Steps
- Remove old hardware.
- Fill any existing holes if the new hardware doesn’t align.
- Drill new holes if necessary.
- Attach new cabinet knobs or drawer pulls.
Adding Cabinet Trim or Molding
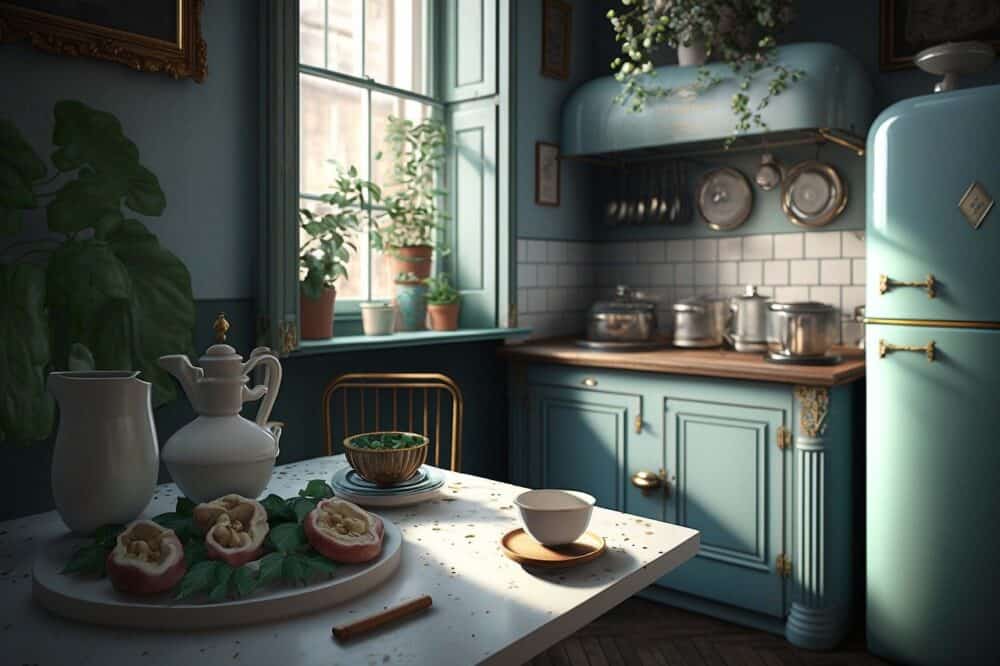
Materials Required
Trim or Molding, Mitre Saw, Nails, Wood Glue, Paint.
Next Steps
- Measure and cut the trim or molding to fit your cabinet doors.
- Attach the trim using wood glue and nails.
- Fill any gaps or nail holes with wood filler.
- Paint or stain the trim to match your cabinets.
Installing Under-Cabinet Lighting
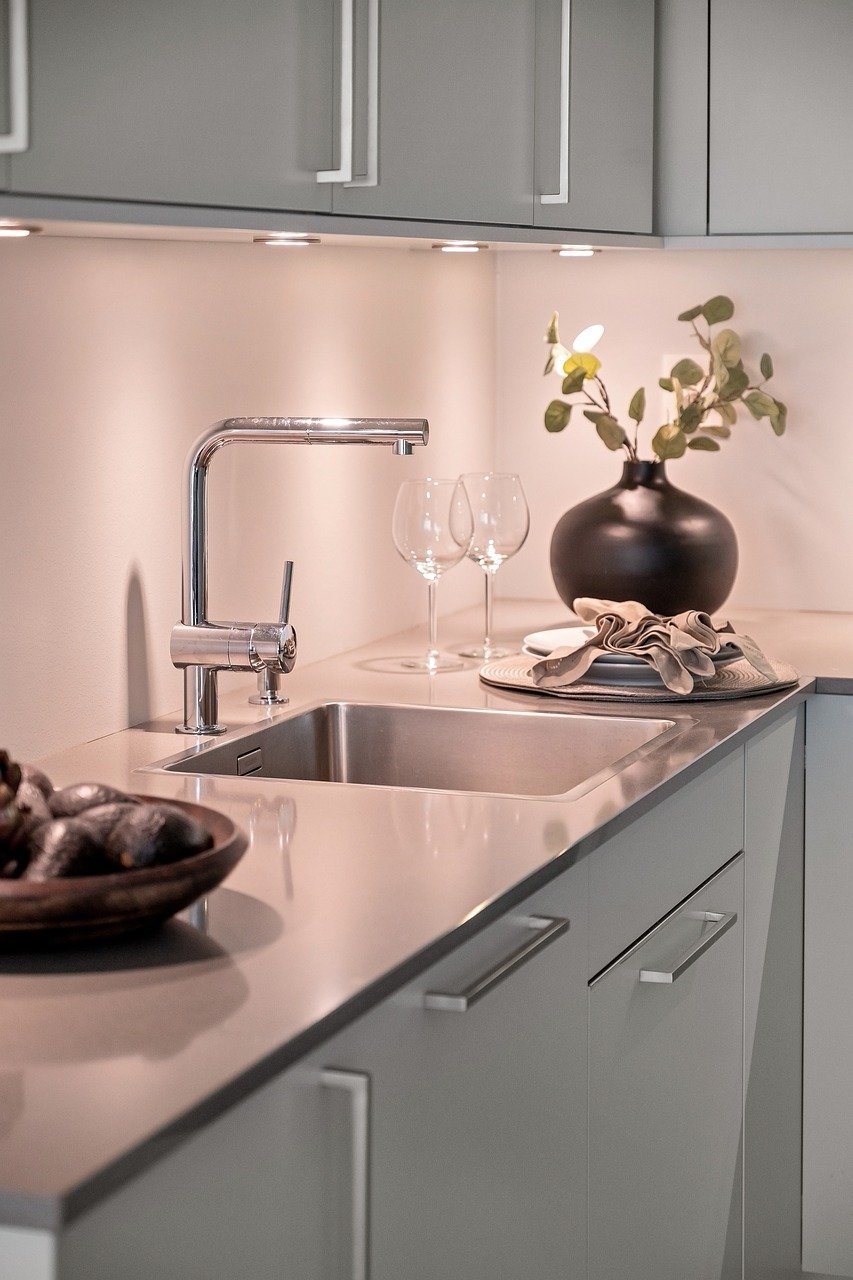
Materials Required
LED Strip Lights or Puck lights, Adhesive Strips, Power Drill.
Next Steps
- Plan the placement of your lights.
- Attach the lights using adhesive strips or screws.
- Connect the lights to a power source and conceal any wiring.
Refacing Cabinet Door
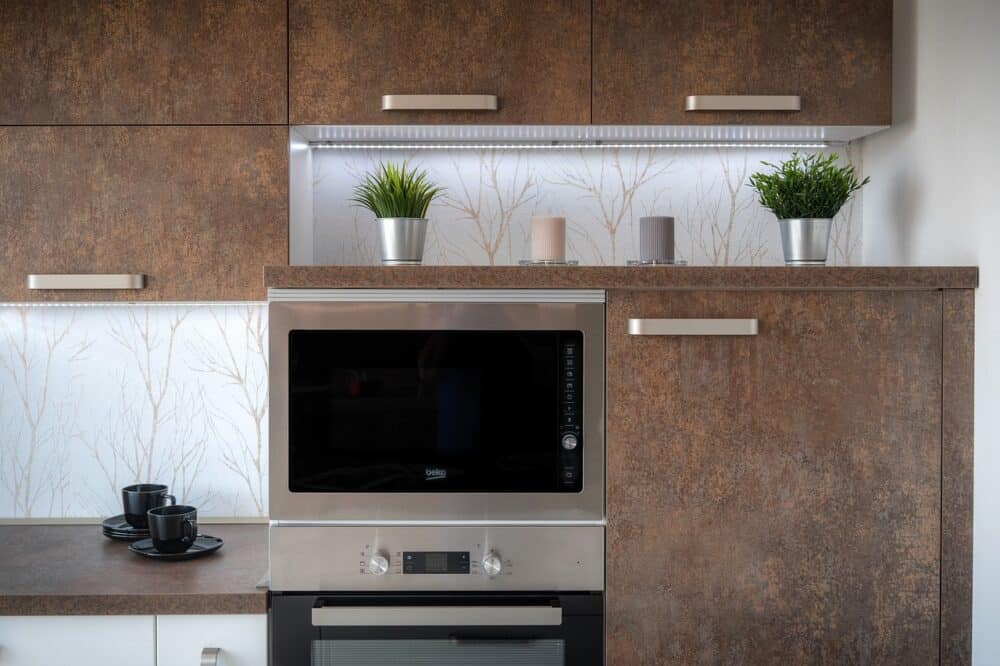
Materials Required
Veneer or Laminate, Utility Knife, Adhesive, Roller.
Next Steps
Installing Glass Inserts
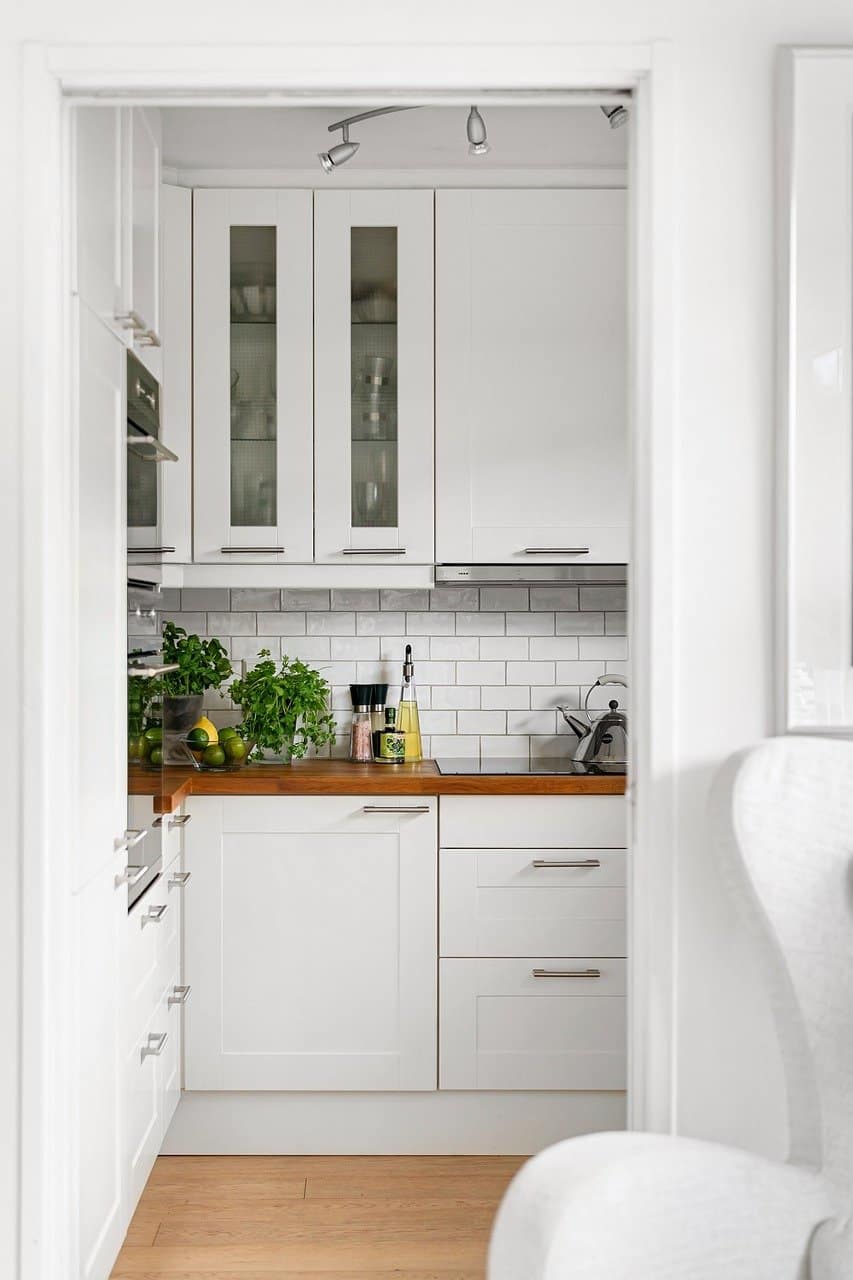
Materials Required
Glass Panels, Glass Cutter (if needed), Silicone Adhesive, Molding.
Next Steps
- Remove the center panel of your upper cabinets door.
- Measure and cut the glass panels to fit.
- Secure the glass panels with silicone adhesive.
- Attach molding around the glass for a finished look.
Adding a Chalkboard or Corkboard Panel

Materials Required
Chalkboard Paint or Corkboard, Adhesive, Screws (for Corkboard).
Next Steps
- Decide which cabinet door will be updated.
- Apply chalkboard paint directly to the door or attach a corkboard panel with adhesive or screws.
- Let the chalkboard paint dry and season it by rubbing chalk over the cabinet surfaces and then wiping it off.
Open Shelving Conversion
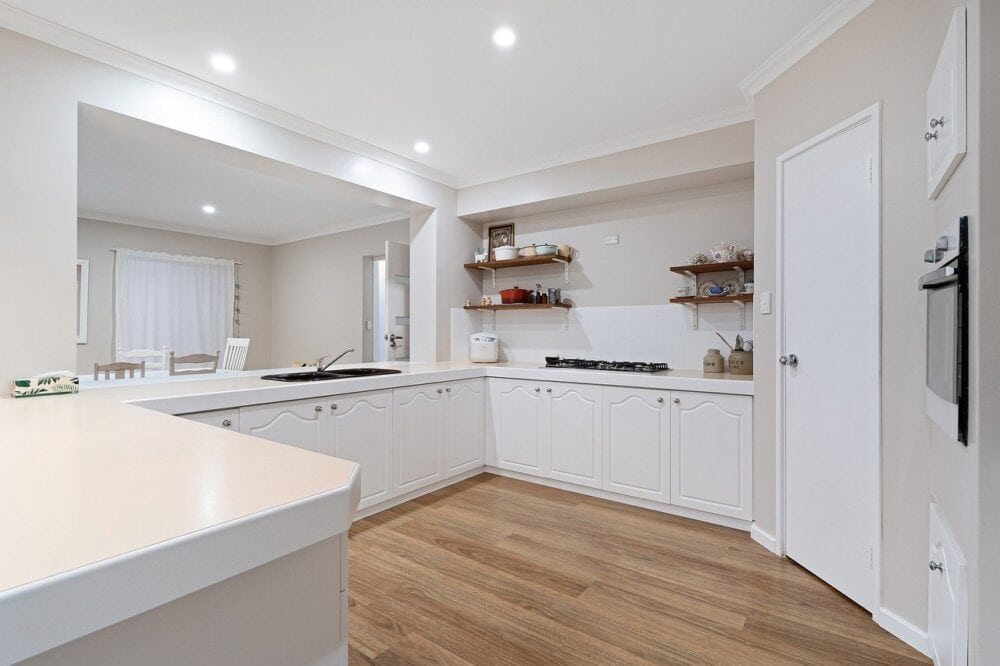
Materials Required
Sandpaper, Paint, Wood Putty.
Next Steps
- Remove outdated cabinets door to create open shelves.
- Fill any holes from the hinges with wood putty.
- Sand and paint the inside of the cabinets for a polished look.
Adding Decorative Elements
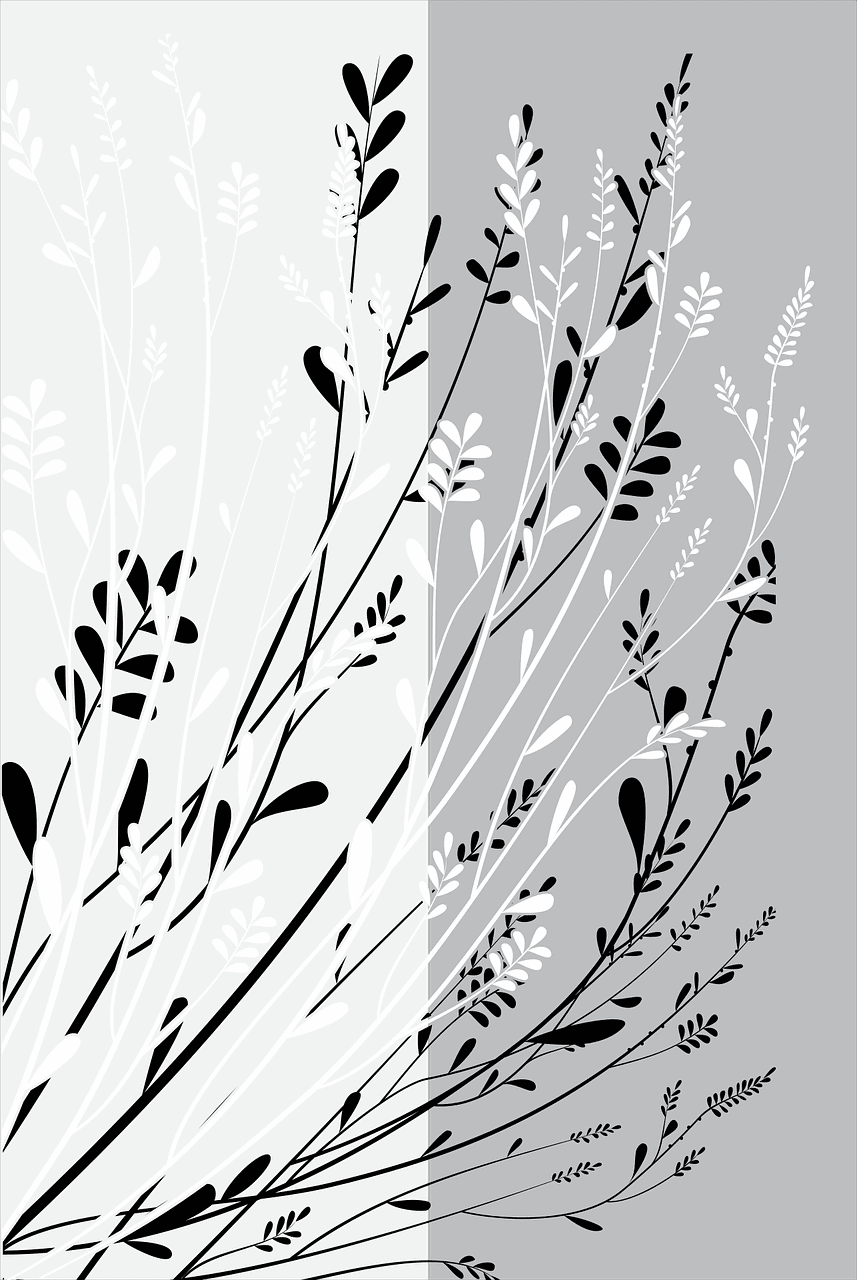
Materials Required
Decorative Adhesive Film, Stencils, Paint.
Next Steps
- Apply decorative adhesive film to cabinet doors for a unique look and quick update.
- Use stencils and paint to add designs or patterns to cabinet doors.
Conclusion
The kitchen cabinet projects range from the simplest ways to update the cabinets to the more complex renovation. You can choose which part of the process would provide the best results for your kitchen based on your own skill level and the spare time you may have available to invest in the renovations.


