How to Fix a Leaking Tap: A Step-by-Step Guide
Table of Contents
A leaking tap can be a frustrating and wasteful problem to deal with. Not only does it waste water and increase your utility bills, but it can also lead to more significant plumbing issues if left unchecked. The good news is that fixing a dripping tap is a relatively straightforward DIY task that you can tackle with some basic tools and a little know-how. In this guide, we’ll walk you through the steps to fix a leaking tap and save both water and money.
Understanding the problem of a leaking tap
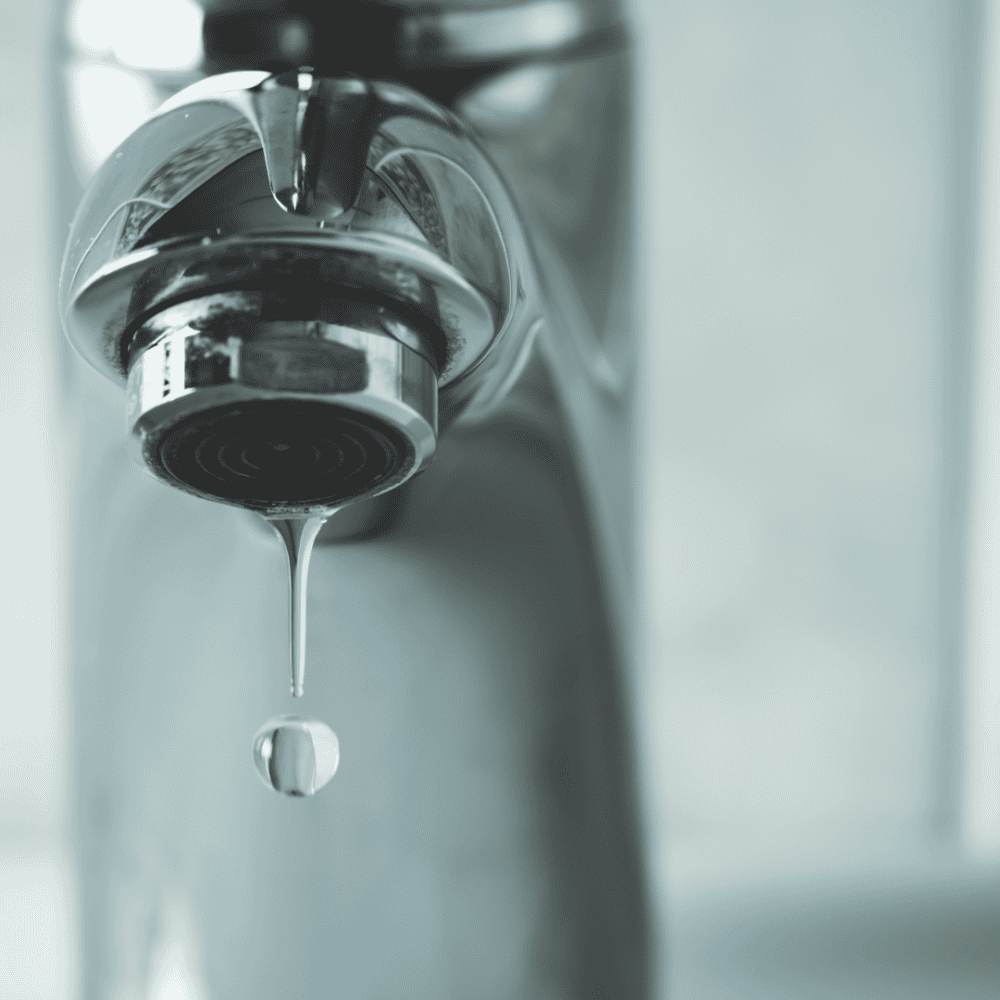
Understanding the root cause of a eaking tap is essential to effectively fix it and prevent further damage. A common reason for a leaking tap is a worn-out washer. Over time, the constant pressure on the washer from turning the tap on and off can lead to it deteriorating or becoming loose, resulting in water leakage.
Another possible culprit behind a leaking tap could be a damaged valve seat. The valve seat is the connection point between the faucet and the spout that controls water flow. A damaged or corroded valve seat can prevent proper sealing, leading to leaks. In some cases, simply cleaning or replacing this small component can resolve the issue.
Tools and Materials You’ll Need
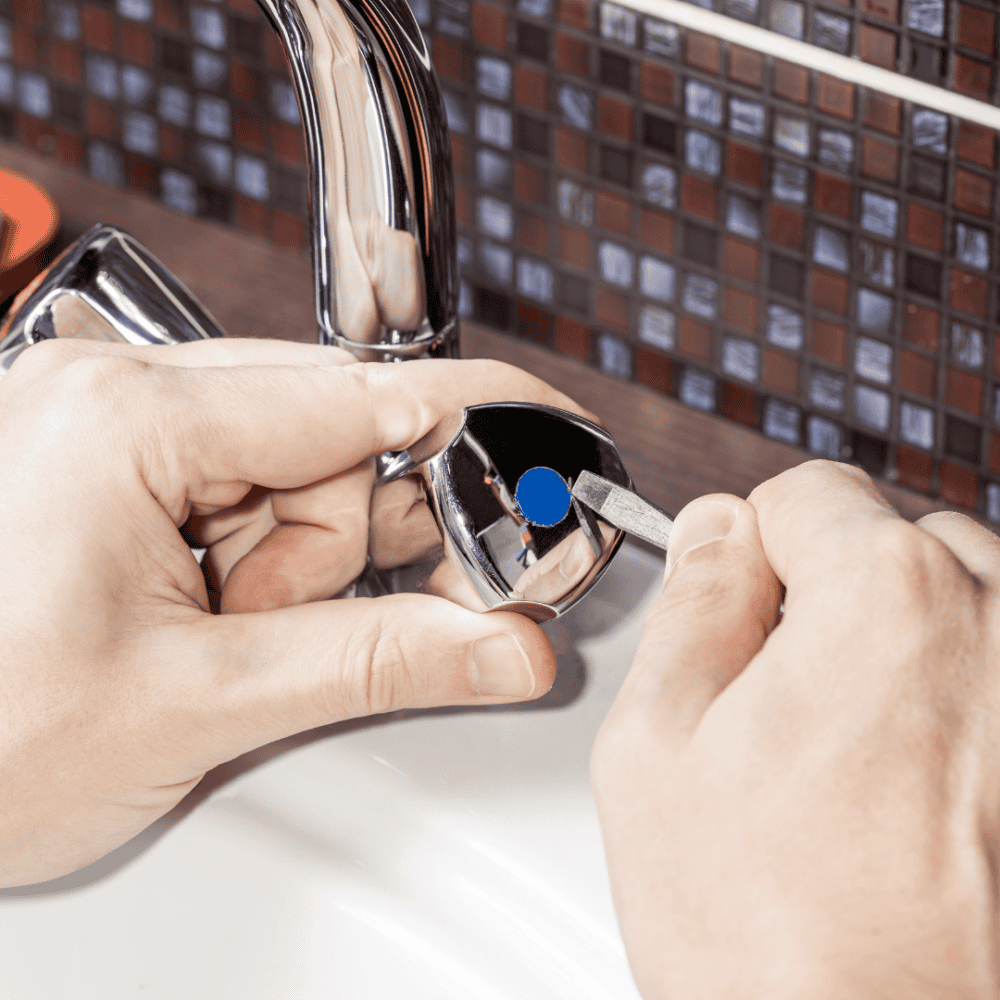
Adjustable wrench or spanner
The adjustable spanner or wrench, is a versatile and must-have tool in every toolbox. This handy gadget allows for easy tightening or loosening of nuts and bolts of various sizes, making it perfect for tackling plumbing issues.
One of the greatest advantages of an adjustable wrench when fixing a leaking tap is its ability to adapt to different fastener sizes. With just one tool, you can swiftly adjust the opening width to fit any nut or bolt with precision, saving you time and eliminating the need for multiple wrenches. Additionally, these wrenches often come with a jaw that provides excellent grip, reducing slipping during use – extremely helpful when dealing with stubborn fixtures.
Another notable feature of an adjustable wrench is its ergonomic design. Many modern models are designed with comfort in mind, featuring non-slip handles and cushioned grips that reduce strain on your hands during prolonged use. This ensures you maintain control over the tool while exerting force efficiently without discomfort or potential injury.
Screwdriver – Phillips or flathead
When faced with this common household dilemma, having the right screwdriver can make all the difference. While both Phillips and flathead screwdrivers have their merits, each excels in particular situations.
If you’re dealing with a leaking tap, the Phillips screwdriver might be your best bet. Its cross-shaped design allows for increased torque and reduces slippage against rounded or worn-out screws commonly found in faucet handles. This means you’ll have a better grip and a higher chance of successfully fixing the leak without causing more damage. The tighter fit that a Phillips screwdriver offers could mean fewer callouts to plumbers or handymen, giving you greater control over flow of water, also your time and expenses.
Don’t discount the flathead screwdriver though, while it may not provide as much grip on rounded screws like its Philips counterpart, it shines when handling an older traditional tap with corroded or painted-over parts. The narrow and straight slot of the flathead gives it an advantage in situations where accessibility is limited due to tight spaces or obstructions around the leaking faucet. These tools will be necessary for accessing various parts of the tap, such as removing handles and trim plates.
Replacement washer (O-ring) or ceramic disc cartridge
These small tap washer or rubber seals are often the culprits and cause of the leak and should be replaced to restore proper function. The new replacement o-ring washer or ceramic disc cartridge (found is many modern taps) should be specifically designed for your tap model. A handy tip is to take the old washer (O-ring) or ceramic discs cartridge with you when purchasing a replacement from your local hardware store to ensure they match perfectly.
Plumber’s tape (Teflon tape) – thread seal tape
This thin, adhesive tape is commonly used to wrap around threaded fittings in plumbing applications. Applying it correctly can help prevent leaks by creating a watertight seal when reconnecting pipes or fittings.
Towels or rags
Towels or rags may seem humble household items but can play a crucial role in saving the day when faced with unexpected challenges like a leaking tap and excess water. A good idea is to wrap the towel tightly around the leaky tap, using its absorbent fabric to catch the dripping water and prevent further damage while you wait for professional help.
Bucket or bowl
Having one or other of these containers directly under the faucet allows you to easily monitor the frequency and amount of water leakage from a leaking tap, which can provide valuable insight when seeking professional assistance. Buckets and bowls can be repurposed if you need to disassemble parts of your faucet to fix specific issues like worn-out washers or faulty valves, and become essential vessels for holding screws and other small components. By keeping all pieces together in one place and preventing any accidental loss down the drain or kitchen sink.
Penetrating oil (e.g., WD-40)
Penetrating oil, such as WD-40, is not only a handy tool for troubleshooting squeaky hinges or loosening rusted bolts; it can also come to the rescue when dealing with a leaking tap. Rather than reaching for traditional tools like wrenches or plumbers’ tape, applying a small amount of penetrating oil to the problem area may just do the trick. The oil’s lubricating properties seep into tight spaces and crevices, potentially loosening any mineral deposits or stuck components that may be causing the leak. Additionally, its ability to repel water ensures that it won’t wash away easily upon contact with liquids.
Penetrating oil serves as an effective solution for maintaining your taps in peak condition. Regular application of this magical elixir can prevent future leaks by keeping all moving parts well-lubricated and minimizing friction-induced wear and tear.
Remember that gathering all necessary tools and materials beforehand not only saves time but also ensures smooth progress during the repair process. So double-check your toolkit before diving into fixing that annoying leaking tap!
Step-by-step guide to fixing the leak
Step 1: Turn Off the Water Supply
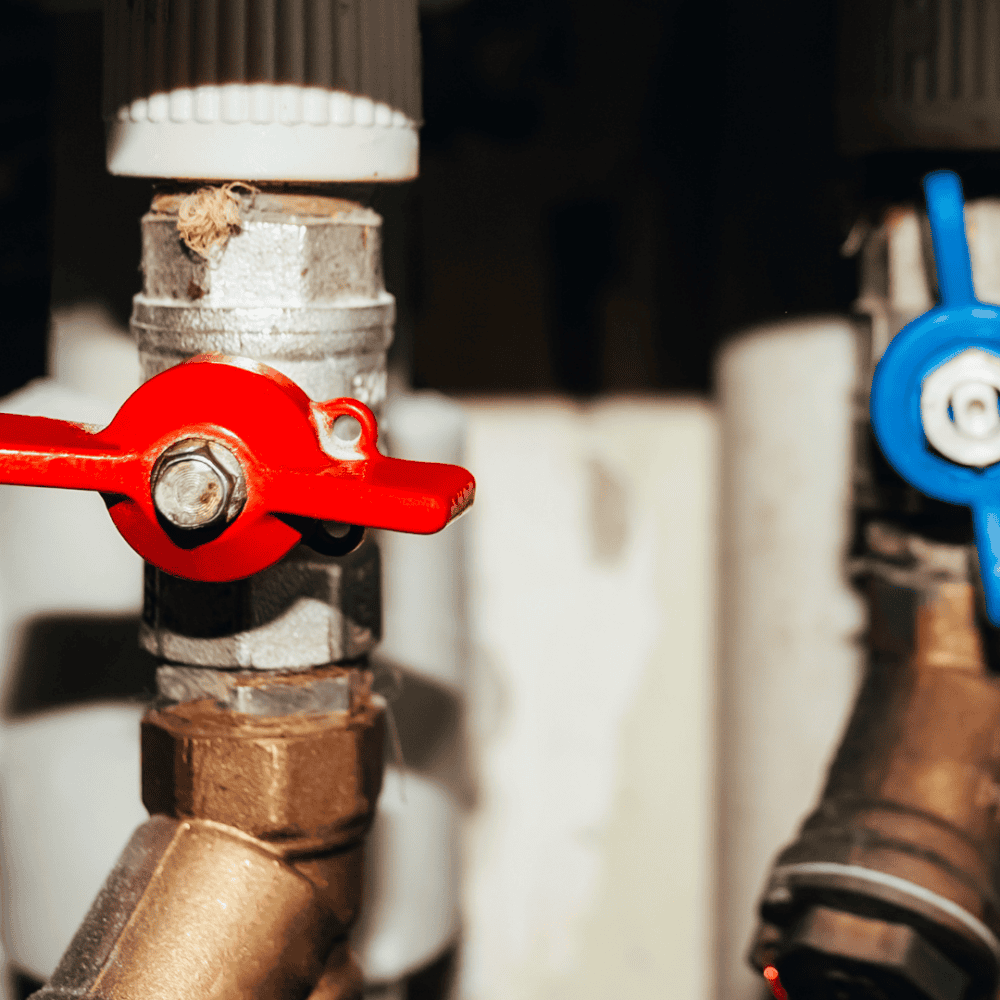
Before you start working on your leaking tap, the first step is to locate the water shut-off valve under the sink. Turn it clockwise to shut off the water supply to the tap. If you can’t find the valve or if it’s stuck, consider turning off the main water supply to your house.
Step 2: Release Pressure and Drain Water
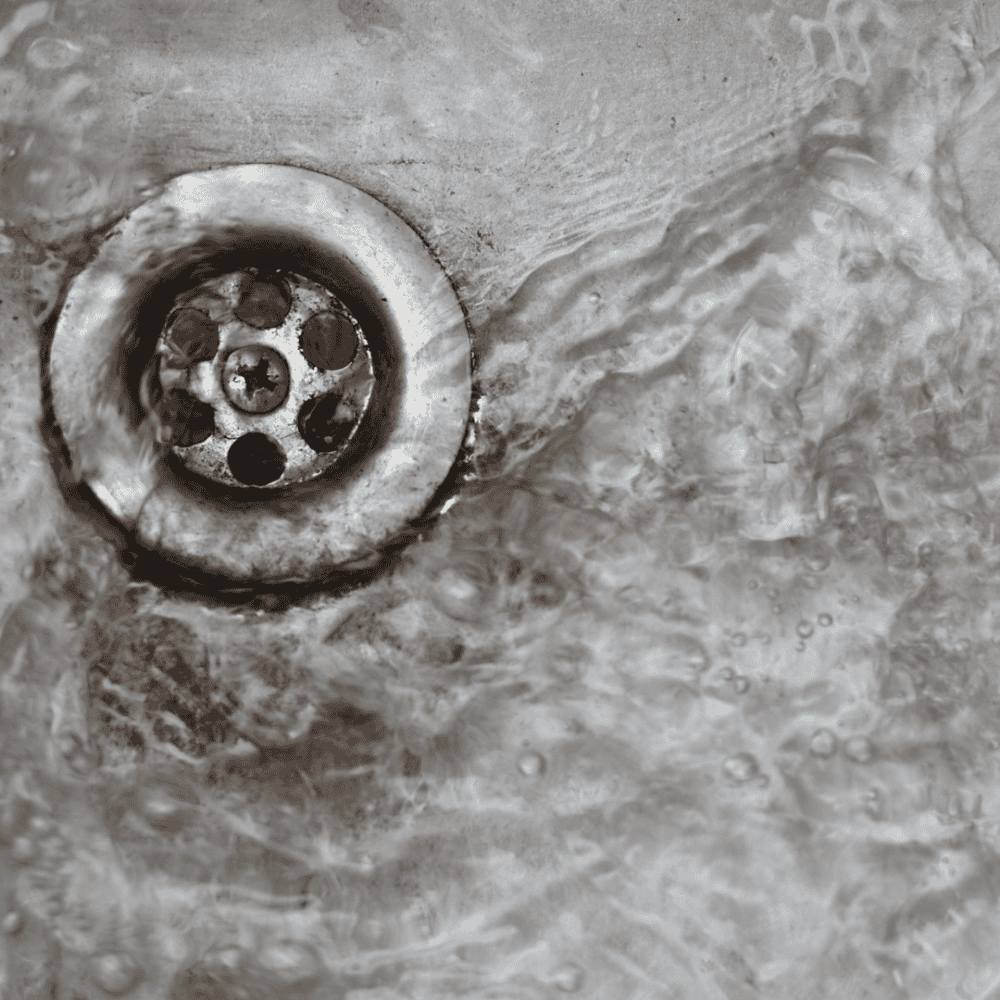
Open the tap to release any remaining water and relieve pressure in the pipes. Place a bucket or bowl beneath the tap to catch any dripping water. This will help keep your work area dry.
Step 3: Dismantle the Tap
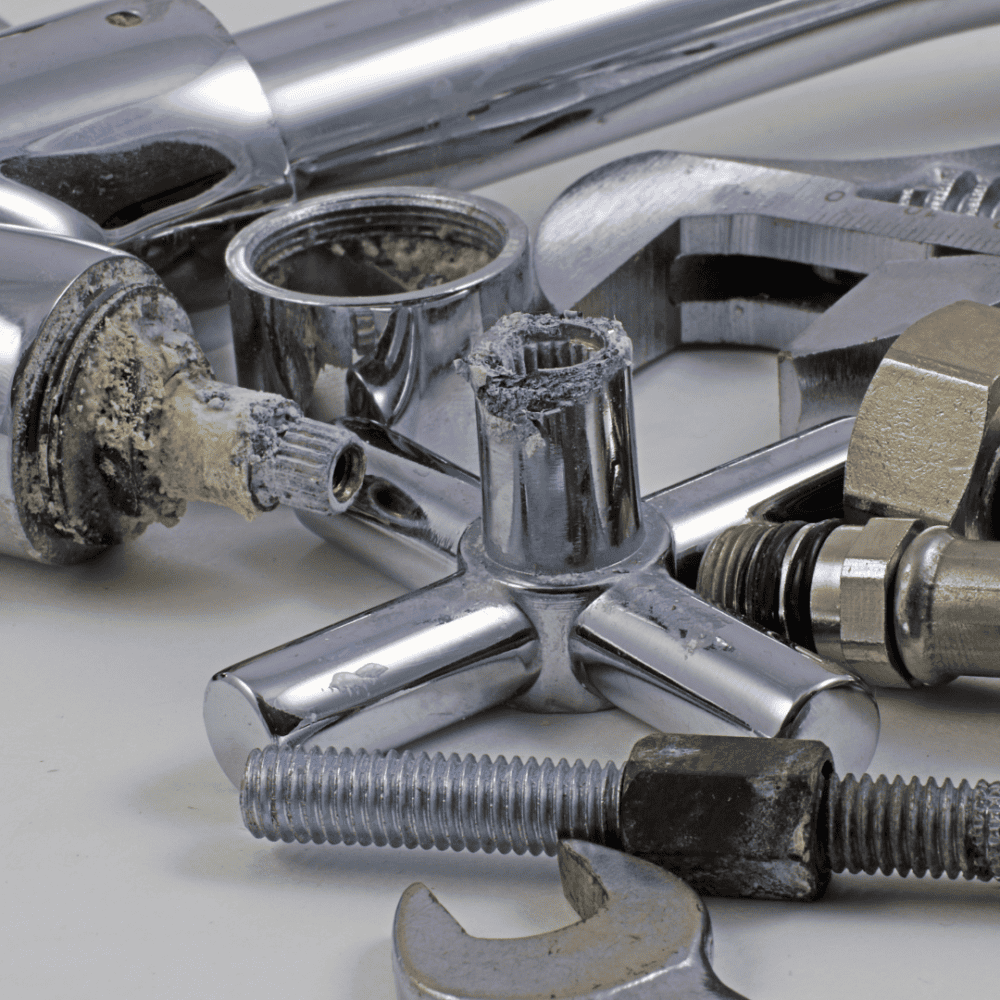
Depending on the type of tap you have, you may need to follow these steps:
Compression Tap (Two-Handle Use a screwdriver to remove the tap handle’s screw, usually located beneath a decorative cap. Once the screw is removed, carefully lift off the handle. You will see a packing nut, which you can loosen with an adjustable wrench.
Cartridge Tap – Single-Handle Use a screwdriver to remove any decorative caps or covers. You might also need to remove a retaining clip or ring to access the leaky faucet or cartridge. Pull out the cartridge carefully.
Step 4: Inspect and Replace Components
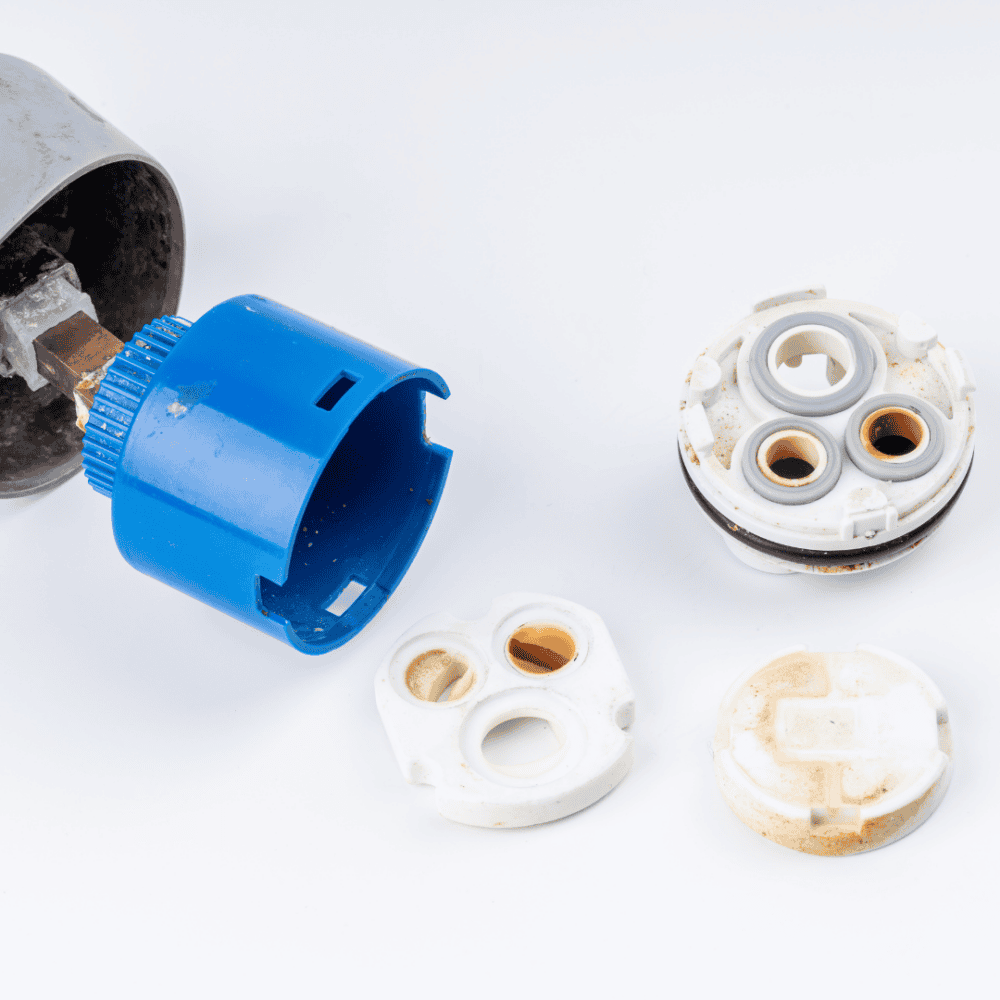
Once you have access to the internals of your tap, inspect the components for wear or damage. Common parts that may need replacing include O-rings, washers, or ceramic disc cartridges. If you notice any signs of damage or wear, replace them with new ones.
Step 5: Apply Plumber’s Tape
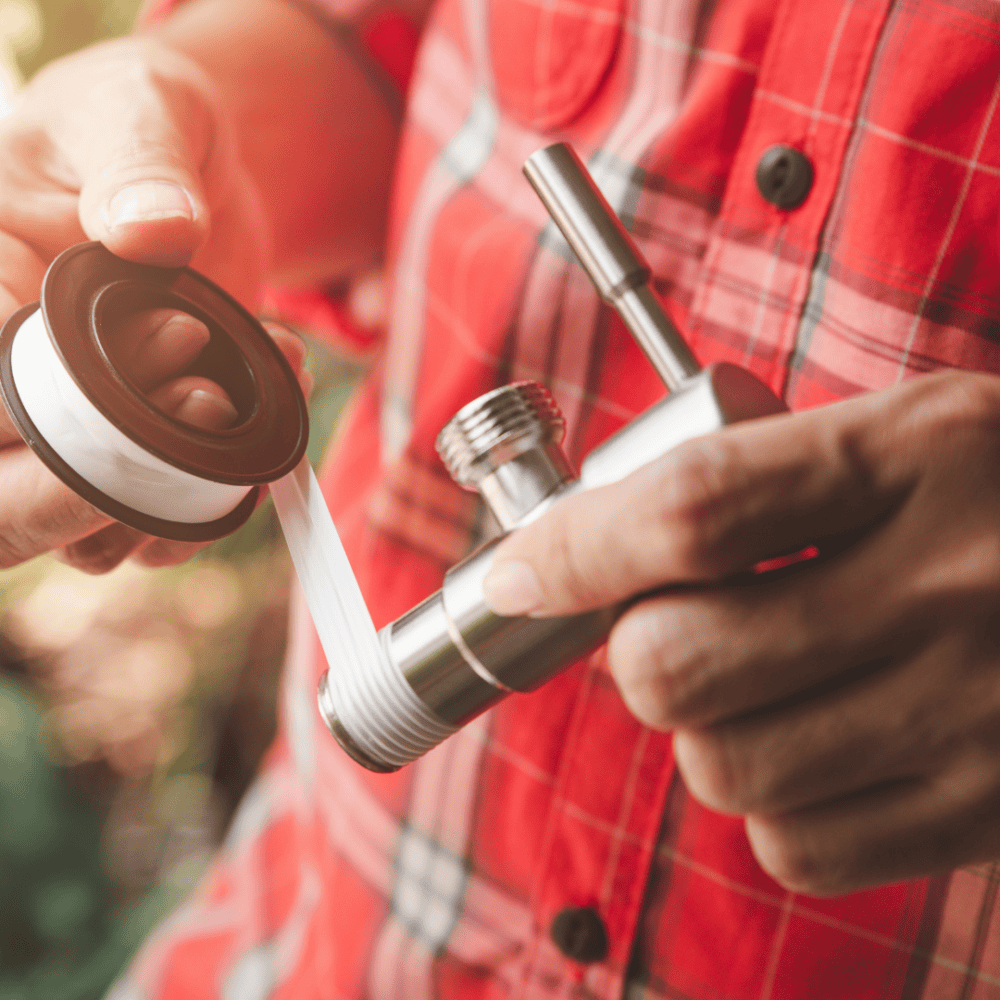
If your tap has threads or seals that require sealing, apply a few wraps of plumber’s tape (Teflon tape) in a clockwise direction to ensure a tight seal. This step is particularly important for compression taps.
Step 6: Reassemble the Tap
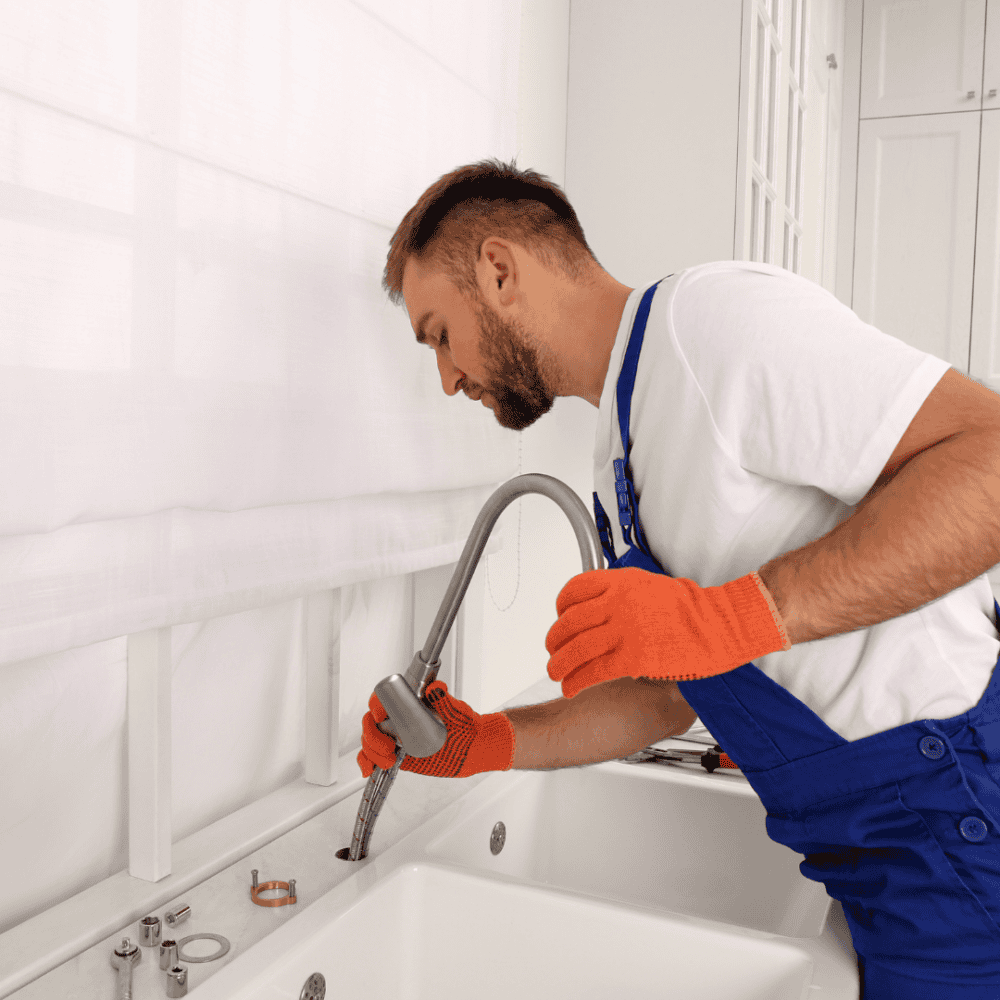
Carefully reverse the disassembly process to reassemble the tap. Make sure all components are snug but not overly tightened to avoid damaging them.
Step 7: Turn On the Water Supply
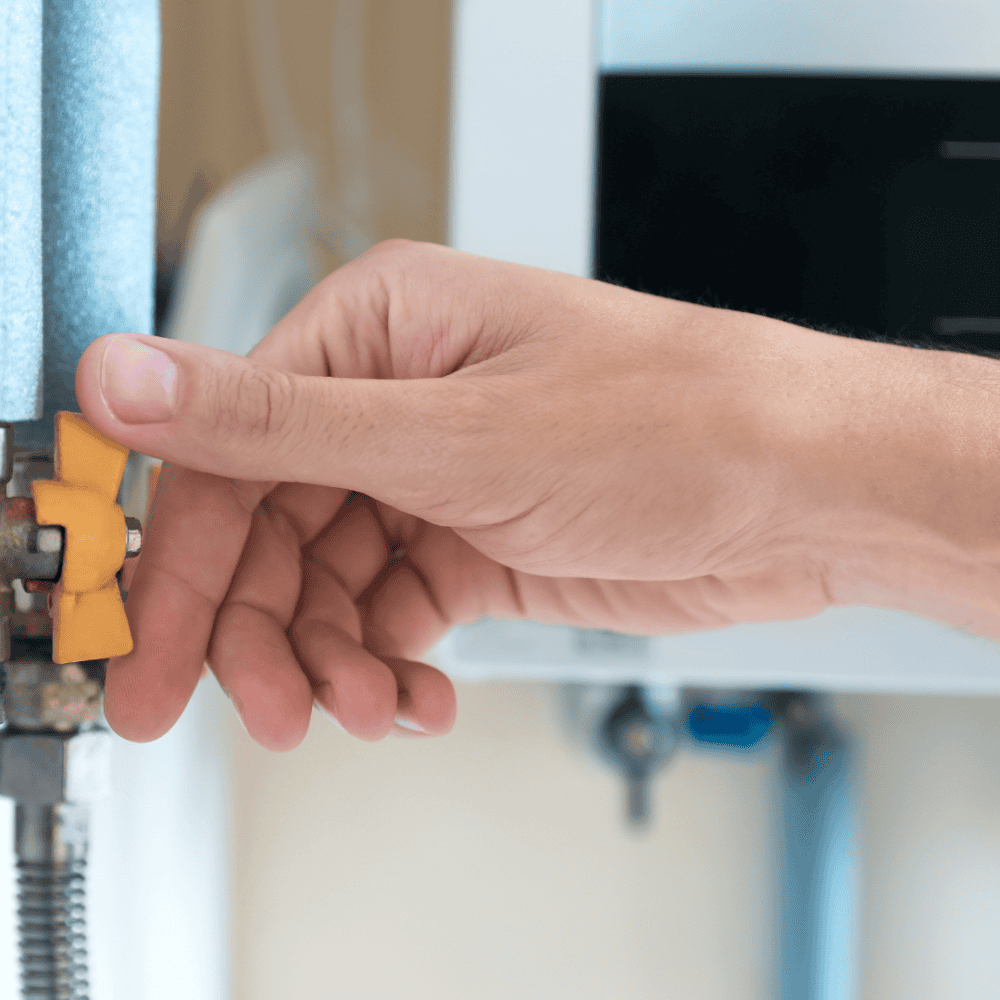
Turn the water supply back on by turning the shut-off valve or the main water supply valve counterclockwise. Open the tap slowly and check for leaks. If you see any drips, tighten the components slightly until the leak stops.
Step 8: Test for Proper Operation
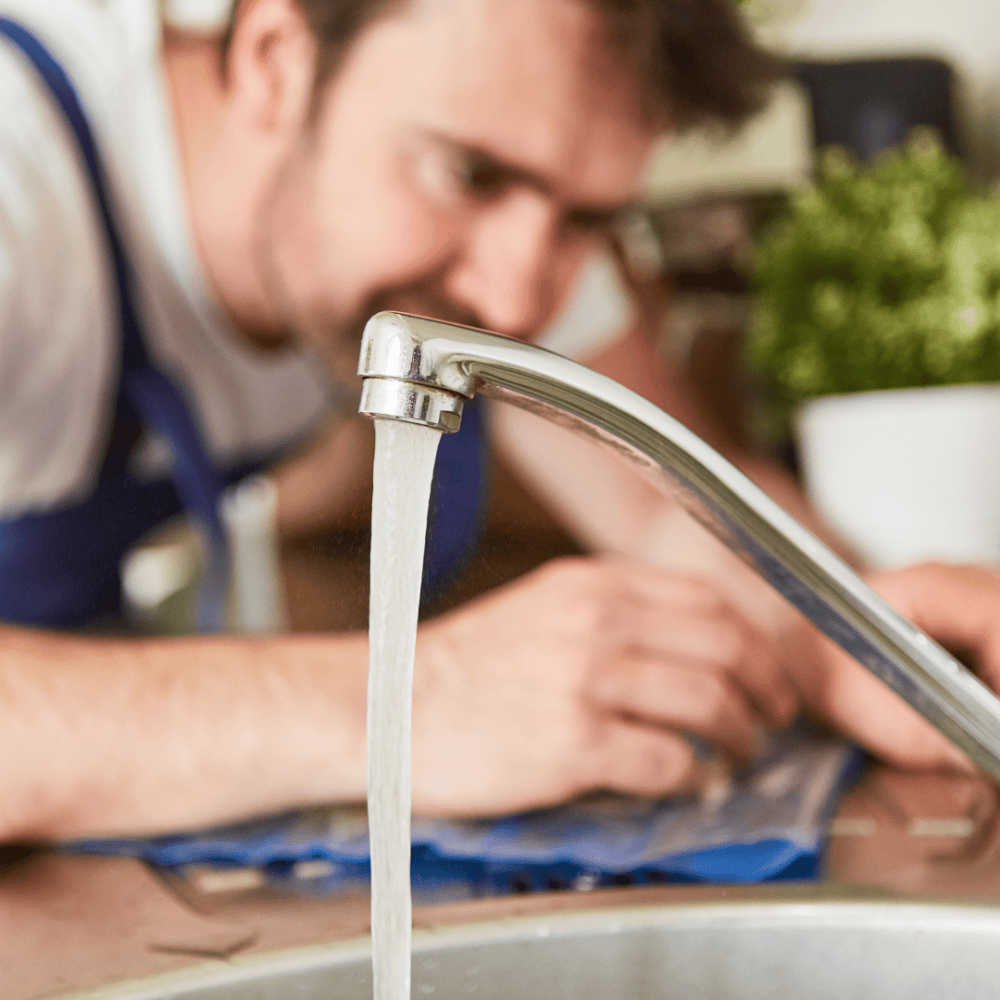
Turn the tap on and off to ensure it operates smoothly and without leaks. Check both hot and cold water sides if you have a two-handle tap.
Step 9: Clean Up and Dispose of Old Parts
Dispose of any old or damaged parts properly. Clean up any water that may have spilled during the process, and dry the area thoroughly.
Tips for preventing future leaks
When it comes to fixing a leaking tap, prevention is key. While you may have successfully stopped the immediate leak, it’s important to take simple steps to prevent future leaks from occurring. One effective tip is to regularly inspect your the base of the spout, taps and plumbing fixtures for any signs of wear or damage. By cleaning debris from the type of faucet aerators and showerheads can help prevent clogs and subsequent leaks caused by water pressure buildup. By addressing minor problems early on, you can avoid more significant and costly repairs down the line.
Invest in high-quality materials for your plumbing system. Opting for durable faucets, pipes, and fittings can significantly reduce the likelihood of future leaks. Additionally, staying vigilant about monitoring water pressure levels in your home can help identify any abnormal fluctuations that could be an indicator of an impending leak.
Conclusion
Fixing a leaking tap is a manageable DIY task that can save you money on your water bill and prevent more significant plumbing issues down the line. By following these step-by-step instructions and being patient and meticulous, you can successfully repair your tap. If you encounter any difficulties or the leak persists, it’s advisable to consult a professional plumber to ensure the problem is resolved properly.


