How to Tile a Splashback – Tips for DIY Beginner
Table of Contents
How to tile a splashback – tips so you can instantly elevate the look of your kitchen or bathroom, adding a finished look, style, and functionality to the space. Whether you are a seasoned DIY enthusiast or a novice looking to take on a new project, tiling a splashback is a great DIY project and a manageable task with the right guidance. In this step-by-step guide, we will walk you through the process of tiling a splashback, helping you achieve great results and a stunning finish.
Gather Your Materials
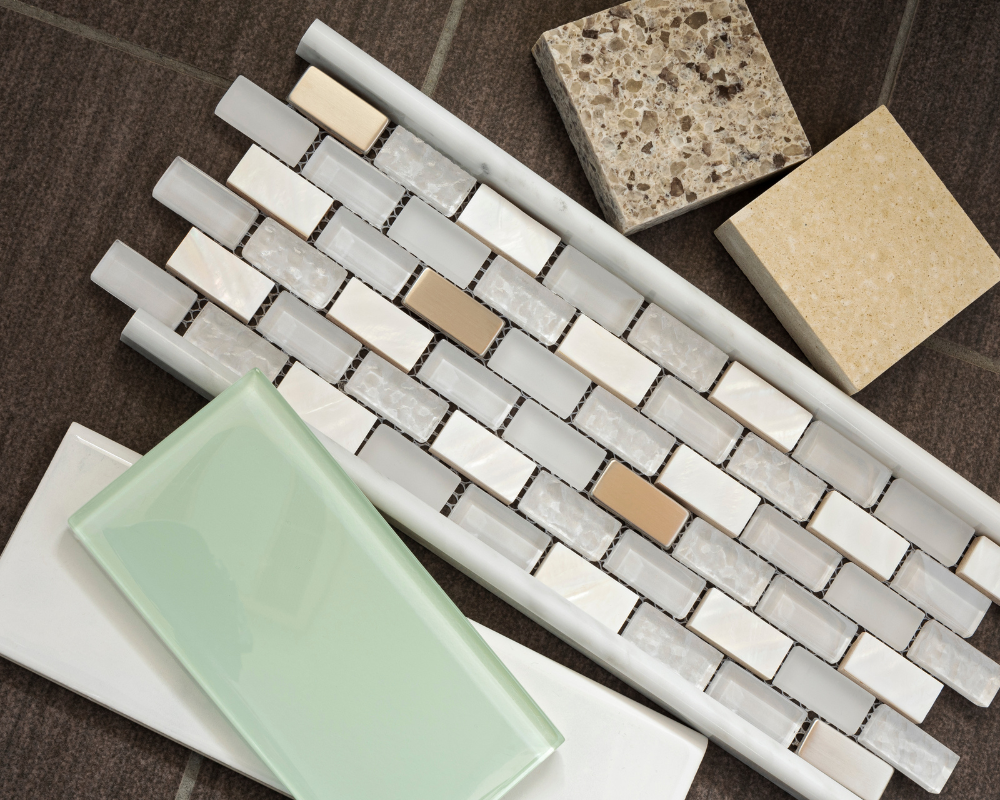
As a first step, it is essential to gather all the necessary materials and tools listed below:
- Tile Choice
- Tile Adhesive
- Tile Spacers
- Tile Grout / Sealer
- Notched Trowel
- Tile Nippers / Cutter or Tile Saw
- Spirit Level
- Tape Measure
- Damp Cloth / Sponge
- Bucket
- Grout Float
- Protective Gear (Gloves / Goggles)
- Dust Sheets
- Soft Cloth
Prepare the Surface

Start by laying protective covers over your kitchen surfaces. Make sure that the surface where you propose to tile is clean, dry, and smooth, with no uneven or bumpy surfaces. Remove existing ceramic tiles or debris if necessary, and repair any cracks or uneven spots.
If you’re tiling over drywall, for the best results, apply a coat of primer to ensure better adhesion. If tiling behind a cooker or range, attach a Wooden Batten so that it appears level with the worktop, providing a definite line for tiling. This batten can be removed at a later date.
Measure and Plan
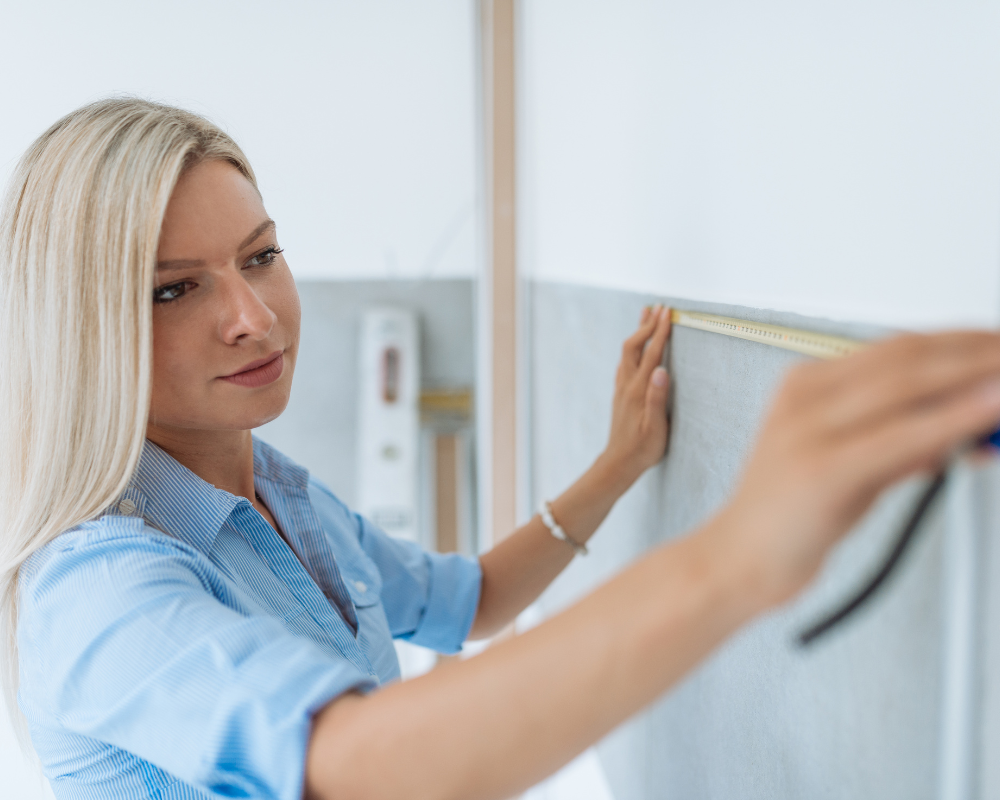
Carefully measure the area you will be tiling to determine the number of tiles you will need. It is essential to plan the layout, considering factors such as the size of the tiles and the pattern you want to achieve and any cut tiles required to fit around corners of the wall space or electrical outlets, obstacles, and light switches.
Apply the Adhesive
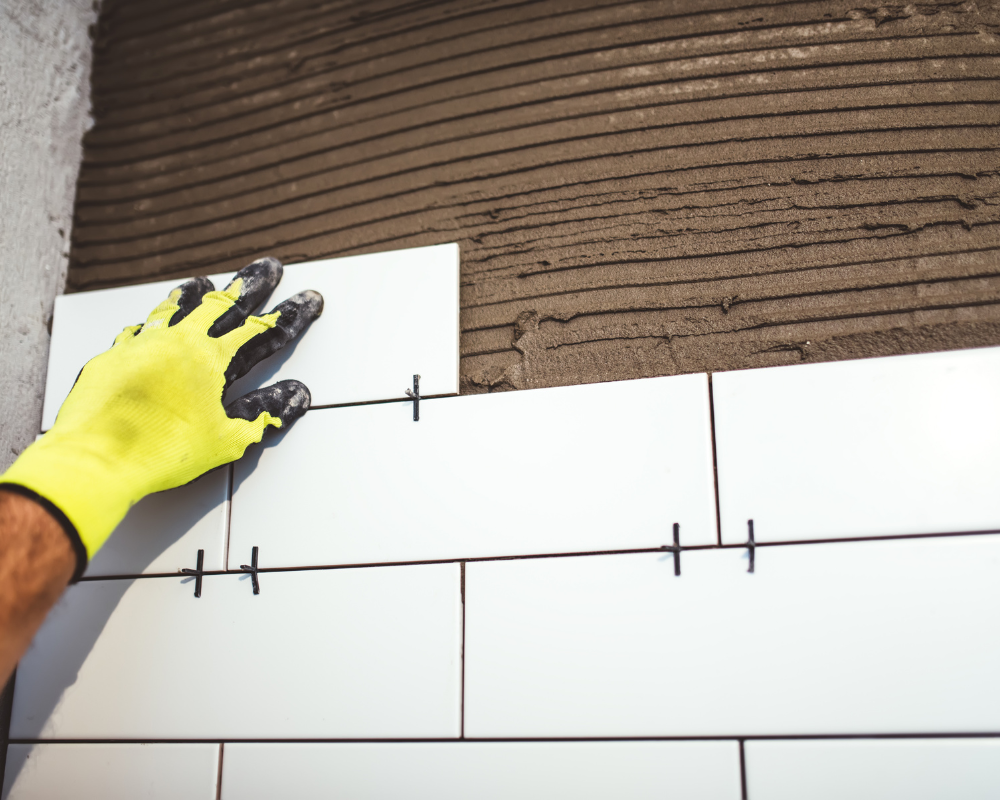
Using a notched trowel, spread the tile adhesive evenly on the splashback wall surface. Work in small sections to prevent the adhesive from drying out before you can lay the first row of tiles. Follow the manufacturer’s instructions for mixing and applying the adhesive or use a ready-made mix..
Lay the Tiles
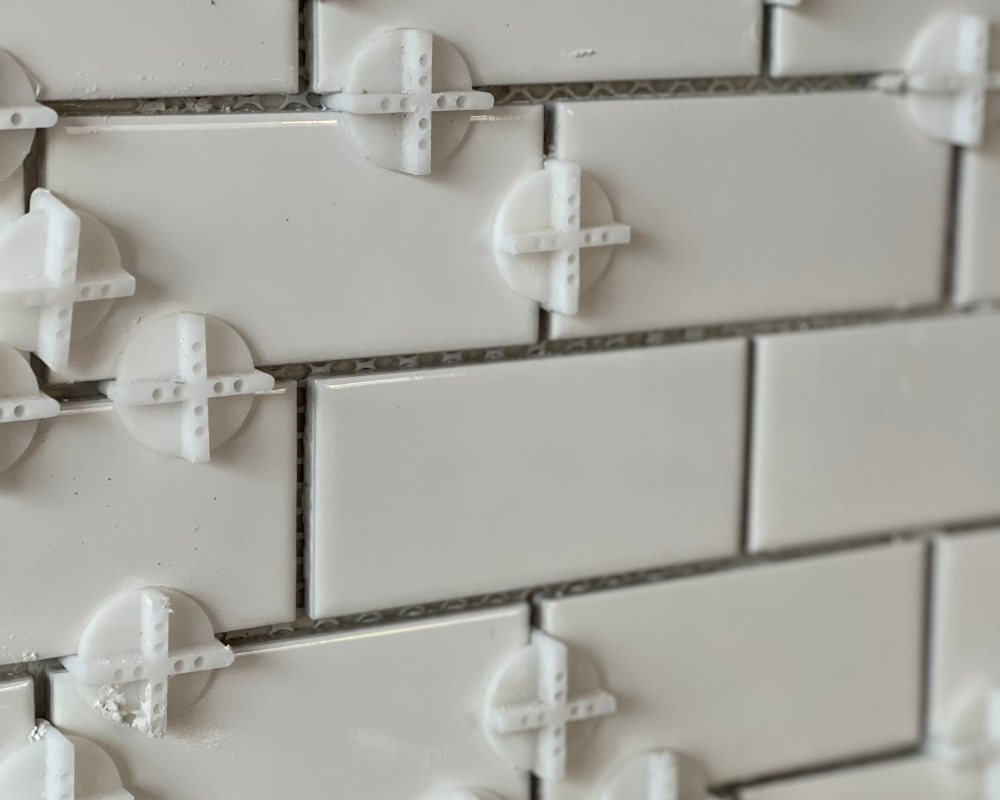
Apply adhesive to the back of each tile in small amounts before laying the tiles; press gently on the wall adhesive starting from the bottom and working your way up. Use tile spacers between each tile to ensure even spacing and uniform grout lines. Use a spirit level to ensure that the tiles are straight and aligned correctly.
Cut Tiles as Needed
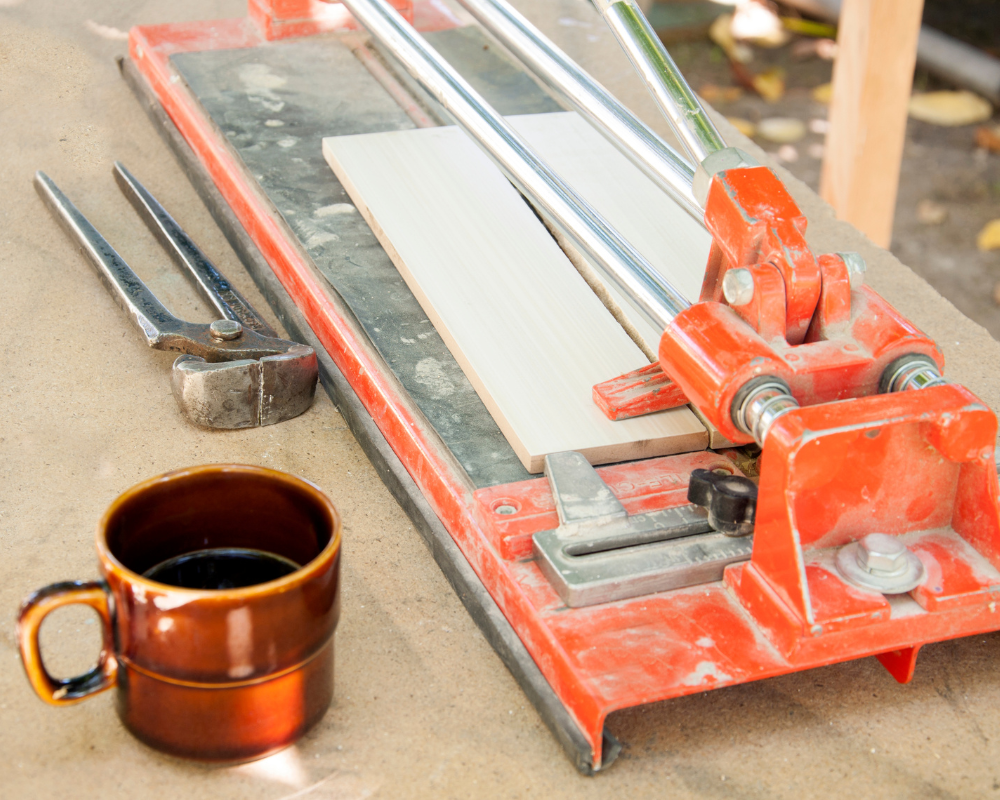
If you encounter areas where full tiles will not fit, you will need to cut tiles to size. Measure the space carefully and use a tile cutter or saw to make precise, straight cuts. Necessary tools such as Tile Nippers are a good idea for non-straight areas or corners. Remember to wear safety goggles and gloves when cutting tiles to protect your eyes and yourself from flying debris.
Allow the Adhesive to Cure
Once all tiles are in place, allow the adhesive to cure according to the manufacturer’s instructions. This typically takes 24-48 hours, depending on the type of adhesive used.
Apply Grout
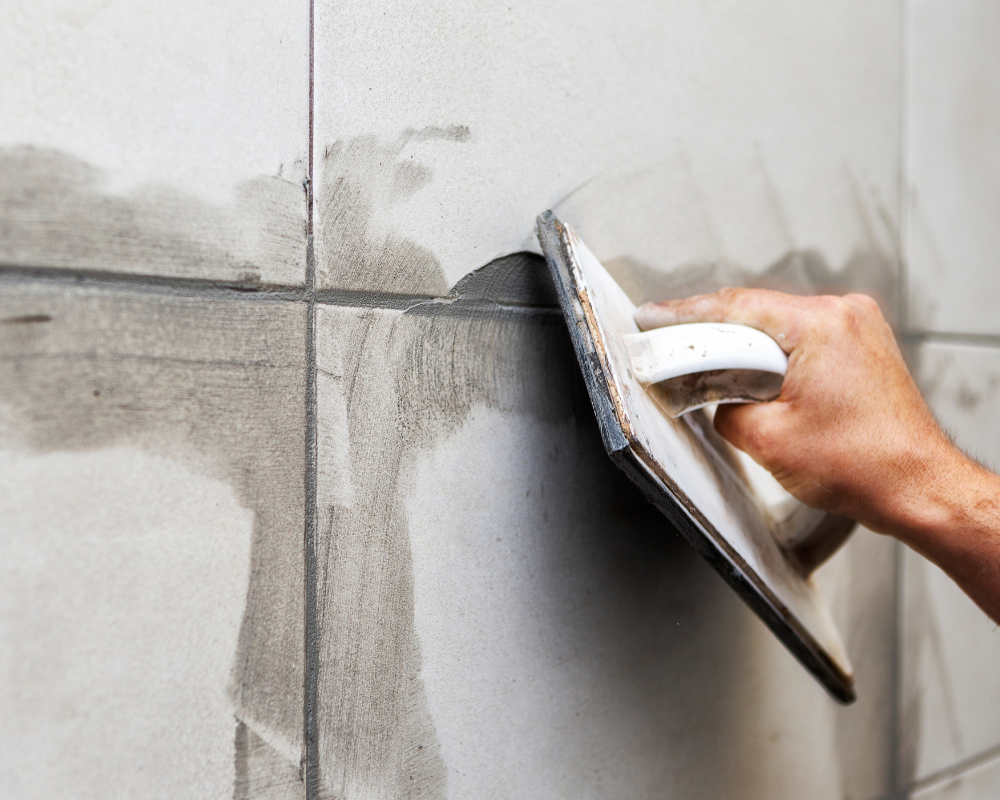
After the adhesive has cured for the recommended time suggested, it’s time to grout the tile surface. Mix the grout according to the manufacturer’s instructions and apply it evenly using a grout float, pressing it into the spaces between the whole tiles.
Clean and Seal
After applying the grout, use a damp sponge to remove and clean excess grout from the face of the tiles. Once the grout has dried, apply a grout sealer to additionally protect the grout from stains and moisture.
Enjoy Your New Splashback
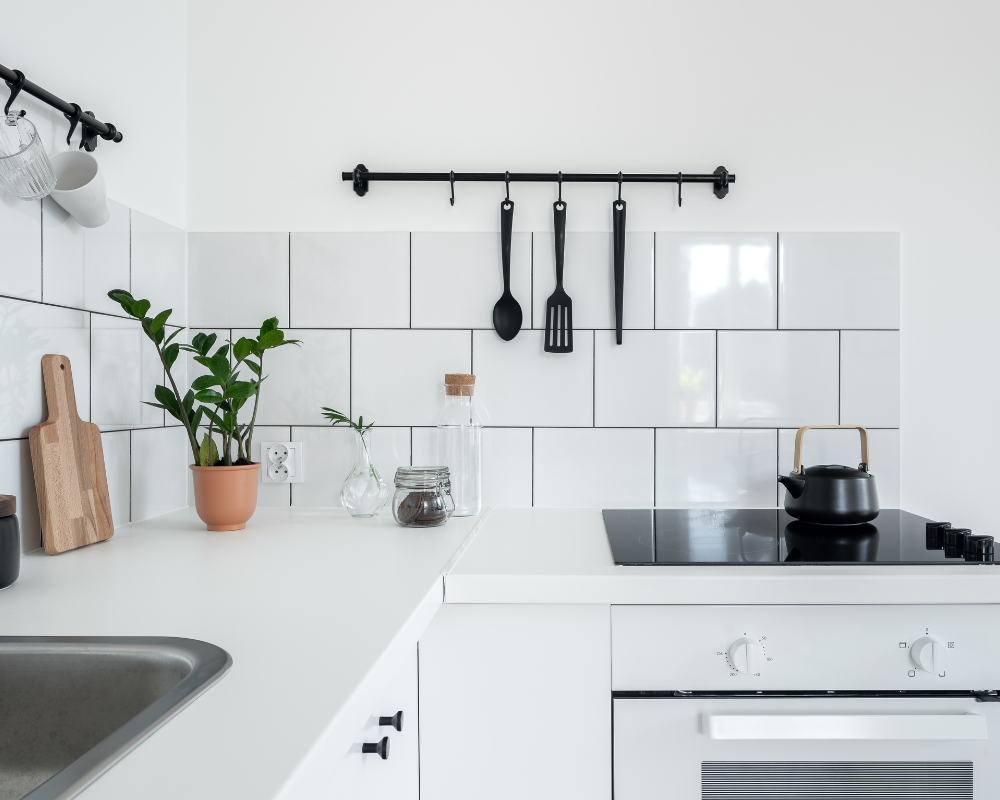
As a final step, once the grout sealer has dried, stand back and admire your tile splashback. Your new splashback adds a touch of elegance and functionality to your kitchen or bathroom, and with proper maintenance, it will continue to look beautiful for years to come.
Conclusion
Tiling a splashback may seem like a daunting task, but with the right tools, materials, and know-how, it’s a project that you can tackle with confidence. By following the above step-by-step instructions, you can achieve professional-looking results and transform the look of your space.

