How to paint furniture
Table of Contents
There is no greater feeling than the satisfaction you can get from re-vamping an old piece of furniture. This is an eco-friendly and sustainable way to live, and you can also really go to town with the colours and styles if you wish to paint furniture.
Two types of paint that I really rate for painting furniture are chalk paint and mineral paint. Both of these paints give great coverage even after the first coat, it give a lovely finish and comes in a wide range of colours.
With chalk paint, there’s no need for stripping or priming the furniture first; you can paint over whatever was there as the paint is very thick. All you need is a few coats and a couple of hours to give an old piece of furniture a brand new look.
Here are a few tips to paint furniture
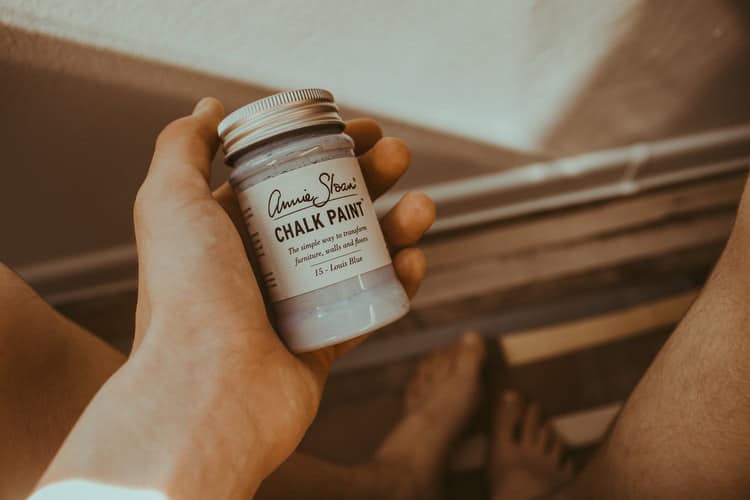
If you’re looking to breathe new life into an heirloom or you just want to paint furniture to brighten up your home, follow our tips for the best results.
Clean the furniture
Wipe down the furniture with a damp cloth to remove any dirt or grease – this will give a clean, smooth surface to begin your upcycling project.
Remove any handles
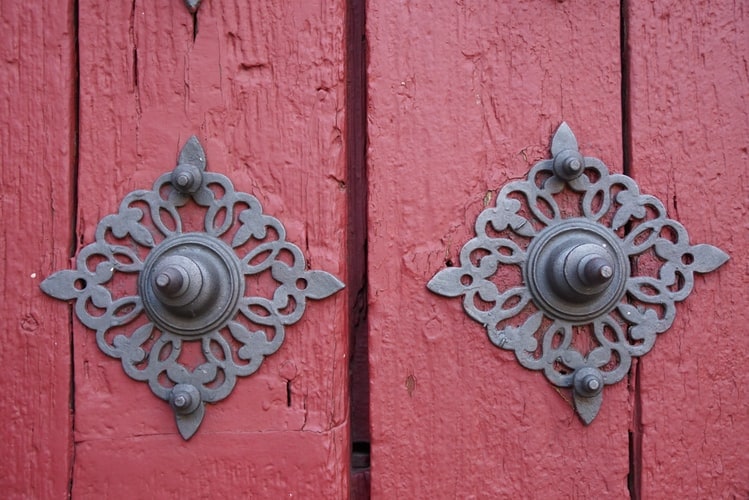
Suppose it is a cupboard or a chest of drawers with handles or knobs; you will want to remove them with a screwdriver. Keep them in a safe place so they can be put back after you’ve completed the painting. You might even want to get some fancy new ones.
Fill in any scratches
If there are any deep scratches or gouges, these can be filled in with some wood filler. But if you’re going for a shabby chic look, you could leave them there to make the furniture look aged.
Sanding
Although you don’t have to sand the furniture when using chalk paint, you could go over it with a fine grain sandpaper just to give the surface a smoother finish. Wipe any dust off as you go,
Painting
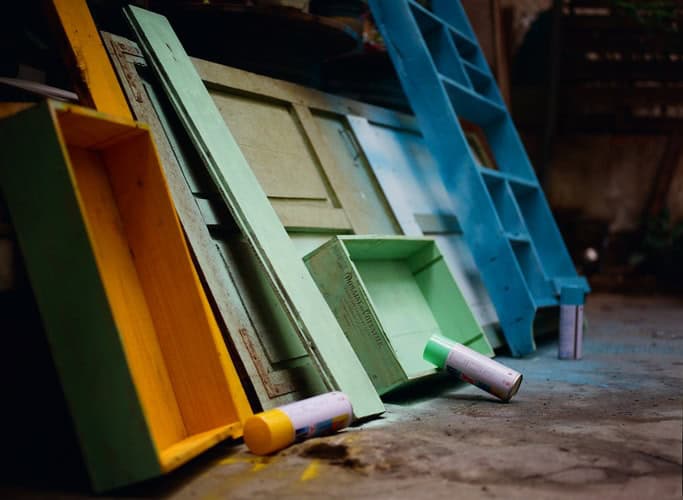
After choosing a colour, you can start painting using a paintbrush apply the paint in even strokes from bottom to top. Chalk paint is thick and paints on like a dream; it also dries fairly quickly. I have used only one coat with darker colours, but lighter colours may take a couple of coats.
Finishing wax
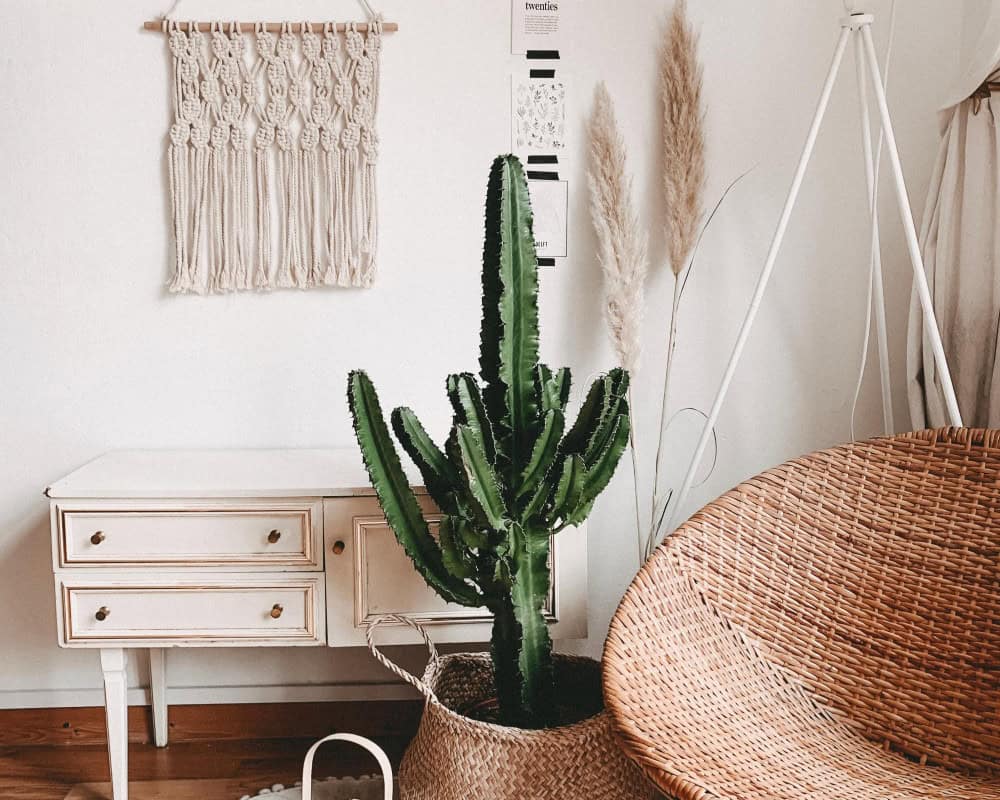
After you are happy with the results and the paint is dry, you should apply a coat of clear finishing wax to help protect the paintwork. This can be rubbed on with a dry cloth in small circular motions.
Finishing touches
You may want to add some new knobs or even a little bit of dark wax or gold gilding wax – this can help accentuate certain areas and give a bit of a patina look.
Chalk paint is a great product and upcycling furniture is extremely satisfying, why not give it a go?



9 Comments
Elle Cole
July 5, 2021 at 11:21 am
We’ve been helping our preteens remodel their rooms. One activity they loved was painting designs on their walls.
Sabina Green
July 9, 2021 at 2:30 pm
Our daughter has been doing exactly that today, she is loving it.
Melanie Varey
July 5, 2021 at 11:57 am
Great tips for revamping old furniture. I have attempted a few projects myself and needed this tips as my results were mixed!
Jupiter Hadley
July 5, 2021 at 1:44 pm
I just finished painting a dresser for my step-daughter’s room, and I was wondering how to protect the paint! I didn’t know about finishing wax – but will go down that route. Thank you!
Ivan M. Jose
July 5, 2021 at 2:09 pm
This is very timely information because we have several pieces of furniture at home at I want to paint to breathe new life into them.
Sabina Green
July 9, 2021 at 2:29 pm
We are hoping to paint a console table in a few weeks, exciting times 🙂
Mosaic Tiles
July 5, 2021 at 2:33 pm
Amazing information! We tried to paint a side table a few years ago, we messed it up completely!!! I wish I had your post back them. Thanks a lot.
Sabina Green
July 9, 2021 at 2:29 pm
Ah that’s a shame, I hope you managed to fix it in the end x
Melissa Cushing
July 8, 2021 at 4:26 pm
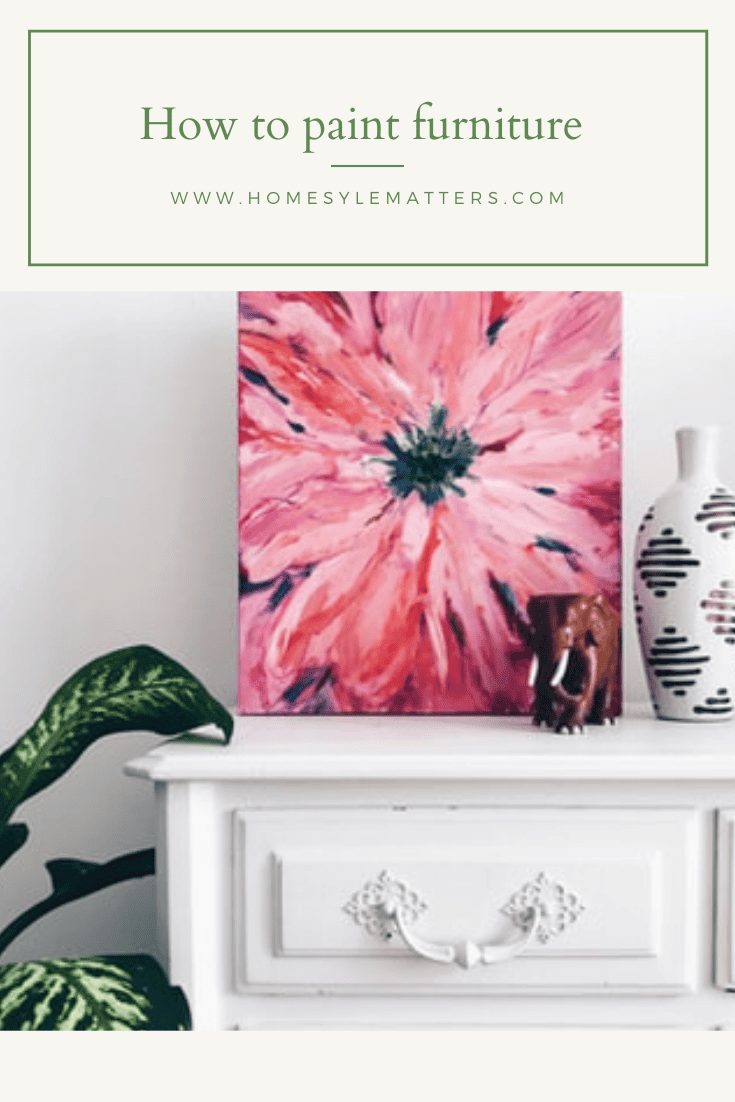
I love the chalk paint and the used look they provide the pieces. I love that white piece pictured above and I have a few pieces that I will be working on transforming soon 😉 Thanks for the tips!