Christmas Wreath Crafting – How to make your own Festive Cheer
Table of Contents
Christmas Wreath creating not only adds a personal touch to your festive decorations but also provides a delightful opportunity to indulge in some creative holiday crafting. The Xmas holiday season is almost upon us, and so what better way to invite visitors than with a beautifully crafted Christmas wreath? In this step-by-step guide, we’ll walk you through the process of making a stunning Christmas wreath that will illuminate your main entrance to the home. Gather your materials and let’s get started on this fun task.

Gather Your Materials
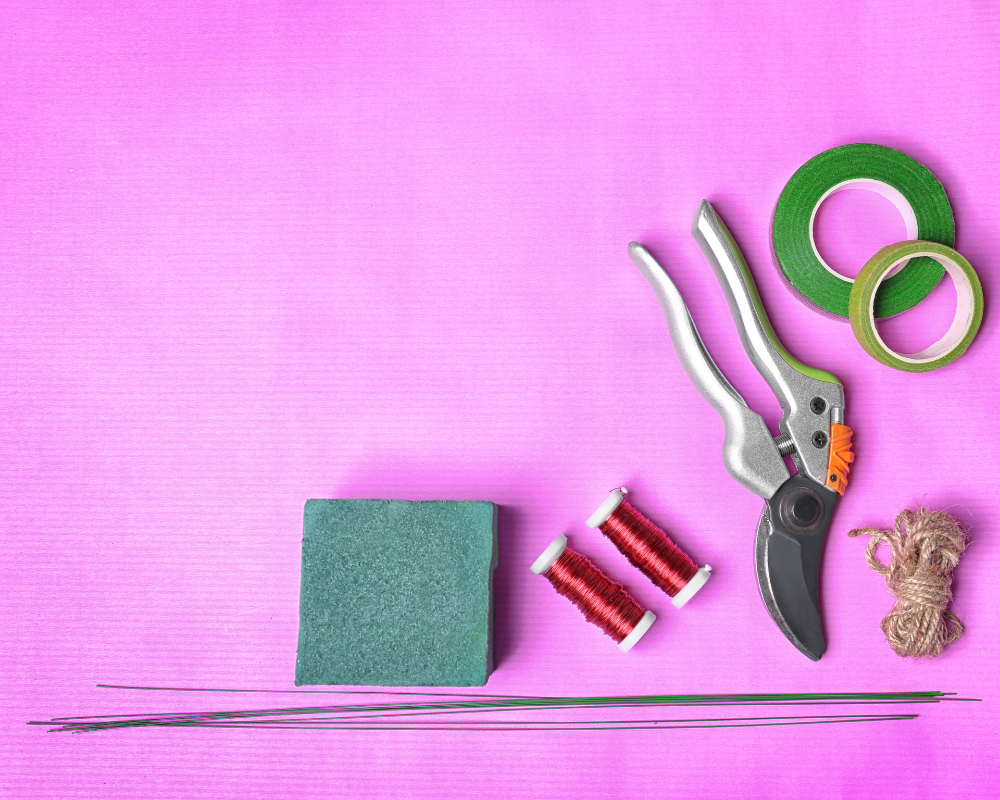
Gather the Materials required to make your Christmas Wreath. There are a few essential materials. Collate items from your backyard or garden for a more nature-inspired wreath or alternatively visit your local craft stores.
Here is a basic list to get you started:
- Wreath base (wire or foam)
- Floral wire
- Fresh Greenery (pine branches, holly, fresh moss, eucalyptus, or Ivy)
- Decorative elements (ornaments, pine cones, berries)
- Ribbon or twine
- Scissors or Secateurs
- Hot glue gun and spare glue sticks
Choose your Wreath Base
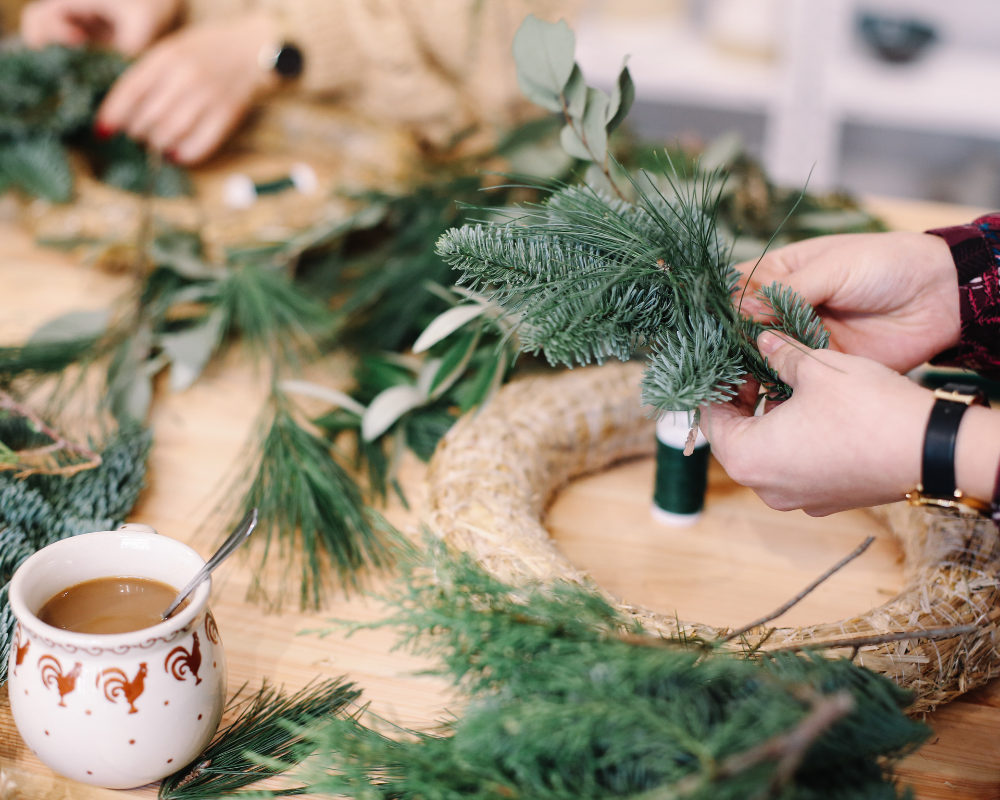
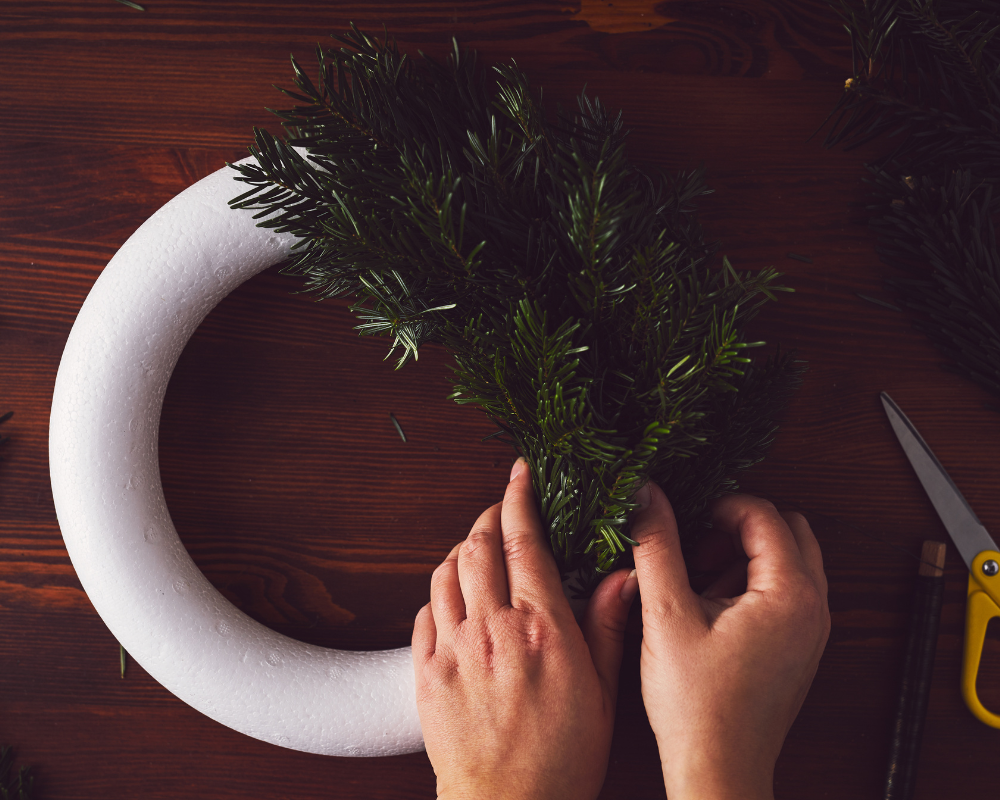
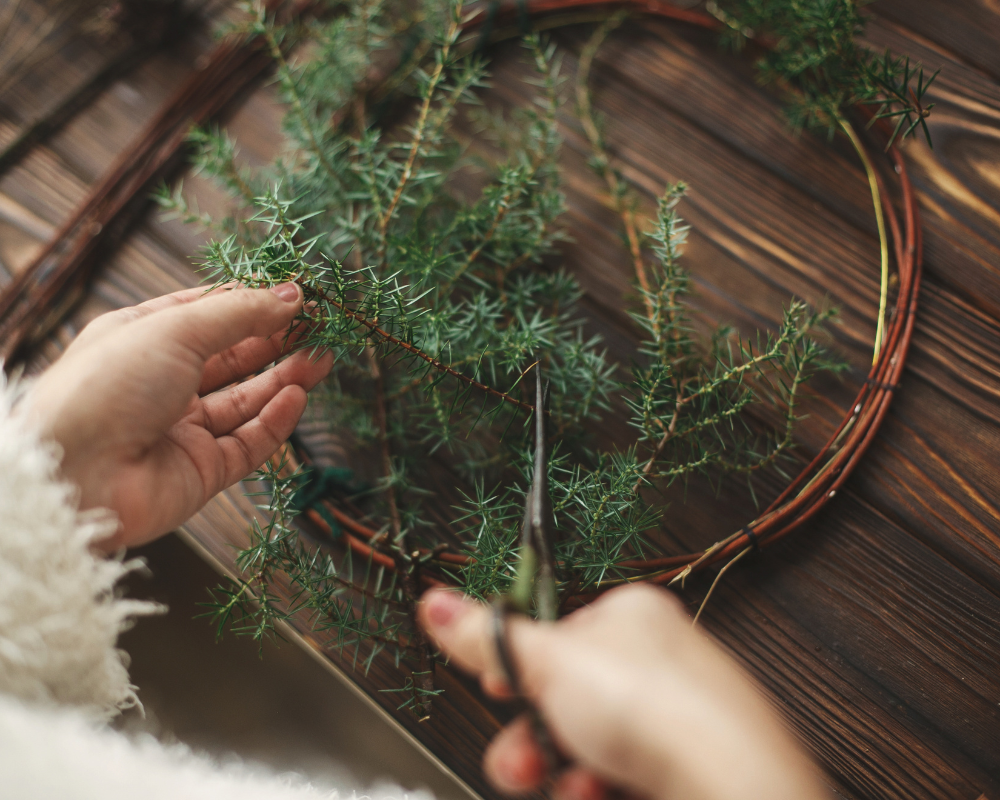
When it comes to making your own Christmas wreath, choosing the right base is crucial in creating a stunning and unique design. Choose a size that suits your space and preferences. While traditional options like wire frames and grapevine bases are classic choices foam allows for easy insertion of greenery.
Consider thinking outside the box with more unconventional options. For a rustic and natural look, try using a branch or twig base for your wreath, adding an earthy touch to your holiday decorations. Don’t limit yourself to conventional circular shapes – experiment with heart-shaped or square bases for an imaginative twist on the traditional wreath.
Don’t forget that repurposing household items like embroidery hoops or hessian sheets can serve as innovative bases that bring creativity and sustainability into your wreath-making process. By exploring various base options and natural elements, you open up a world of possibilities for designing an original Christmas wreath that reflects your personality and style while spreading festive cheer throughout your home.
Prep Your Greenery

Prepping your greenery is crucial for ensuring your DIY Christmas wreath looks its best. First things first take great care with sharp secateurs and scissors when attaching the fresh moss (look out for the bugs) or greenery. Prepare your greenery by trimming it into manageable lengths. Start by trimming any excess foliage from the branches and removing any dead or dis-colored leaves. This will help give the greenery a fresh and vibrant appearance while also making it easier to work with when assembling your Christmas wreath. Mix and match different types of greenery for texture, depth, and visual interest.
Attach Greenery to the Base
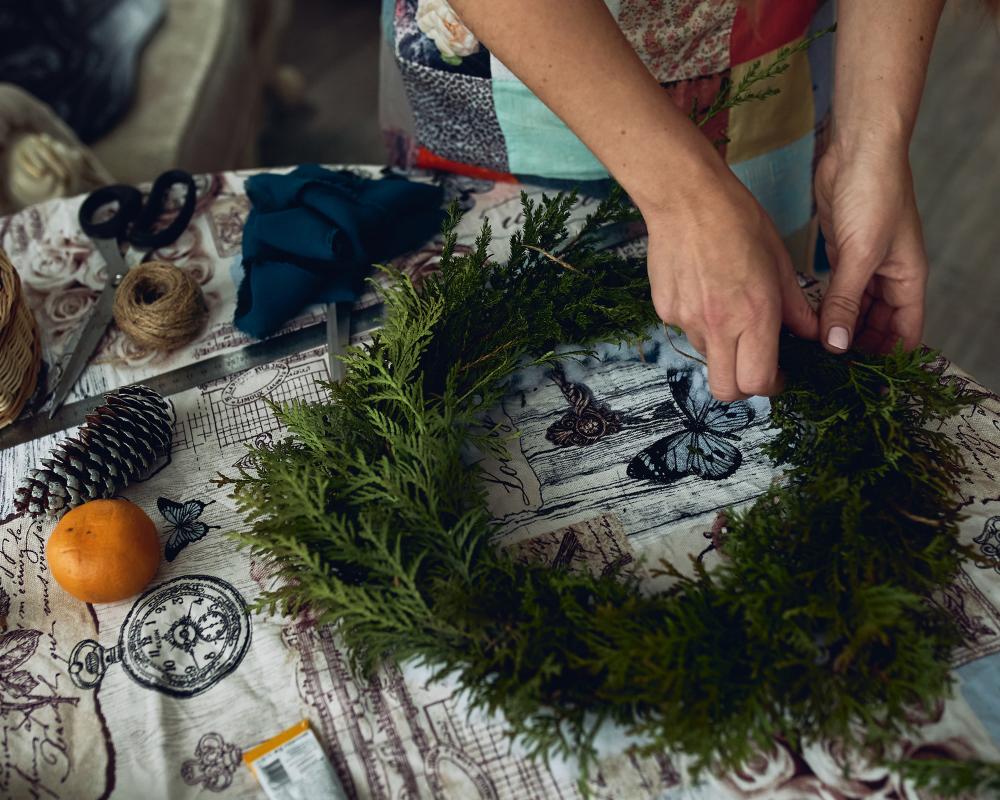
Consider using wire or floral tape to secure the fresh moss (look out for the bugs) or greenery to your Christmas Wreath to create a sturdy base for adding additional decorative elements like berries or ornaments. Secure each piece firmly, overlapping them to create a lush and full appearance. Ensure that the greenery covers the entire base for a polished look. By sourcing greenery from nature or local suppliers, you can feel good about reducing the environmental impact often associated with mass-produced decorations.
As you embark on this creative journey, remember that experimenting with color combinations can elevate the visual appeal of your homemade wreath. By mixing vibrant red berries with lush evergreen sprigs can produce striking contrast and enhance the overall design. By playing around with different textures and tones, you can achieve a stunning result that speaks directly to your personal taste. Don’t hesitate to infuse additional elements like dried flowers for extra flair—there are no limits when it comes to bringing out your creativity through crafting a beautiful door display.
Add Decorative Elements
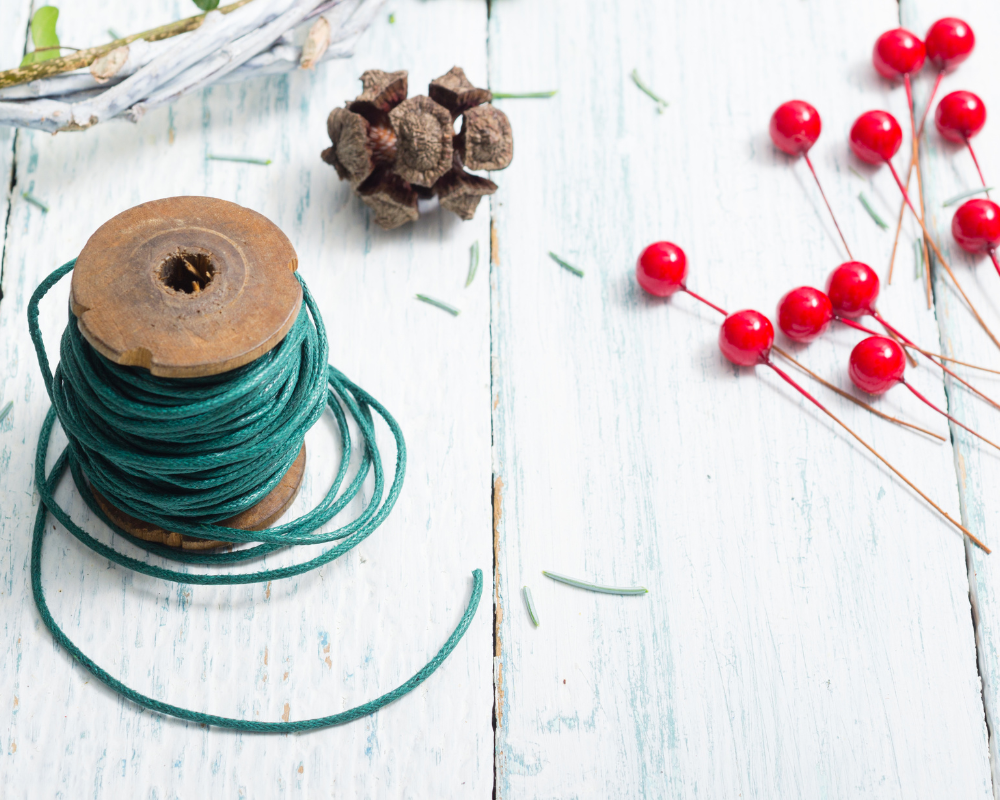

Enhance the festive feel of your Christmas wreath by incorporating decorative elements. Arrange ornaments, pinecones, and berries strategically throughout the greenery or dried oranges can bring vibrant pops of color and texture to your unique creation. Use a hot glue gun to secure them in place, ensuring they are evenly distributed.
In addition to DIY wreaths, consider integrating other decorative pieces such as candy canes, colored baubles, upcycled candle holders, or hand-painted ornaments and mason jars. These small but impactful touches bring character and a festive touch into any room while fostering sustainability and creativity. Utilizing unexpected materials like peacock feathers, hessian, pom poms or cinnamon sticks, can add an eclectic twist that sets your finished product apart from traditional door decorations. By embracing the process of crafting custom decorative elements for your home, is the perfect way to create lasting memories with loved ones and holiday cheer.
Create a Striking Bow
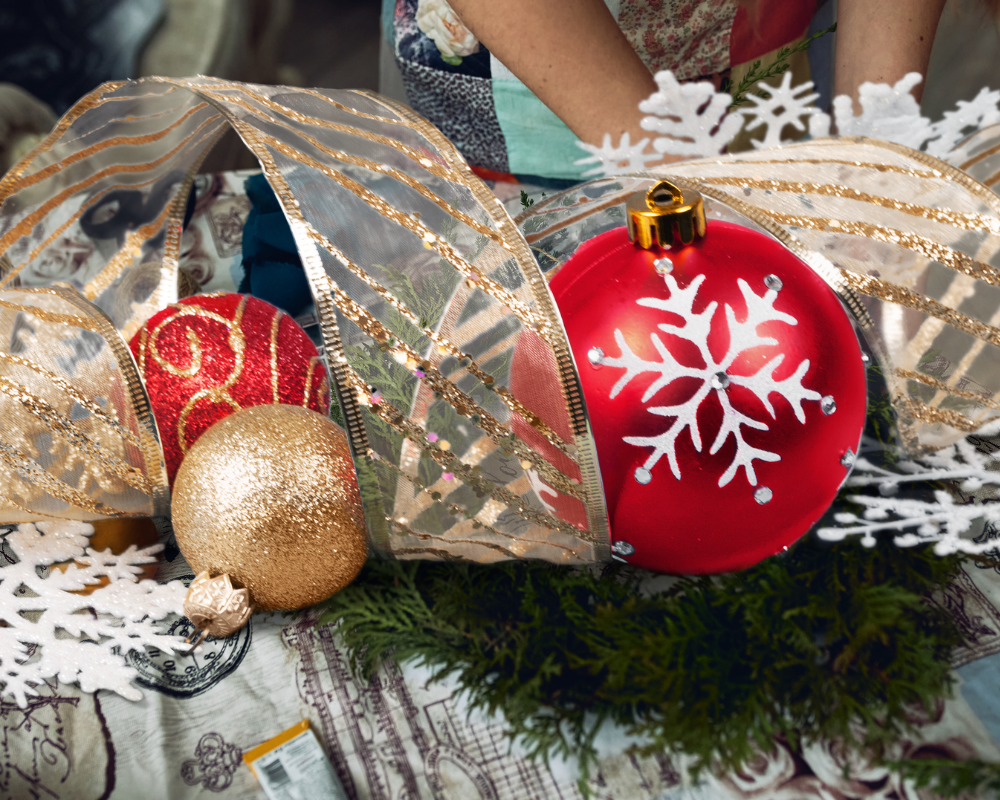
To create a truly striking bow for your beautiful wreath, the best way is to start by selecting a variety of ribbons in different colors and textures. Mix and match different widths to add depth and visual interest to your design. Don’t be afraid to experiment with patterns and prints, not just a traditional red ribbon – the more unexpected, the better! A plaid ribbon is always a popular choice.
When assembling your bow, remember that proportions matter. A large Christmas wreath calls for a bold, oversized bow, while smaller wreaths benefit from dainty details. Play around with layering ribbons and twisting them to create dimension. And don’t forget the finishing touches – trim the ends of your ribbons into elegant V-shapes or playful loops for an extra polished look.
Secure the Bow and Final Touches
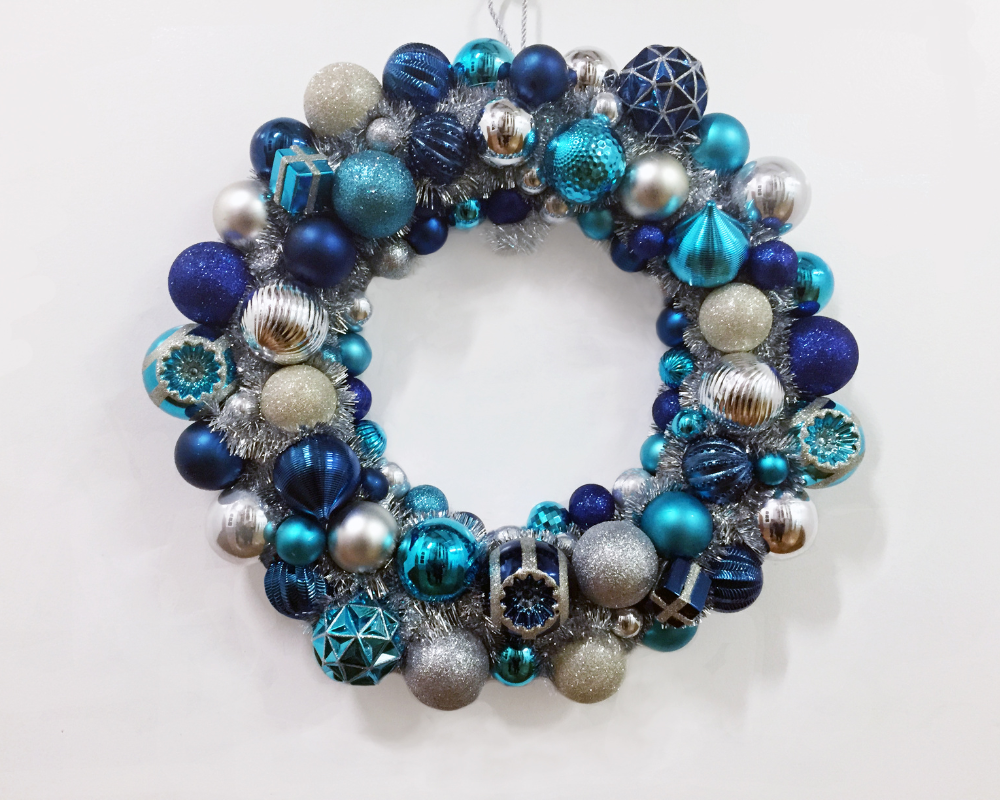
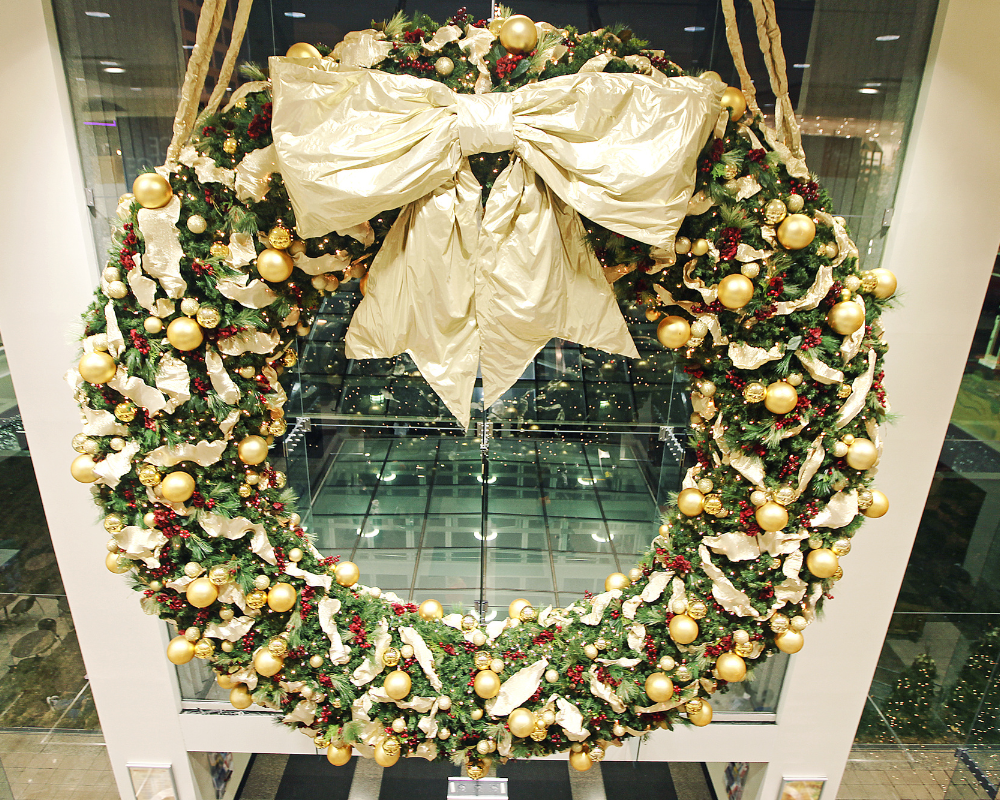

Securing the bow is a crucial step in making your own Christmas wreath. When tying the bow, make sure to secure it tightly and double-knot it to ensure it stays in place. The choice of ribbon also plays a significant role in creating an eye-catching look for your wreath. Choose a traditional look or festive pattern or color that complements the overall theme of your decoration. Attach the bow to the wreath using floral wire, making sure it sits prominently at the top or bottom, depending on your personal preference and skill level. Inspect your wreath for any gaps or uneven areas, adding extra greenery or decorations to the wreath design as needed.
Final touches are what make your DIY wreath from ordinary to extraordinary. Consider adding personal touches such as pinecones with silver or gold spray paint, Christmas lights, orange slices, mistletoe or berries, and even small ornaments in various shades to give your wreath a unique twist. These final embellishments can make all the difference and help your fresh wreath creation stand out.
Hanging and Displaying

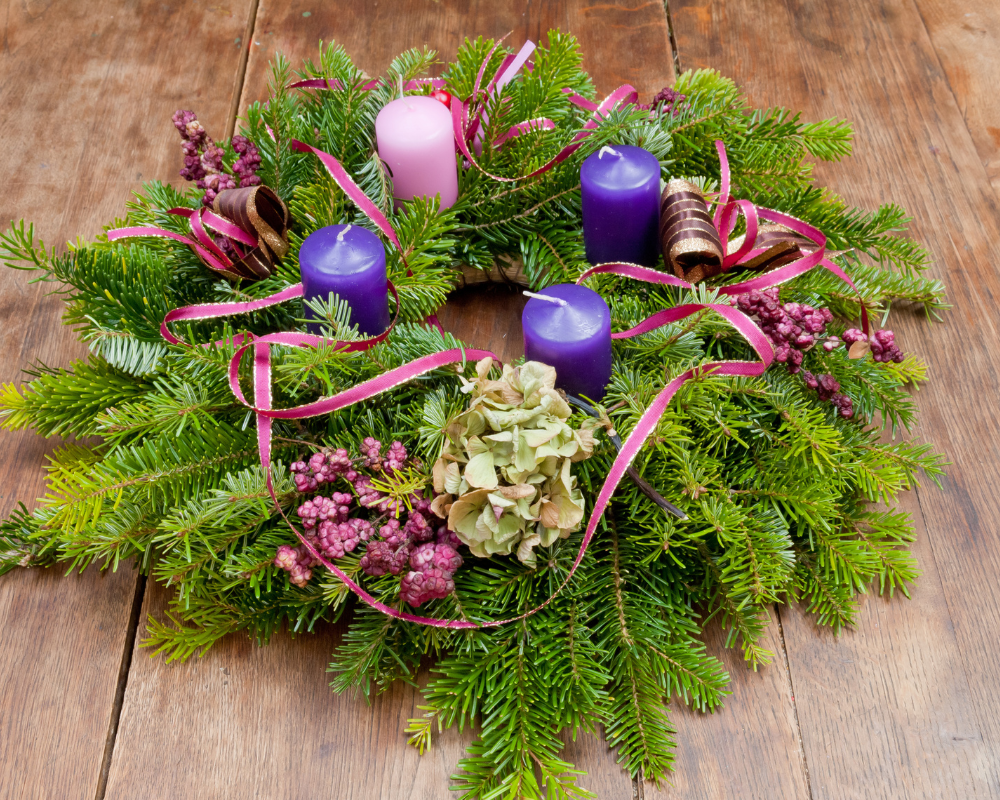

Choosing the perfect spot for your welcoming wreath can be hard work, think beyond the front door. Consider hanging it above the fireplace as a stunning focal point for your living room or even using it as a center-piece for your dining table. Don’t limit yourself to traditional methods for hanging — try incorporating ribbons, and twine, in unexpected ways to hang your wreath and add an element of whimsy and holiday spirit.
Conclusion
You will now have successfully created a charming wreath that reflects your personal style and adds a touch of Xmas magic to your home. Whether you choose a classic, rustic, or modern design, the joy of crafting your own wreath is bound to make this festive season even more special and full of Christmas cheer. Hang your masterpiece proudly on your front door to greet everyone who enters your home. Have a very Happy Christmas!


